In this article we are going to learn how you can embed chatGPT in your website.
First thing to note: ChatGPT does not provide a embeddable version that you can easily embed in your website. Therefore you need a third party chat interface and ChatGPT API to be able to embed chatGPT on your website
In this article we are going to use the DeadSimpleChat and the ChatGPT API to embed the chatGPT chat box in your website
Pre-requisites
- DeadSimpleChat Account: You can create a free DeadSimpleChat account by going to the website and click on the "get started" Button: DeadSimpleChat
- OpenAI ChatGPT API Key: Get the chatgpt key from its website
- Basic web development: For handling ChatGPT AI requests on a serverless function.
Setting Up the DeadSimpleChat environment
- Create a DeadSimpleChat Chat room
- Go to DeadSimpleChat.com and click on the "Start a free trial" button to create a free account with DeadSimpleChat
then
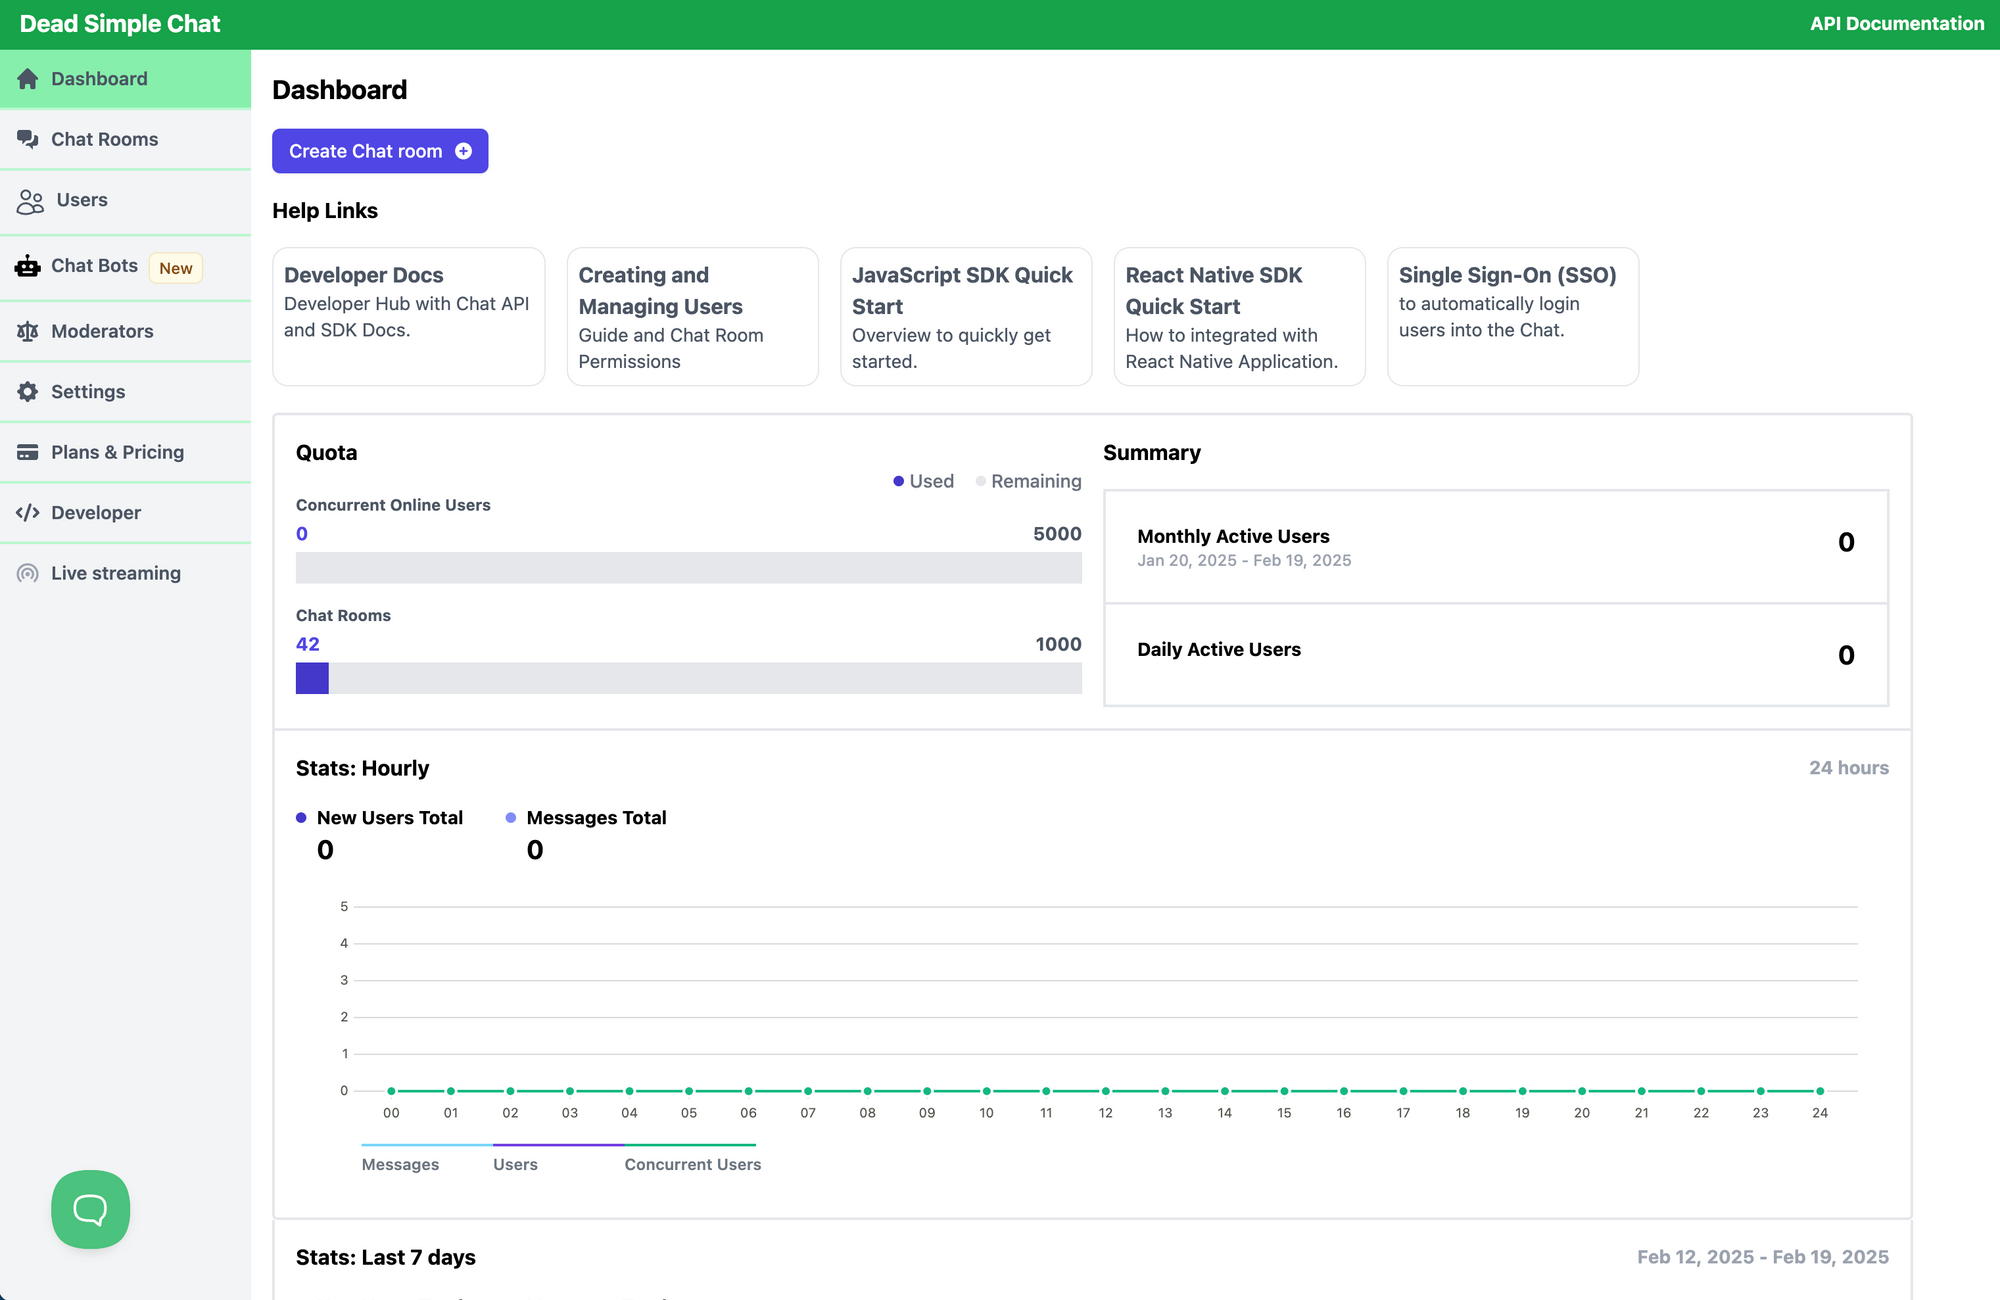
- Once you have created an account you land up in the dashboard there click on the
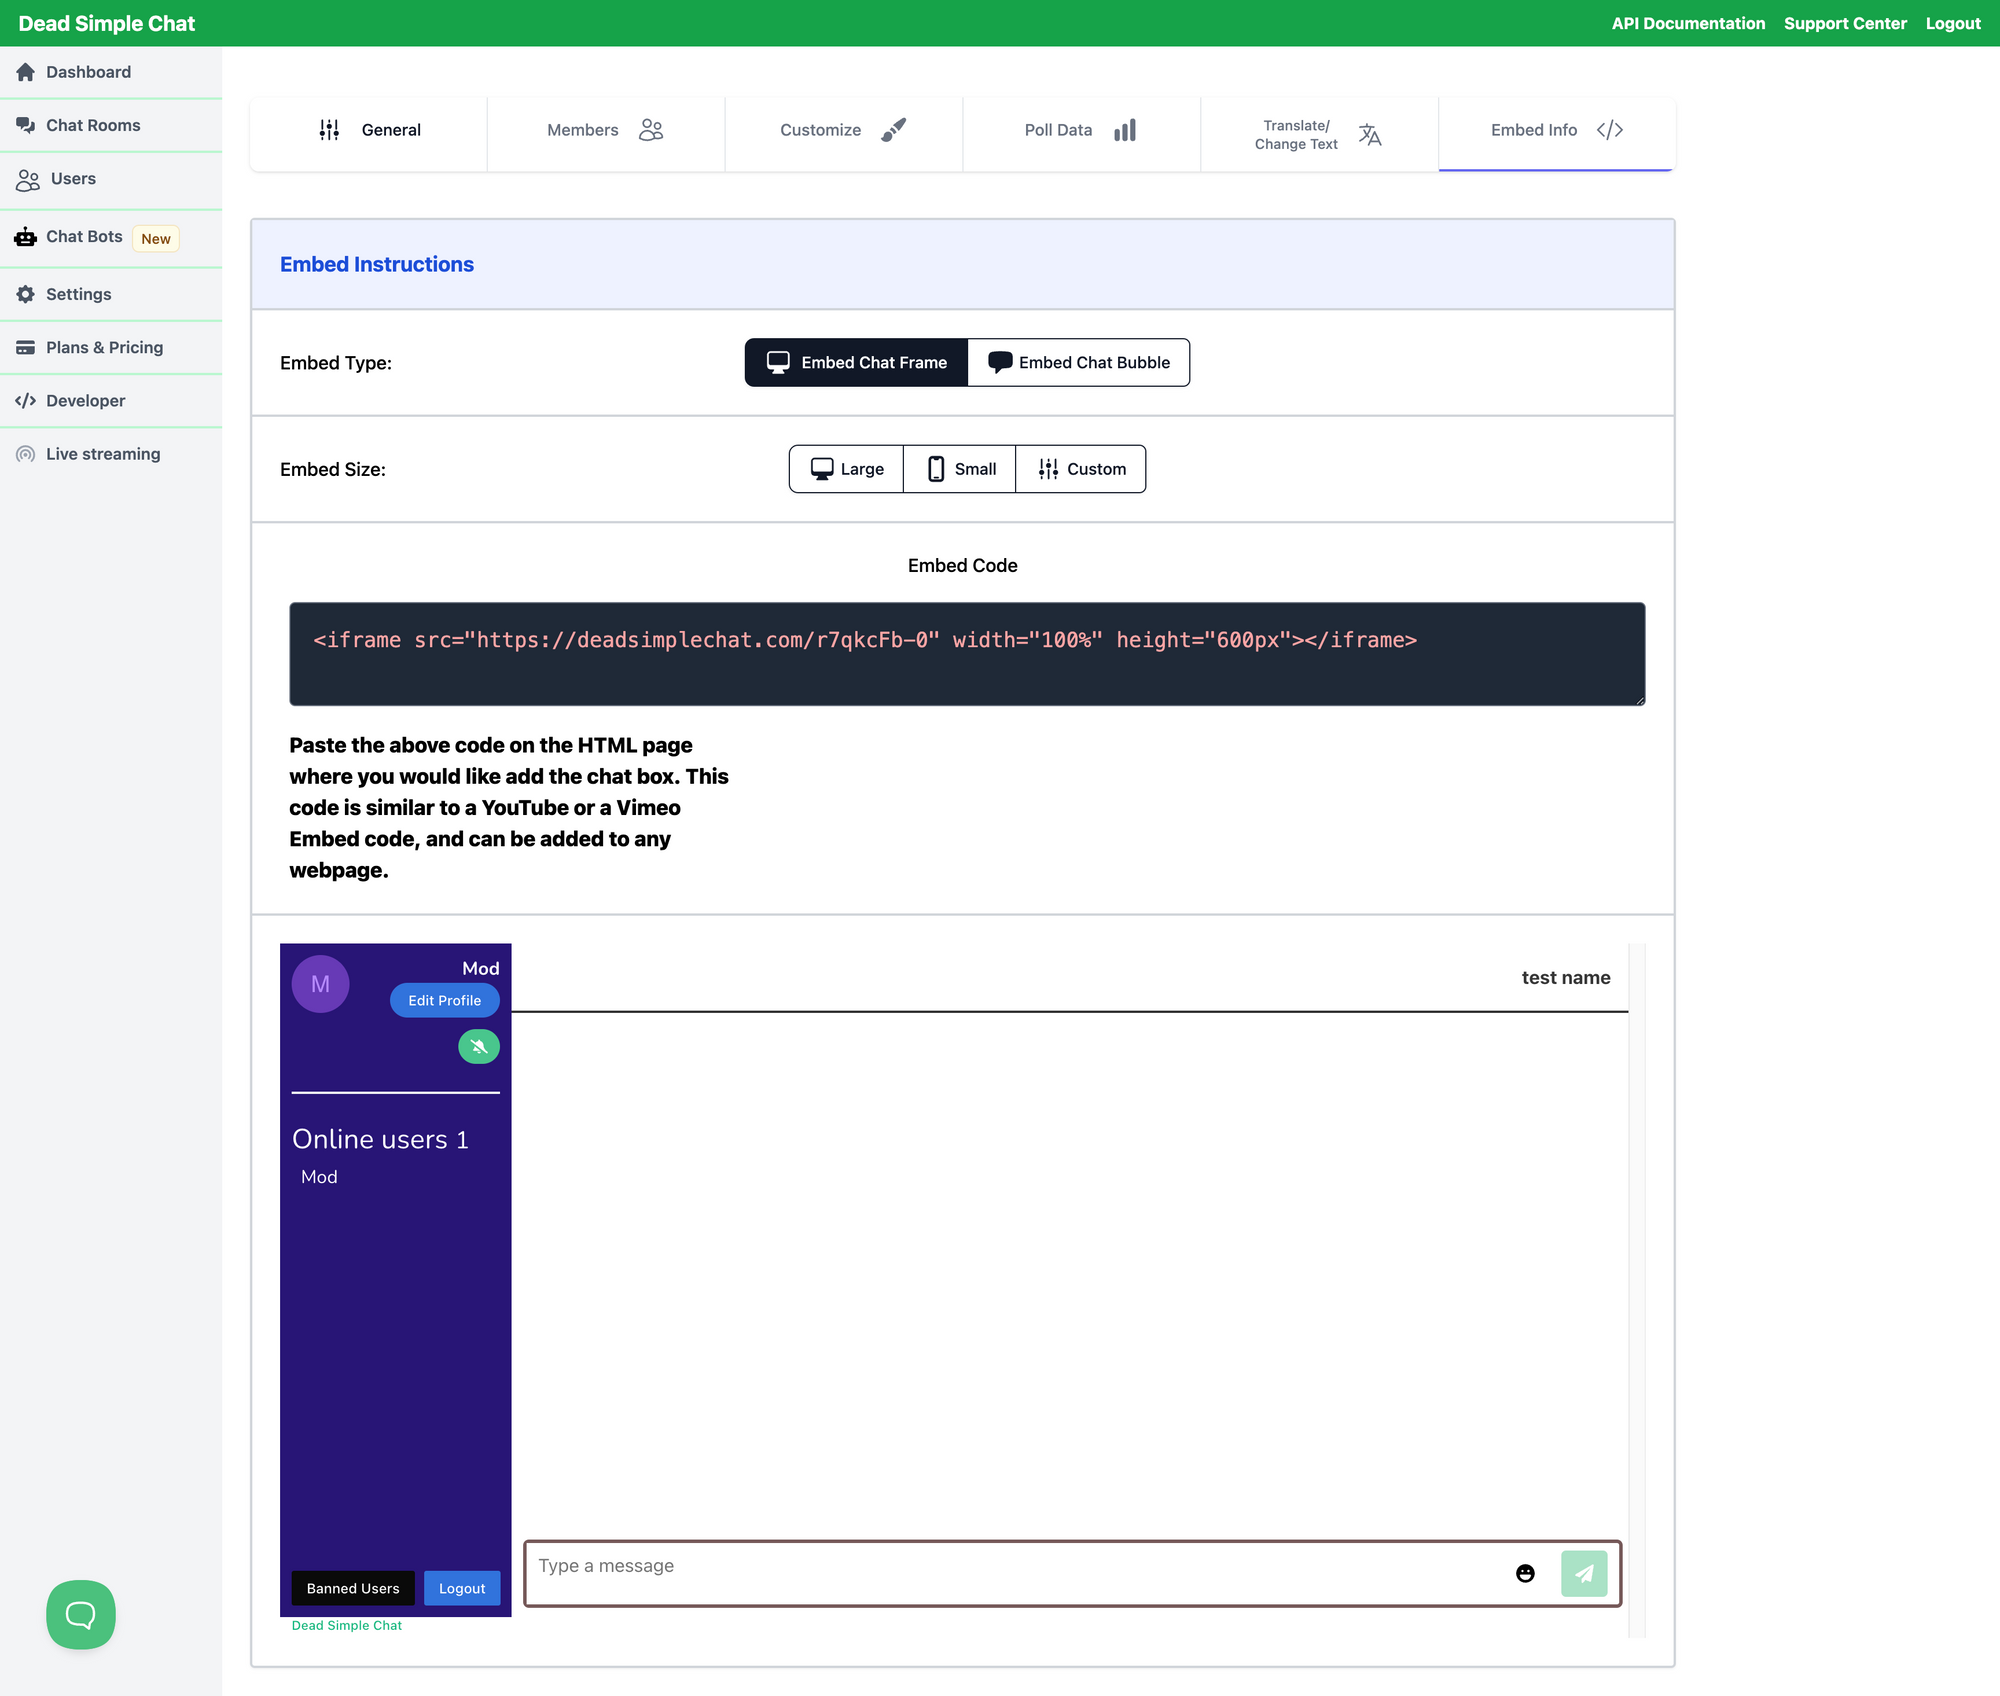
create chat roombutton, from there fill out the form and then go to theembed info - You can optionally do the settings to make the chat room look perfect
Creating a Chat Bot with DeadSimpleChat
now that you have created a chat room, it is time to create a chat bot that will work in that chat room
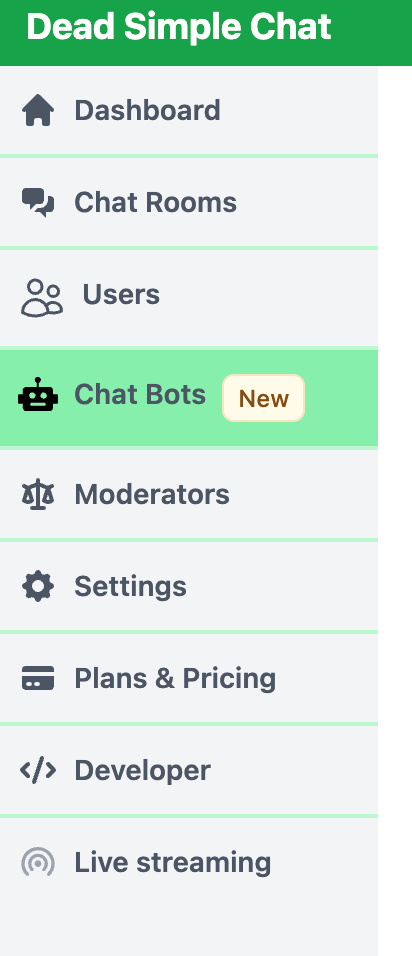
On the dashboard click on the chat bots in the sidebar like so
you will land up in the chat bot section. You can create the chatbot using REST API as well but for ease of use we will be creating the chatbot using UI based system
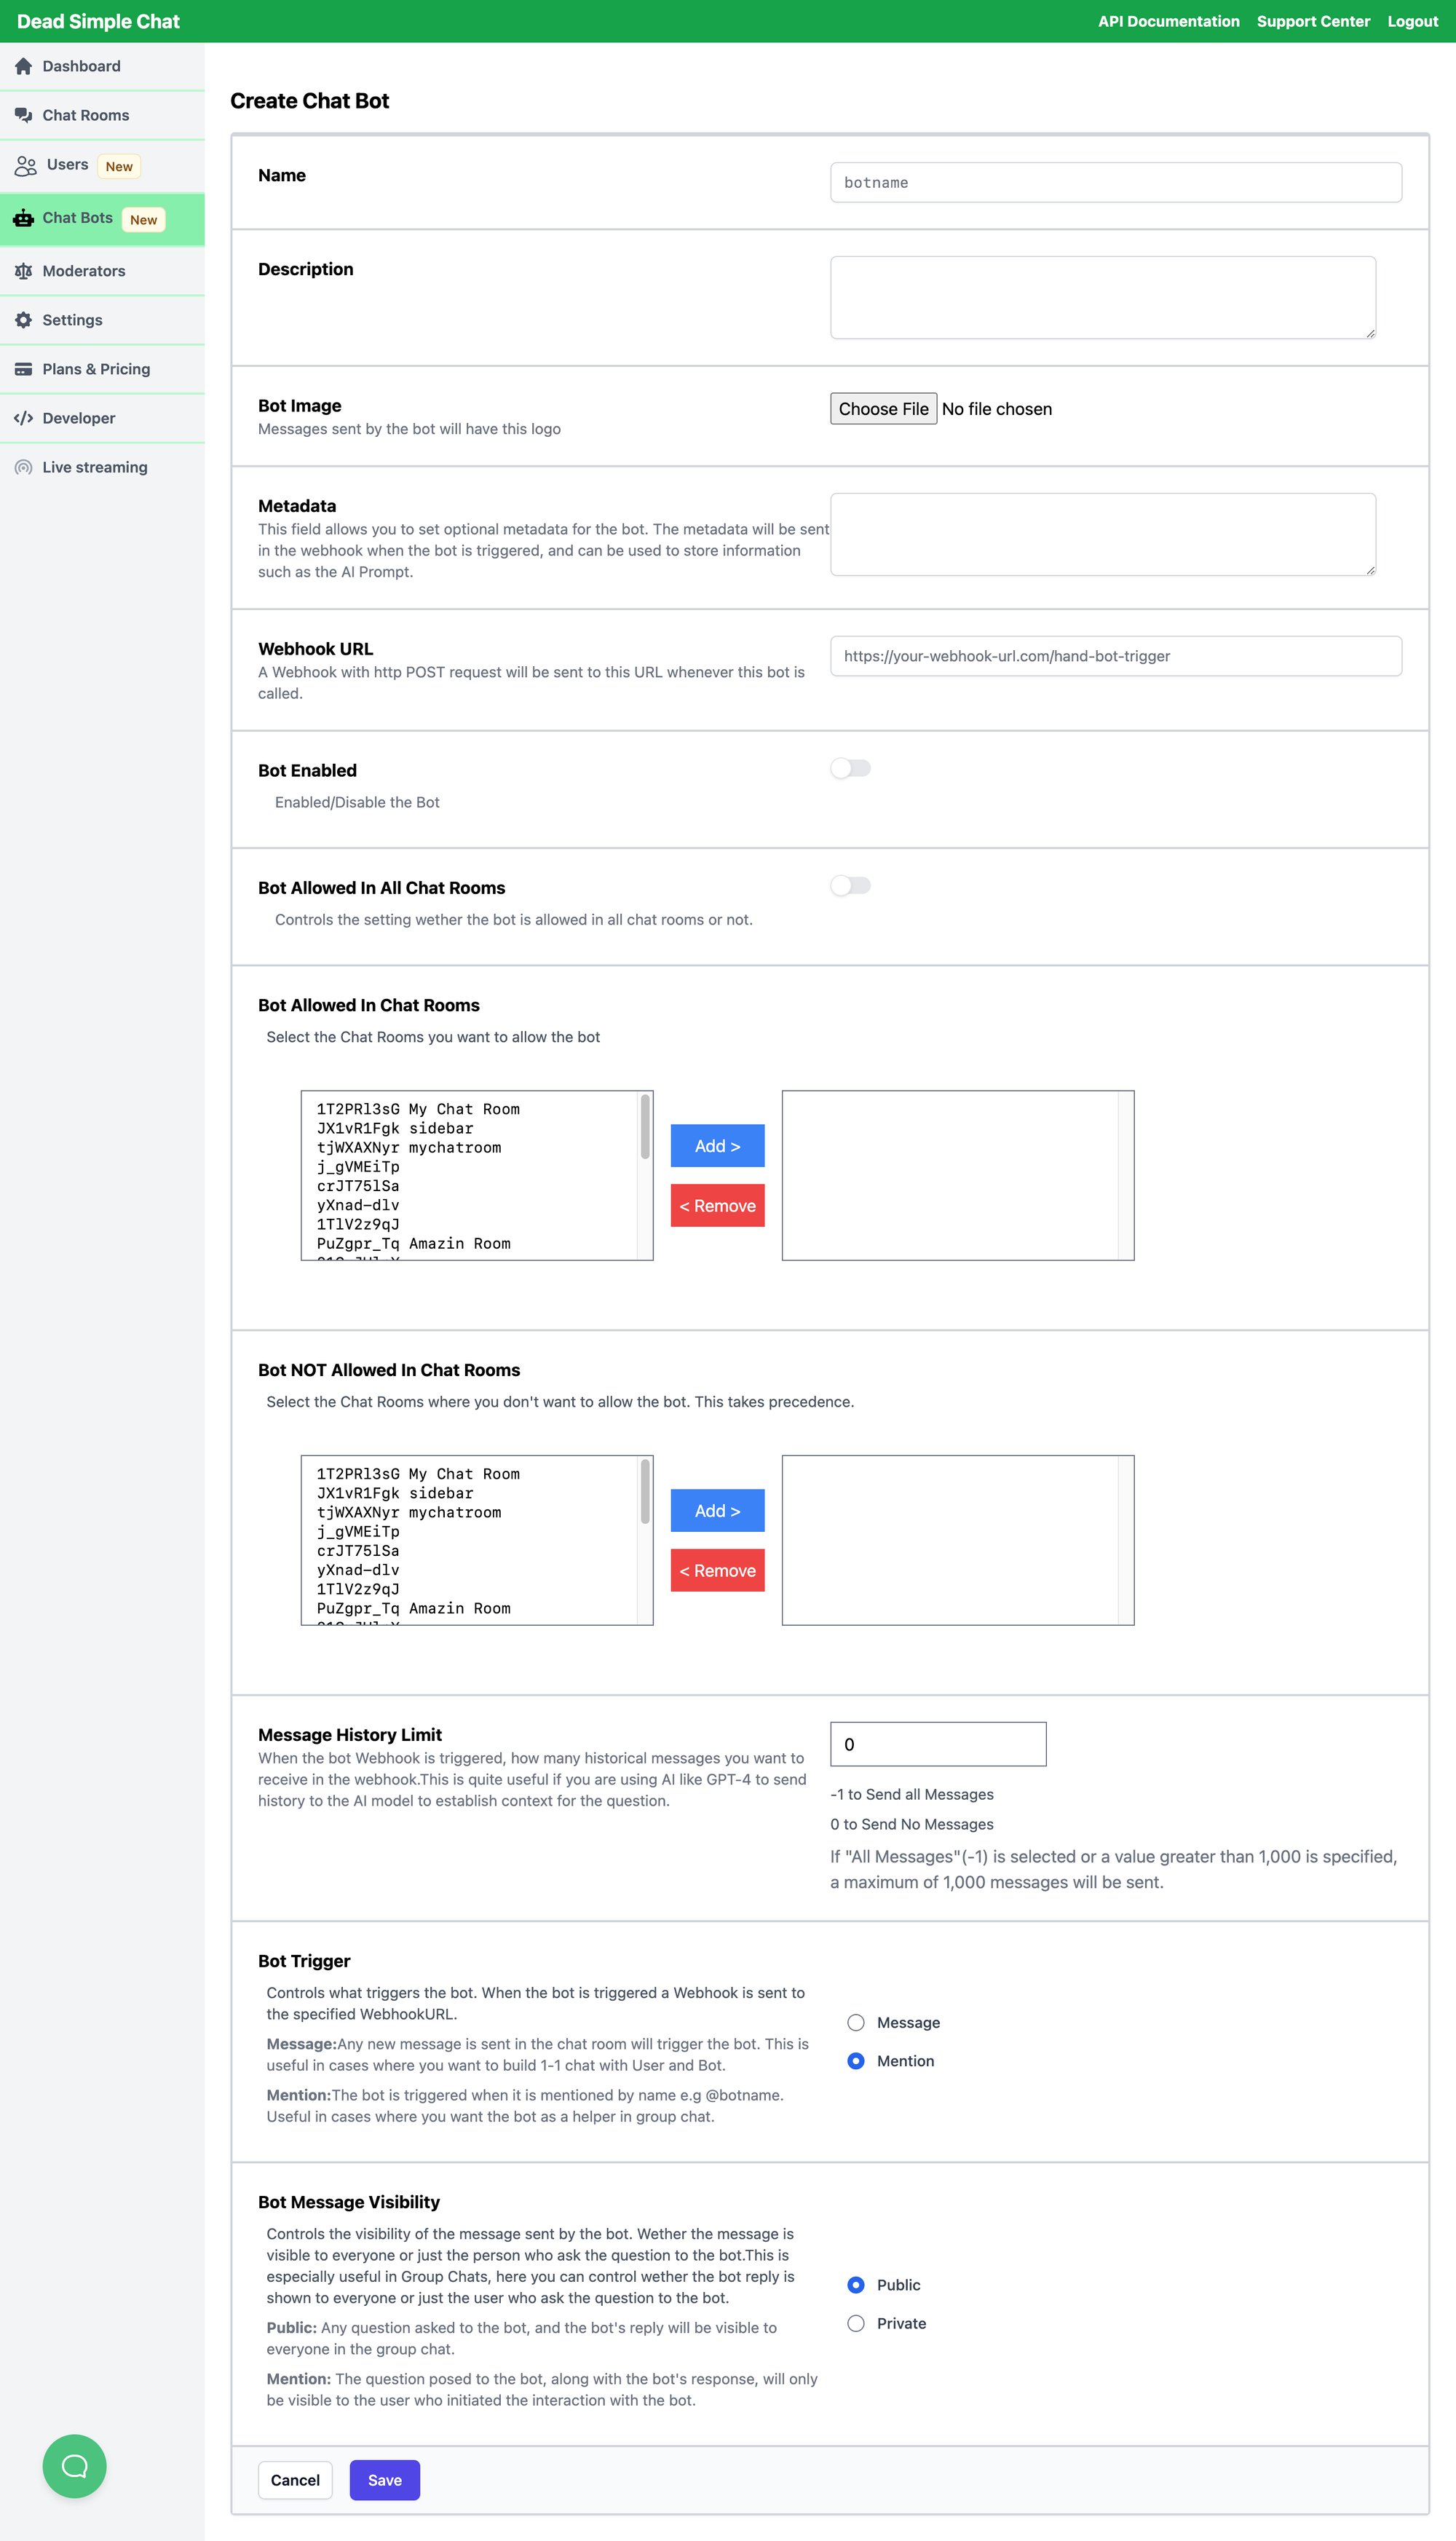
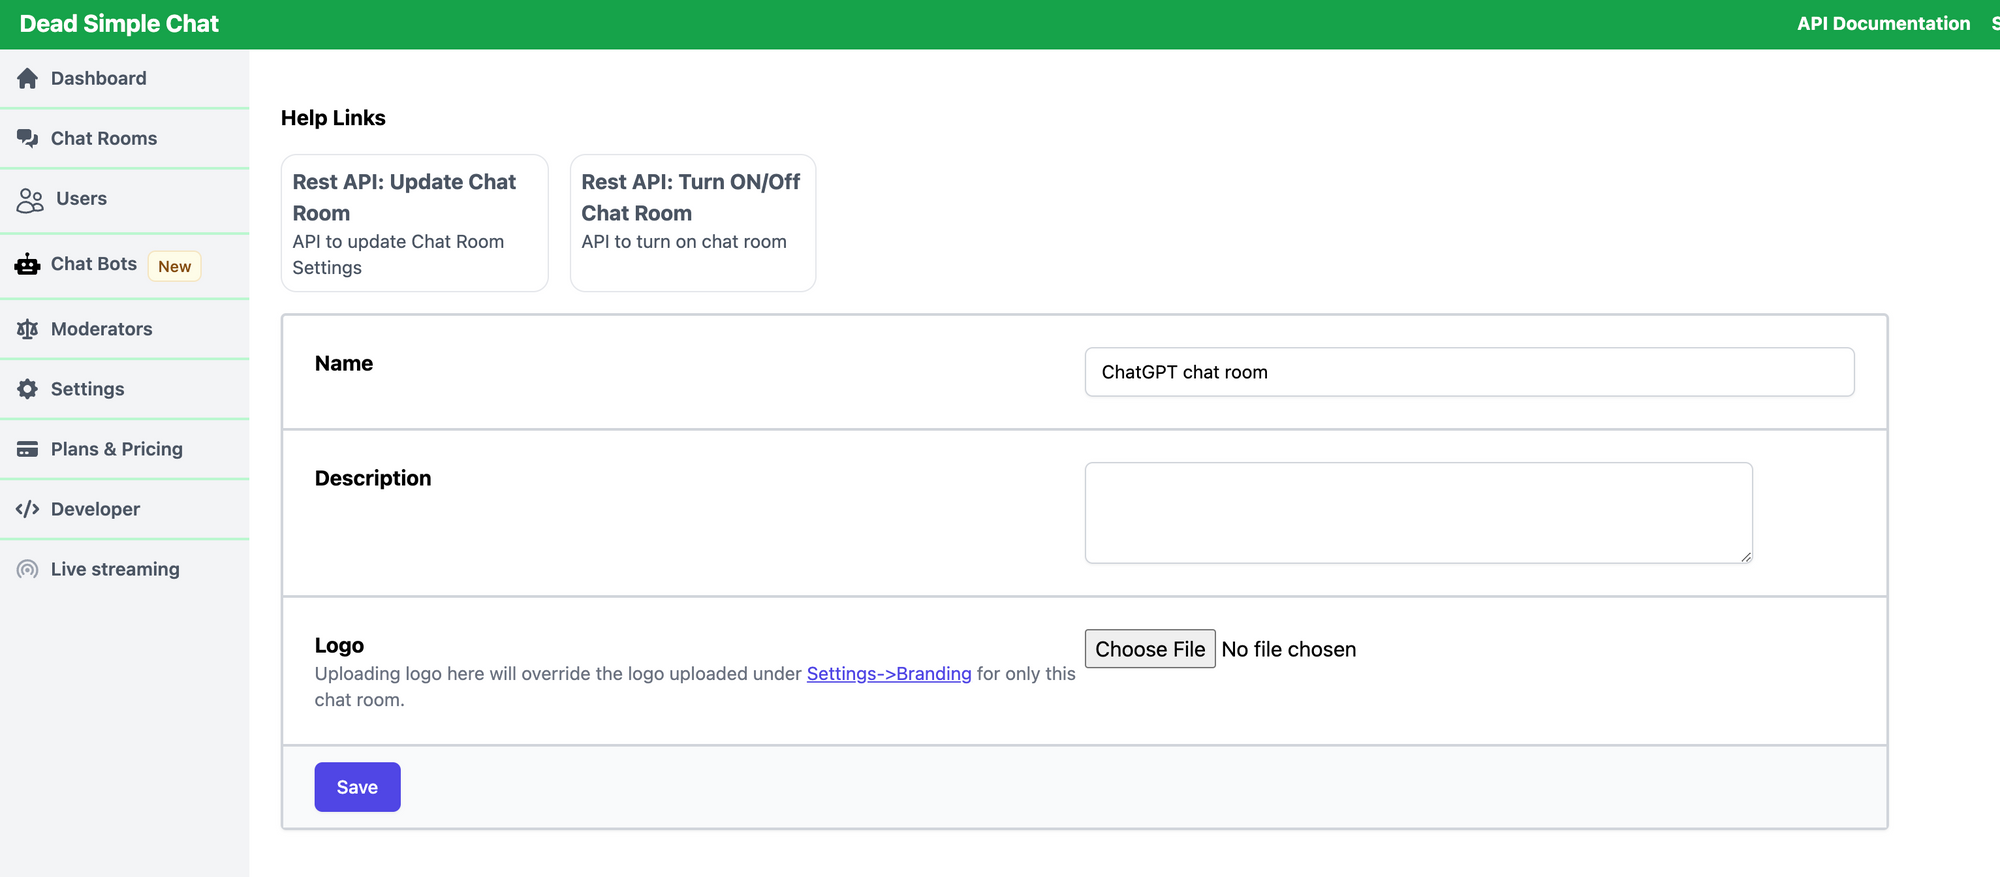
Here fill out the form to create a chat bot including name an description of the chat bot,
you can configure here
- Name: Name of your chatbot
- Description: An optional description that you can give to your chatbot
- Bot Image: The image of the bot that will be shown in the chat room
- Metadata: You can use the meta data to send the AI prompt along with any other information that you want to sent to the ChatGPT API
- Webhook URL: A web hook with http POST request will be sent to the URL whenever the bit is called
- Bot Enabled: You want the bot to be enabled or not
- Bot Allowed in all chat rooms: You want the bot in all the chat rooms or specific chatrooms only
- Bot allowed in chat rooms: Which of the chat rooms the bot is allowed in
- Bot NOT allowed in chat rooms: Which of the chat rooms the bot is not allowed in
- Message history limit: When the bot Webhooks is triggered, how many historical messages you want to receive in the webhook. This is quite useful if you are using AI like GPT-4 to send history to the AI model to establish context for the question.
- Bot trigger: Controls what triggers the bot. When the bot is triggered a Webhook is sent to the specified WebhookURL.
- Message:Any new message is sent in the chat room will trigger the bot. This is useful in cases where you want to build 1-1 chat with User and Bot.
- Mention:The bot is triggered when it is mentioned by name e.g @botname. Useful in cases where you want the bot as a helper in group chat.
- Bot Message visibility: Controls the visibility of the message sent by the bot. Wether the message is visible to everyone or just the person who ask the question to the bot.This is especially useful in Group Chats, here you can control wether the bot reply is shown to everyone or just the user who ask the question to the bot.
- Public: Any question asked to the bot, and the bot's reply will be visible to everyone in the group chat.
- Private: The question posed to the bot, along with the bot's response, will only be visible to the user who initiated the interaction with the bot.
Configuring a ChatGPT bot in DeadSimpleChat
Endpoint:
- Base URL:
https://api/openai.com/v1/chat/completions - this is the endpoint for sending the prompt messages to the chatgpt model and recieving back the responses
Basic Parameters
model:
- Specifies the ChatGPT model to use from gpt 3.5 turbo or the gpt-4
2. messages
- An array of messages that represents the conversation
- Each message has a role (systeom user or assistant) and it also has a content that is the actual text of the message
- For a question and answer flow, you can send one user message at a time and then get the reply back. And for more context aware conversations , you can include some previous conversations of both the user messages and replies and also include a system level instruction
3. temprature
- A value of
0and2is the temperature that controls the degree of randomness in the output - Higher values that are closer to
2will result in more creative and random responses, while lower values that are closer to0will result in more deterministic or predictable results. - here is an example request body
{
  "model": "gpt-3.5-turbo",
  "messages": [
    {"role": "user", "content": "Hello, how can I integrate ChatGPT with DeadSimpleChat?"}
  ],
  "temperature": 0.7
}
Webhook Processing
How DeadSimpleChat sends data to your webhook
- Trigger: your bot is triggered in DeadSimpleChat, you can trigger it by mention, new message or an action press button
- Webhook POST: DeadSimpleChat will send a
POSTrequest to the Webhook URL that you have configured - Request Body: The request includes JSON playload
- User Info
- Chat Room Info
- Bot Info
- Message
- triggeredBy
- messageHistory
Sample JSON Payload
{
  "user": {
    "_id": "648e211a81cea20bd8b1581d",
    "username": "admin"
  },
  "chatRoom": {
    "_id": "653f9e50ed0f012c972936fa",
    "roomId": "apQRt7tRn",
    "name": "chat Room chatgpt test"
  },
  "messageHistory": [],
  "bot": {
    "_id": "653ee8f7ed0f012c972936cc",
    "name": "dadbot2",
    "metadata": "I am a super dad bot",
    "description": "Replies with a Dad Joke"
  },
  "message": {
    "_id": "653f9fa2ed0f012c97293724",
    "message": "tell me a joke @dadbot2"
  },
  "triggeredBy": "mention"
}
3. Bot Response Logic
Recieving the User's message
- Parse Incoming JSON: Extract relevant fields like message text and chat roomId and botId etc
- Construct a Chat GPT prompt
- you can transform the user's message into a chat gpt prompt
- You need a more context based conversation then you have the option of sending an array of messages that includes historical user and bot interactions. You can do this in the UI based section
Message history limit
Calling the ChatGPT API
Create the request
- Authorization: add the your Open AI API key in the
Authorization: Bearer <YOUR_API_KEY>header - Content-tyoe:
application/jsonfor the request body
2. Streaming Responses or Single Response
- Streaming: You can request the streaming responses by setting
stream:trueand get the partial replies in real time. These are typically more complex to handle but can provide immidiate user gratification - Single Response: Make a request and get the entire output once. Easy to implement but users have to wait for all the answers to come.
3. Extract the response
- The API will return a
choicesarray, this array will have amessageobject withcontentandrole - You can further format it before sending it to DeadSimpleChat
Example Response
{
  "id": "chatcmpl-...",
  "object": "chat.completion",
  "created": 1234567890,
  "model": "gpt-3.5-turbo",
  "choices": [
    {
      "message": {
        "role": "assistant",
        "content": "Sure! Here's how you can integrate ChatGPT with DeadSimpleChat..."
      }
    }
  ],
  "usage": {
    "prompt_tokens": 10,
    "completion_tokens": 30,
    "total_tokens": 40
  }
}
Formatting the text or media for the user
- text based response: you can grab the content from
choices[0].message.content - Media/Images: When using advanced AI features or combining the ChatGPT with other AI services, you can generate the image URLs or attachments and include them in your responses
- Buttons/Actions: Deadsimplechat also supports action buttons. If you the users to click on a button then you can also program the API to be called when the button is pressed
Sending a message back to DeadSimpleChat
Using the DeadSimpleChat Bot API
- Endpoint
POST https://api.deadsimplechat.com/consumer/api/v2/bot/{BOT_ID}/chatroom/{ROOM_ID}/message?auth={SECRET_KEY}
- BOT_ID: This is the identifier for the bot example :
234uhjkgheut9495jf - Room_ID: the chat room Id where you want the message to appear
- Secret_Key: A key that you get from the DeadSimpleChat developer portal
2. Request body:
{
  "message": "The response form the AI chat bot is"
}
- You can include attachments or action buttons if needed
- You can add an action button like for example
{
  "message": "Your AI response here",
  "buttons": [
    {
      "text": "Click Me",
      "value": "some_value"
    }
  ]
}
- When the user clicks on the action button the DeadSimpleChat triggers another webhook with an
actionbuttonpressedevent.
Ensuring that the secret_key is secure
- Environment variables: Store the
SECRET_KEYin env variables rather than hardcoding them in your code - Server Side only: Do not expose the keys on the front end side or in publicly accesible configuration files
- Access Controls: Limit who can view or modify the environment varibale if you are part of a large team of developers
Overview of the process
- DeadSimpleChat trigger
- A user sends the message to the bot
2. Webhook send to your backend
DeadSimpleChat sends the users message along with the context to the https://YOUR_BACKEND_URL/bot/webhook.
3. Processing at your backend
Here you extract the user's message and send it to chat gpt api including the context that was recieved from the user. Call the API and wait for the response
4. Sending response back to DeadSimpleChat
Once you get the response from the ChatGPT you send it back to DeadSimpleChat
5. User sees AI response
Lastly the DeadSimpleChat shows the response to the user.
Sample Backend with ChatGPT and AWS Serverless
Here what we are going to do in this tutorial
- Receive a DeadSimpleChat webhook when the bot is triggered
- Process the user's message and forward it ti ChatGPT
- Send the generated AI text back to the DeadSimpleCHat via the BOT API
Overview of the Architecture
- AWS API Gateway: This exposes a public HTTPS endpoint for example:
https://xyz.execute-api.us-east-1.amazonaws.com/dev/chatbot/webhook - AWS Lambda: Hanels the incoming POST request from DeadSimpleChat and calls the CHATGPT API and returns the response.
- DeadSimpleChat:
When the bot is triggered by mention, sending a message or button click, it sends a POST request to the API gateway endpoint
The Lambada function process processes it and sends the reply back to the chat room using hte DeadSimpleChat Bot API
Serverless framework Setup
You will need the serverless framework isntalled globally here
npm install -g serverless
Then you create a new project
serverless create --template aws-nodejs --path dsc-chatgpt-bot
This code will generate a basic folder structure with serverless.yml and a handler.js file
Example serverless.yml
Here is a minial serverless.yml file that has
- An aws region and runtime
- A single function (`chatBotWebhook`) that is mapped to an POST endpoint
chatbot.webhoook
service: dsc-chatgpt-bot

provider:
  name: aws
  runtime: nodejs18.x
  region: us-east-1
  stage: dev
  environment:
    # These environment variables store your secrets securely.
    OPENAI_API_KEY: ${env:OPENAI_API_KEY}
    DSC_SECRET_KEY: ${env:DSC_SECRET_KEY}

functions:
  chatBotWebhook:
    handler: handler.bot
    events:
      - http:
          path: chatbot/webhook
          method: post
          cors: true
The environment variables will be injected at runtime. If you do not want to use the environment variable for any reason you can hard code the keys as well.
Lambda Handler Code
Here we are creating the handler.js file with the following code
// handler.js
const fetch = require('node-fetch'); // or "cross-fetch"

module.exports.bot = async (event, context) => {
  try {
    // 1. Parsing the incoming req that is coming from DeadSimpleChat
    const body = JSON.parse(event.body);

    // 2. Extracting the necessary information (chatRoom ID, bot ID, user message)
    const userMessage = body.message?.message || ""; // The text that triggered the bot
    const roomId = body.chatRoom?.roomId;
    const botId = body.bot?._id;

    // 3. Building the request for the OpenAI ChatGPT API
    const openaiResponse = await fetch("https://api.openai.com/v1/chat/completions", {
      method: "POST",
      headers: {
        "Content-Type": "application/json",
        "Authorization": `Bearer ${process.env.OPENAI_API_KEY}`
      },
      body: JSON.stringify({
        model: "gpt-3.5-turbo",
        messages: [
          { role: "user", content: userMessage }
        ],
        temperature: 0.7 // Adjust for more or less creativity
      })
    });

    const openaiData = await openaiResponse.json();

    // Handling potential error that might happen from ChatGPT
    if (openaiData.error) {
      console.error("OpenAI Error:", openaiData.error);
      throw new Error(openaiData.error.message);
    }

    // Extracting the AI-generated reply
    const aiReply = openaiData.choices?.[0]?.message?.content || "I'm sorry, I had trouble understanding that.";

    // 4. Send the bot response back to DeadSimpleChat
    // here is  the Bot API URL
    const dscUrl = `https://api.deadsimplechat.com/consumer/api/v2/bot/${botId}/chatroom/${roomId}/message?auth=${process.env.DSC_SECRET_KEY}`;

    const dscResponse = await fetch(dscUrl, {
      method: "POST",
      headers: {
        "Content-Type": "application/json"
      },
      body: JSON.stringify({ message: aiReply })
    });

    const dscData = await dscResponse.json();

    //  log the response from DeadSimpleChat here
    console.log("DeadSimpleChat Response:", dscData);

    // 5. Return a success status to DeadSimpleChat
    return {
      statusCode: 200,
      body: JSON.stringify({
        success: true,
        message: "Message was sent to DeadSimpleChat successfully."
      })
    };

  } catch (error) {
    console.error("Error happened in Lambda:", error);

    // Return an error response here
    return {
      statusCode: 500,
      body: JSON.stringify({
        success: false,
        error: error.message
      })
    };
  }
};
Explanation of Key steps
- Parsing the webhook
- The
event.bodycontains the JSON payload that comes form DeadSimpleChat. Here we convert that payload into JavaScript Object in order to extract the user's message, the chatroom ID and the Bit ID
2. ChatGPT API Ca;;
- We send the request to
https://api.openai.com/v1/chat/completionsendpoint with our OpenAI Key - Pass the
model,messageand the optional parameteres liketemprature - We steore the response in
openaiData
3. Creating the Bot reply
We extract the text that the ChatGPT model created from choices[0].message.content that we get back from the chatgpt API response
4. Posting back to DeadSimpleChat
- We send a POST request to the DeadSimpleChat Bot API endpoint, including the
DeadSimpleChat SECRET_KEYin the query string - In the
req.bodyinclude the AI reply that you just got back from the chatGPT under the message field
5. Return the Response
- DeadSimpleChat expects a JSON response, that is
{success: true}if everything is well - If there is an error, we log it and return the 500 error codfe
Deploying to AWS
- Setting env cariables
- In your local
.envfile you can specify
export OPENAI_API_KEY=sk-123yourKey
export DSC_SECRET_KEY=abc123DeadSimpleChatKey
These will be put in your lambda function by the serverless at the deploy time.
2. Deploy the Serverless
cd dsc-chatgpt-bot
serverless deploy
3. Check Output
- After the deployment, the API gateway endpoint in the terminal
- It should look like
https://<unique-id>.execute-api.us-east-1.amazonaws.com/dev/chatbot/webhook
Configuring DeadSImpleChat
- Create the Bot
- The DeadSimpleChat dashboard, you can go to Chat bot then create a new bot
2. Set webhook url
- In the bot settings, you can set the Webhook URL to your deployed API gateway endpoint
https://<unique-id>.execute-api.us-east-1.amazonaws.com/dev/chatbot/webhook
3. Save the bot configuration.
Testing the Setup
- Open the chat room where the bot is deployed
- Trigger the bot by sending a message in the chat room
- Observe the Lambda logs in the AWS console to get the real time debugging information
- Check response in the DeadSimpleChat chat room from the bot that was generated by the ChatGPT API
Additional considerations
- Error handling: Make sure you handle the timeouts gracefully
- Rate limits: ChatGPT has rate limits, be sure to handle that
- Security
- Never expose the ChatGPT or DeadSimpleChat keys on the front end
- Ensure that the Lambda roles permissions are kept minimal
- Action Buttons: If you want more interactive elements in your chat room. You can include the
buttonsin the response body to the DeadSimpleChat. This will send another webhook to a URL that you specify, when the user clicks on the button.
This is it. I hope you liked the article.
Ready to Add Chat to Your Website?
Get started for free. No credit card required.
Start a Free Trial
![Webinar Chat: The Complete Guide to Engaging Your Audience [2026]](/blog/content/images/size/w600/2026/02/article-hero-webinar-chat.svg)
