
Dead Simple Chat offers prebuilt Chat that can be added in minutes to any app or website. Can be completely customized and offers powerful API and SDK.
In this article we will building an angular chat application with Socket.io and Node Js
We will be building a basic chat application using Node Js and Socket.io in the back-end and Angular in the front end.
The code for this app is free and open-source and can be downloaded from Github. Link at the bottom of the article.
Prerequisites and Application Stack
We will be using the following technologies
- Angular
- Socket.io
- Node Js
- HTML
- CSS
That's it. Now let us look at the how the finished application will look like
How the Application will look like
Building the Backend
Let's start building the backend first.
We will be creating a 2 new projects with Node Js one for socket.io and another for angular
We need the Node Js installed. Now create a new folder with the name
mkdir nodejs-socket-server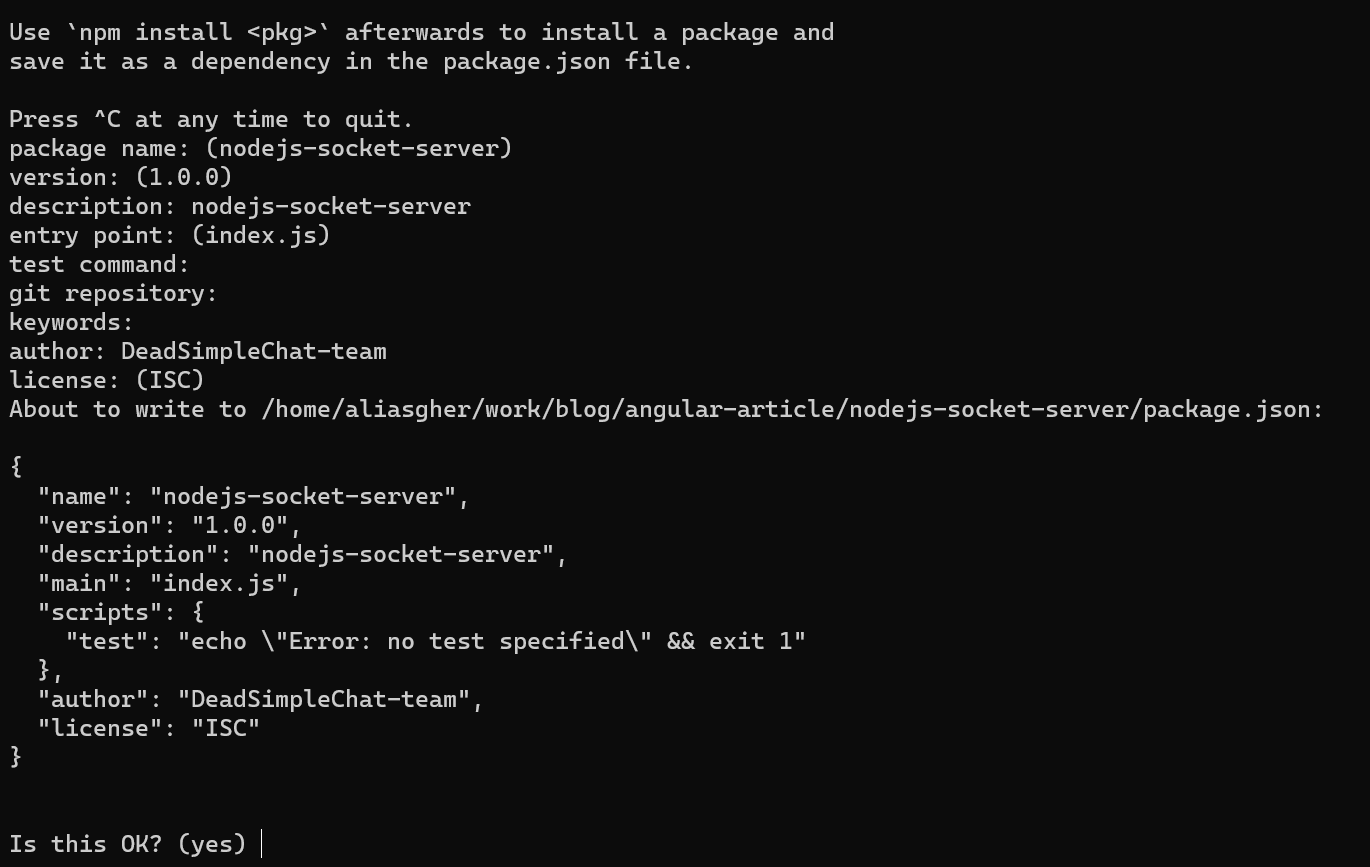
cd nodejs-socket-servernow type npm init to initilize the project and press enter to the questions asked.
This will generate a package.json file. Let us now install express js server. In the terminal type
npm install express --saveOpen the index.js file and type the following code:
const express = require('express');
const app = express();
const http = require('http');
const server = http.createServer(app);

app.get('/', (req, res) => {
  res.send('<h1>Hello world</h1>');
});

server.listen(3000, () => {
  console.log('listening on *:3000');
});Your package.json should look something like this:
{
  "name": "nodejs-socket-server",
  "version": "1.0.0",
  "description": "nodejs-socket-server",
  "main": "index.js",
  "scripts": {
    "test": "echo \"Error: no test specified\" && exit 1"
  },
  "author": "DeadSimpleChat-team",
  "license": "ISC",
  "dependencies": {
    "express": "^4.18.1"
  }
}
now type the command
node index.jsThis will start the server and when you go to http://localhost:3000/ you will see the webpage
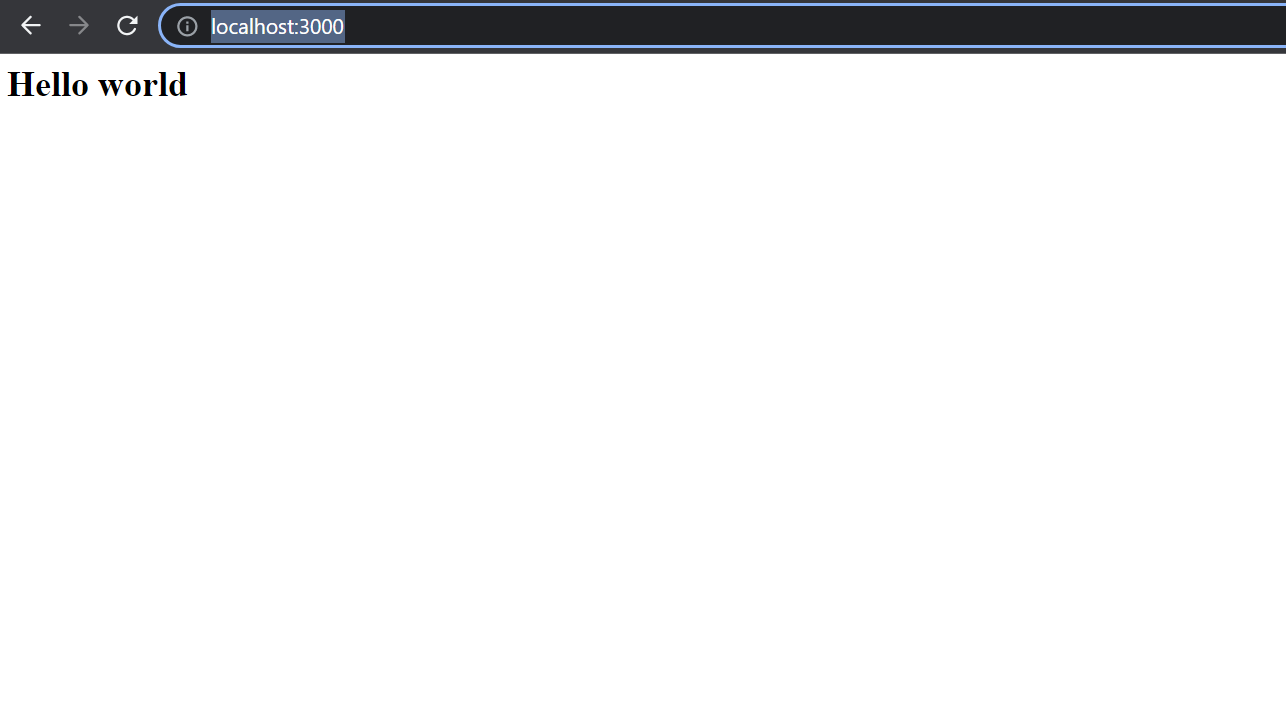
Now we have successfully started the Node Js server and rendered hello world with it.
Now let us install socket.io. type
npm install socket.io --saveto install socket.io. Your package.json should look something like:
{
  "name": "nodejs-socket-server",
  "version": "1.0.0",
  "description": "nodejs-socket-server",
  "main": "index.js",
  "scripts": {
    "test": "echo \"Error: no test specified\" && exit 1"
  },
  "author": "DeadSimpleChat-team",
  "license": "ISC",
  "dependencies": {
    "express": "^4.18.1",
    "socket.io": "^4.5.1"
  }
}
Now, update your index.js code with the following
const express = require('express');
const app = express();
const http = require('http');
const server = http.createServer(app);
const { Server } = require("socket.io");
const io = new Server(server);

app.get('/', (req, res) => {
  res.send("Hello World");
});

io.on('connection', (socket) => {
  console.log('a user connected');
});

server.listen(3000, () => {
  console.log('listening on *:3000');
});What are we doing here:
The socket.io is comprised of two parts
- Server side: Socket.io integrates with NodeJS server
- Client Side: Client library that integrates into our Angular App
We are initializing a new instance of socket.io and we are passing it the HTTP server object.
Then we are listening on the connection event for incoming sockets and logging it to the console.
Using this process is going to give us CORS error when we send request through the Angular app. We can easily fix that by adding the code below.
Edit the
const io = new Server(server)to
const io = new Server(server, {
  cors: {
    origin: "*",
    methods: ["GET", "POST"]
  }
});
The socket.io also fires a disconnect event and we can listen to that with the code below:
io.on('connection', (socket) => {
  console.log('a user connected');
  socket.on('disconnect', () => {
    console.log('user disconnected');
  });
});
Emitting events
With socket.io you can send and receive events and data that you want.
Let us make it so that when the server receives the data with an event called as the message it emits to everyone connected to the chat including the person who sent the message.
To make this possible edit the above code to look like this:
io.on('connection', (socket)=>{
    console.log('a user connected');
    socket.on('message',(msg)=>{
        console.log('message : ' + msg);
        io.emit('message', msg);
    })


    socket.on('disconnect',()=>{
    console.log('user disconnected')
    })
})
Server built
The finished code looks like this:
const express = require('express');
const app = express();
const http = require('http');
const { disconnect } = require('process');
const server = http.createServer(app);
const {Server} = require("socket.io");


const io = new Server(server, {
  cors: {
    origin: "*",
    methods: ["GET", "POST"]
  }
});


app.get('/', (req, res) => {
  console.log("hello world")
  res.send("hello world")
  });


io.on('connection', (socket)=>{
    console.log('a user connected');
    socket.on('message',(msg)=>{
        console.log('message : ' + msg);
        io.emit('message', msg);
    })


    socket.on('disconnect',()=>{
    console.log('user disconnected')
    })
})

server.listen(3000, () => {
  console.log('listening on *:3000');
});The complete code for the app can be found on Github.

Building the Angular App
Now let us create an angular application from scratch. To create an angular application you need to have angular and NodeJs installed
npm install -g @angular/cliType the above command to install angular cli. Then create a new app and name it angular-chat-application like this
ng new angular-chat-applicationIt will ask you a few questions
- Would you like to add Angular routing: Select No, we don't need that for this tutorial
2. Which stylesheet format would you like to use: Select CSS
This will install the app. now cd into the application and the app would look some thing like this:
start the application by running the below command
cd angular-chat-application
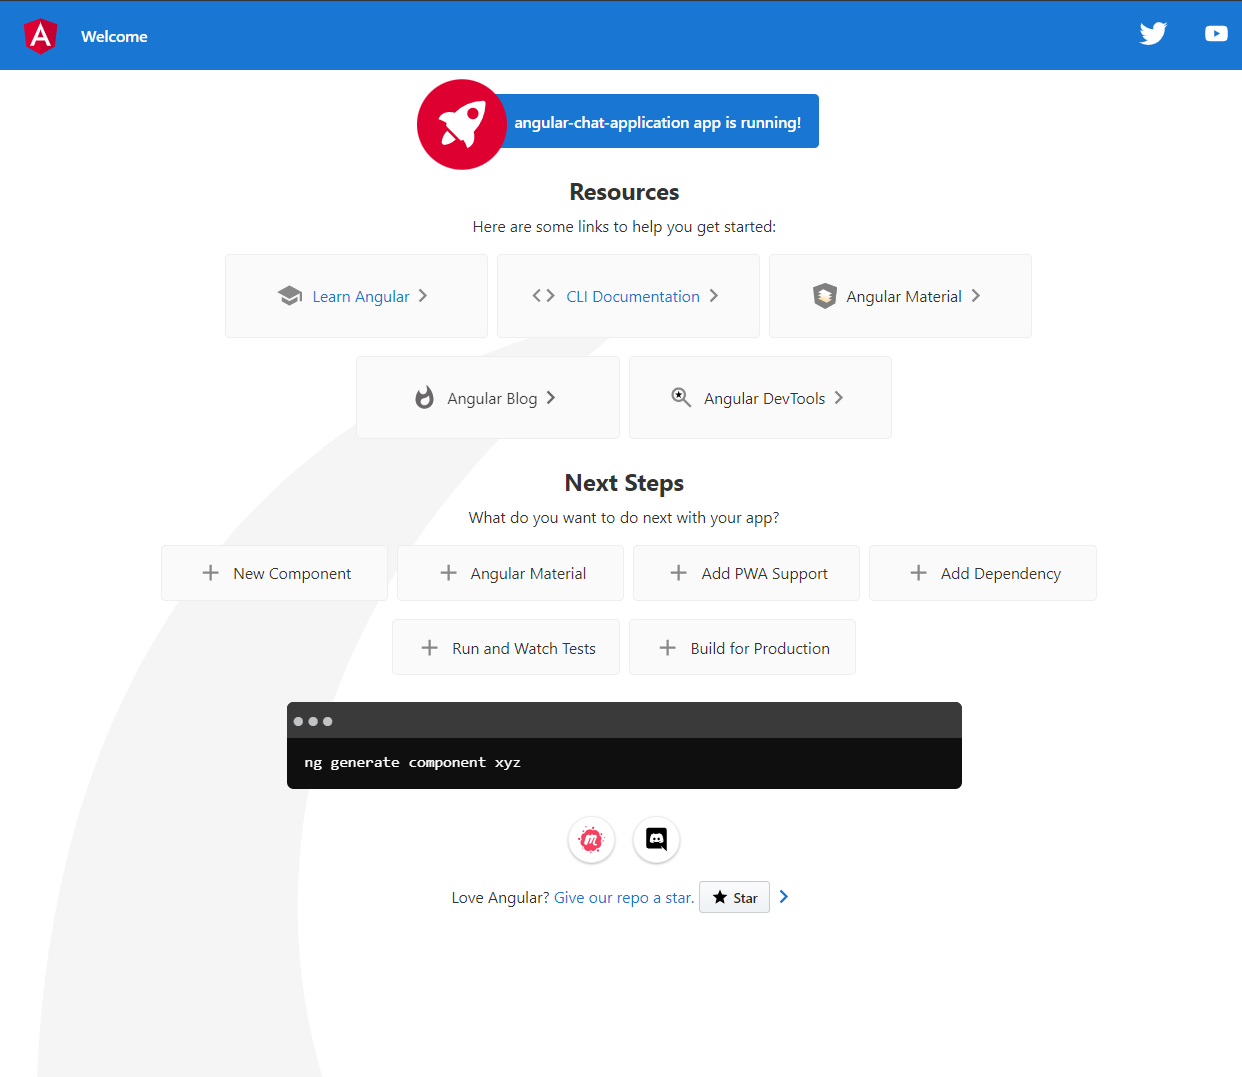
ng serve --openNow go to the localhost:4200 where our angular app is running and you can see the landing page
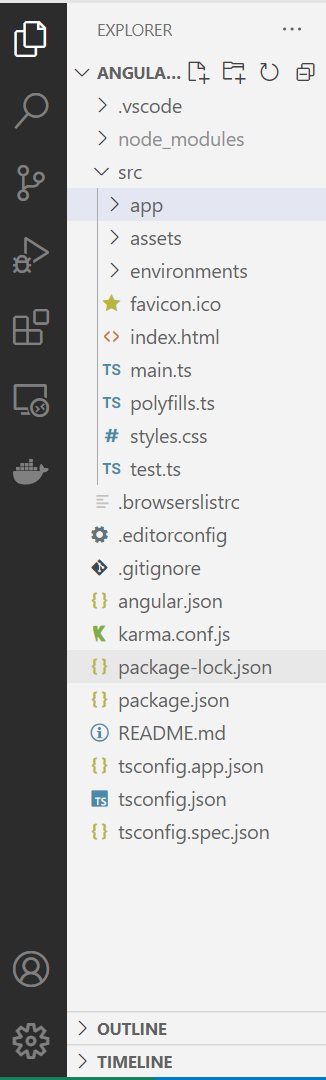
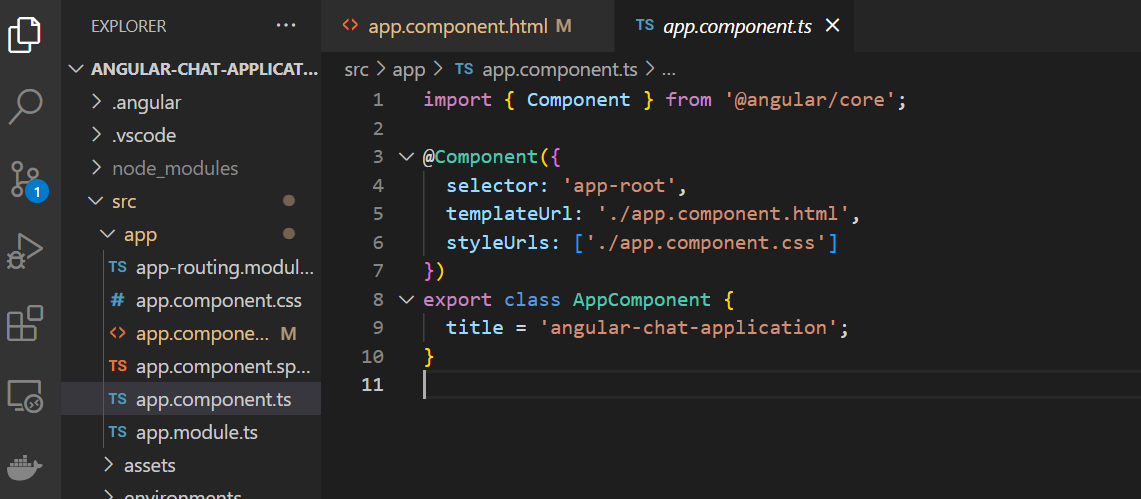
open the code in your text editor. We are using VS Code but you can use whatever text editor you prefer
Here go to
src -> app -> app.component.htmlthere delete all the code that you see there and save you can see the blank page in your angular application.
Now create a file called chat-message.ts and write the below code there
export class ChatMessage {

    constructor(
   public msg: string
    ) {  }

}In this class we have a property msg. Here we can create multiple properties that can signify the ChatMessage Object like id, timestamp and other properties which we might be interested in.
For this tutorial however we would like to keep it simple and just have one msg property that will be signify the chat message.
Now create a new folder inside the app folder and name it chat-app
Here create 3 files
chat-app.component.html
chat-app.component.css
chat-app.component.ts
In the
chat-app.component.tspaste the following code:
import { Component } from '@angular/core';
import { ChatMessage } from '../chat-message';

@Component({
  selector: 'app-chat-app',
  templateUrl: './chat-app.component.html',
  styleUrls: ['./chat-app.component.css']
})

export class ChatAppComponent {

  model = new ChatMessage("");

  messageList: string[] = [];

  sendMessage(): void {
  };

ngOnInit(): void {

}

  submitted = false;

  onSubmit() {

}
What are we doing here.
We have imported the component from the angular core
We have imported the ChatMessage Object that we created
then
we have initialized the model with a new ChatMessage
created a messageList array for the messages that we are going to receive. In the real app we can store the messages in a database as well. But that is out of scope of this article.
then we have created a sendMessage function which we will use to send messages to all the users
Now, we need a messages.service that we will use to send and receive messages to the Node Js Socket io server.
Creating a Service to send and receive messages
Go to your terminal and type the code:
ng generate service messagesThis code will generate the message service then paste the below code to the message.service.ts file
import { Injectable } from '@angular/core';
import { Socket } from 'ngx-socket-io';
import { Observable, Observer} from 'rxjs';

@Injectable({
  providedIn: 'root'
})
export class MessagesService {

  constructor(private socket: Socket) { }

  sendMessage(msg:string){
    console.log(msg)
    this.socket.emit('message', msg);
  }


  getMessage(){
  return  new Observable((observer: Observer<any>)=>{
      this.socket.on('message', (message:string)=>{
        observer.next(message)
      })
    })
  }

}
Here we are adding the Observable and Observer from the rxjs library and we have the sendMessage() function that is emitting the message event that we are listening to in our server with the msg data that is our chat message that we want to broadcast.
Our getMessage() function listens to the message.
One more thing we need to do is add the socket.io angular library to our angular application for front-end socket integration.
open the file app.module.ts and on the terminal type the following command:
npm install ngx-socket-io --saveThis will install the front-end socket io library that we need.
In the module.ts we also need to add the socket.io module and we also need to add the ChatAppComponent from the chat-app folder that we created.
We also need to point the socket.io to the socket.io server. since by default it point to the angular server we will need to change that
const config: SocketIoConfig = { url: 'http://localhost:3000', options: {} };We will also need to add BrowserModule and Forms Module for when we create the HTML for this app
Here is the final app.module.ts code.
import { NgModule } from '@angular/core';
import { BrowserModule } from '@angular/platform-browser';
import { FormsModule } from '@angular/forms';
import { AppComponent } from './app.component';
import { SocketIoModule, SocketIoConfig } from 'ngx-socket-io';
import { CommonModule } from '@angular/common';
import { ChatAppComponent } from './chat-app/chat-app.component';

const config: SocketIoConfig = { url: 'http://localhost:3000', options: {} };

@NgModule({
  declarations: [
    AppComponent,
    ChatAppComponent
  ],
  imports: [
    BrowserModule,
    SocketIoModule.forRoot(config),
    FormsModule,
    CommonModule,

  ],
  providers: [],
  bootstrap: [AppComponent]
})
export class AppModule { }
Let us update the chat-app.component.ts file to use the message service to get and receive the data from the server
go to chat-app.component.ts file and edit the code to make it look like:
import { Component } from '@angular/core';
import { MessagesService } from '../messages.service';
import { ChatMessage } from '../chat-message';
import { Observable, Subscription } from 'rxjs';

@Component({
  selector: 'app-chat-app',
  templateUrl: './chat-app.component.html',
  styleUrls: ['./chat-app.component.css']
})
export class ChatAppComponent {

  constructor(private messageService: MessagesService) {}

  model = new ChatMessage("");

  messageList: string[] = [];

  sendMessage(): void {
    console.log(this.model.msg)
    this.messageService.sendMessage(this.model.msg)
    this.model.msg = "";
  };

ngOnInit(): void {
  this.messageService.getMessage().subscribe((message:string)=> {
    this.messageList.push(message);
  })
}

  submitted = false;

  onSubmit() {
    this.sendMessage()
    this.submitted = true;

   }
}What are we doing here
We have updated the sendMessage() function to use the messageService to send a message and we are calling the sendMessage() function when the HTML form is submitted
We will be building the html form shortly
and on ngInit() we are listning to the messageService for any messages that are coming from the server and we are pushing the messages that have come from the server to the messageList array.
In the production application we can also push these messages to a database.
Now, let us develop the front-end of our application
First go to the style.css and paste the below code:
@import url('https://unpkg.com/bootstrap@5.2.0/dist/css/bootstrap.min.css');here we a adding bootstrap a front-end css library to beautify our html
Now,
go to chat-app.component.html and paste the below code:
<div class="form-group container">
    <ul id="listOfMessages">
        <li class="singleMessage" *ngFor="let message of messageList">
            {{message}}
        </li>
    </ul>

    <form (ngSubmit)="onSubmit()" action="">
        <div class="form-group mb-3 fixed-bottom">
            <input  class="form-control input" type="text" autocomplete="off" required
            [(ngModel)]="model.msg" name="msg"
            />
            <button type="submit" class="btn btn-outline-secondary button-css" >Send Message</button>
        </div>
    </form>
</div>What are we doing here. We have created a div and creating a ul list for our messages
We are using *ngFor to iterate the messages from out messageList array and show them as li on our webpage
then we are creating a form and on ngSubmit, we are calling the ngsubmit() function in our app.component.ts file
On out input method we have added ngModel to send our messages to the message. ts file
Now, let us go to the chat-app.component.css file and add some CSS to beatify our code
paste the below code to beautify the chat app
container {padding: 200px !important; font-family: -apple-system, BlinkMacSystemFont, "Segoe UI", Roboto, Helvetica, Arial, sans-serif; }
#listOfMessages { list-style-type: none; margin: 0; padding: 0; }
li:nth-child { padding: 0.5rem 1rem; }
li:nth-child(odd) { background: #efefef; }
Running the Application
Now we have built the application and we need to start the application. paste the selector code from the app.componenet.ts file to the app.ts file where you want the chat to appear
We have built the chat as a separate component so that it easily integrates into a existing app if you want to integrate as such
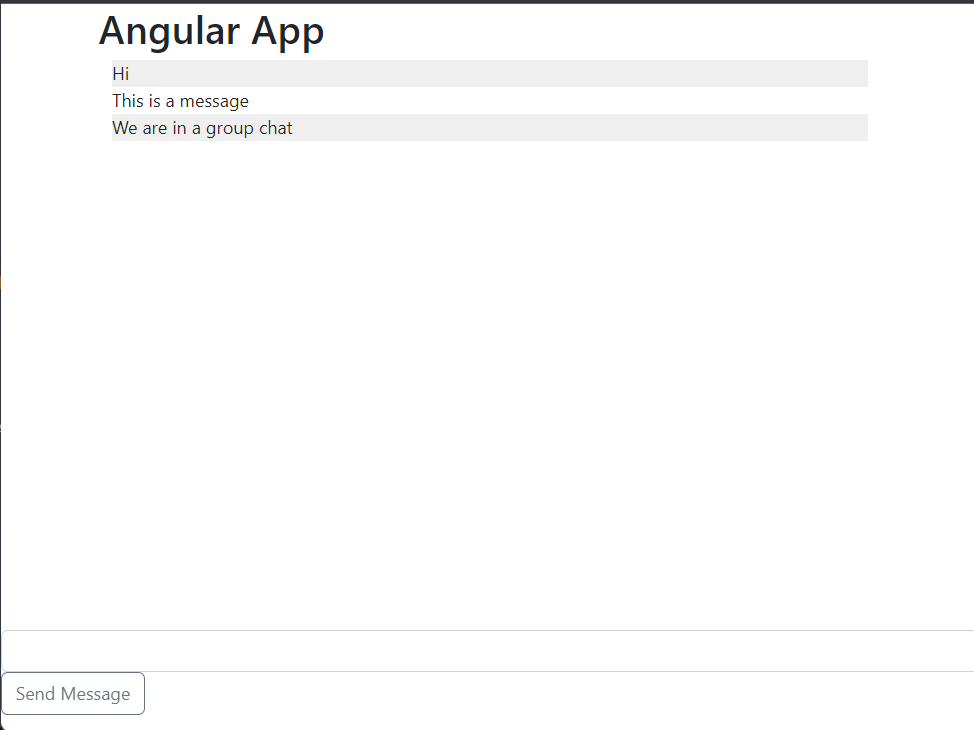
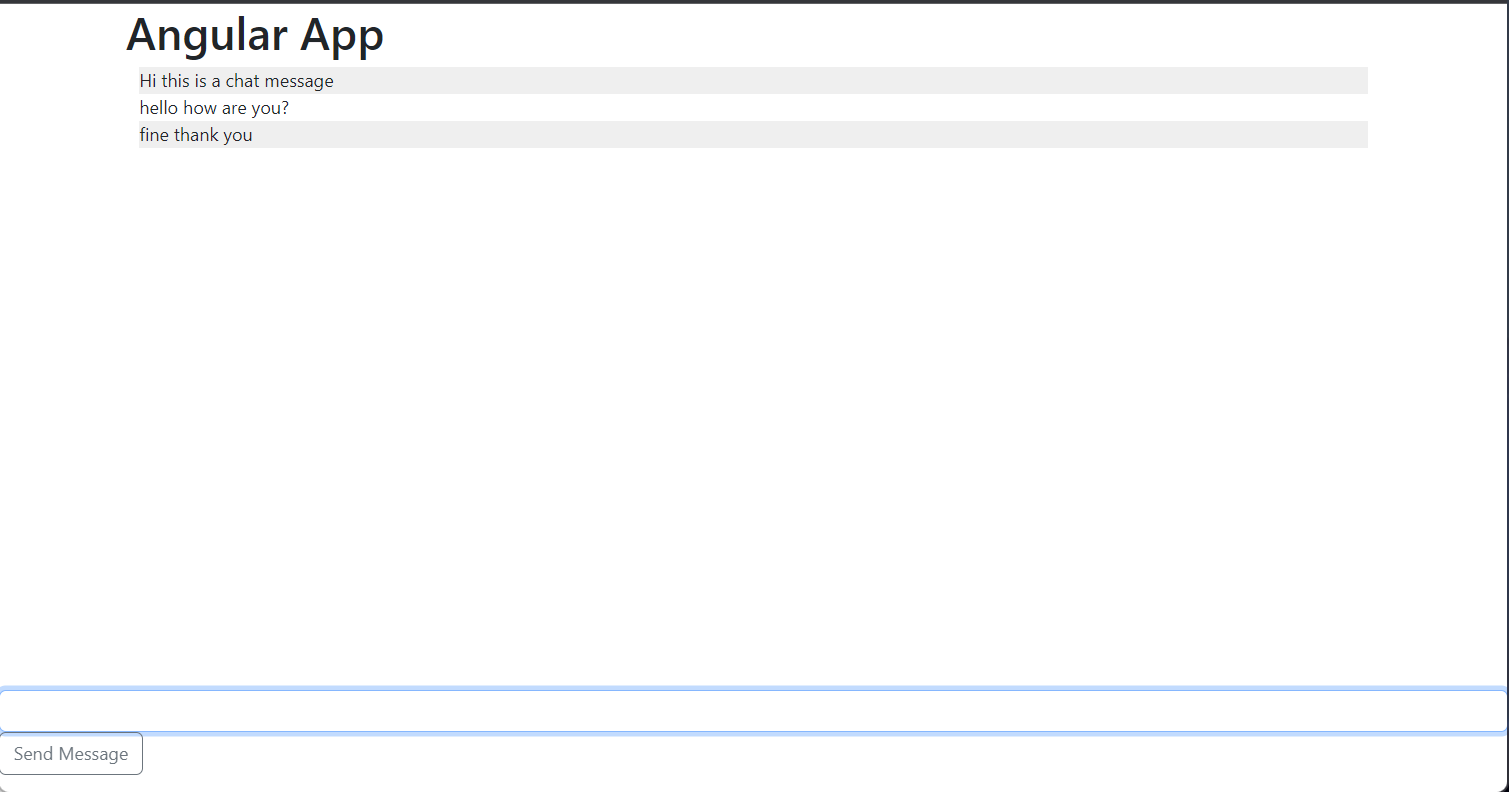
In the app.component.html create a h1 tag and type Angular app and paste the selecetor coed below it
It should look something like this :
<div class="container">
    <h1>Angular App</h1>

    <app-chat-app></app-chat-app>
</div>
Now you can see the chat is running.
Bonus
Building 1-1 Chat
It is quite easy to build 1-1 chat. The above chat that we created is a group chat application.
Where we are broadcasting the message to allt he users event to the person who sent the message
but in the 1-1 chat application we do not want to send the message to the person who is sending the message
Go to our nodejs application and go to the index.js page there go to this code
io.on('connection', (socket)=>{
    console.log('a user connected');
    socket.on('message',(msg)=>{
        console.log('message : ' + msg);
        io.emit('message', msg);
    })


    socket.on('disconnect',()=>{
    console.log('user disconnected')
    })
})
and change the io.emit to socket.broadcast.emit
this will broadcast the message to everyone except the sender of the message.
thus you have built the 1-1 messaging app
this looks something like this
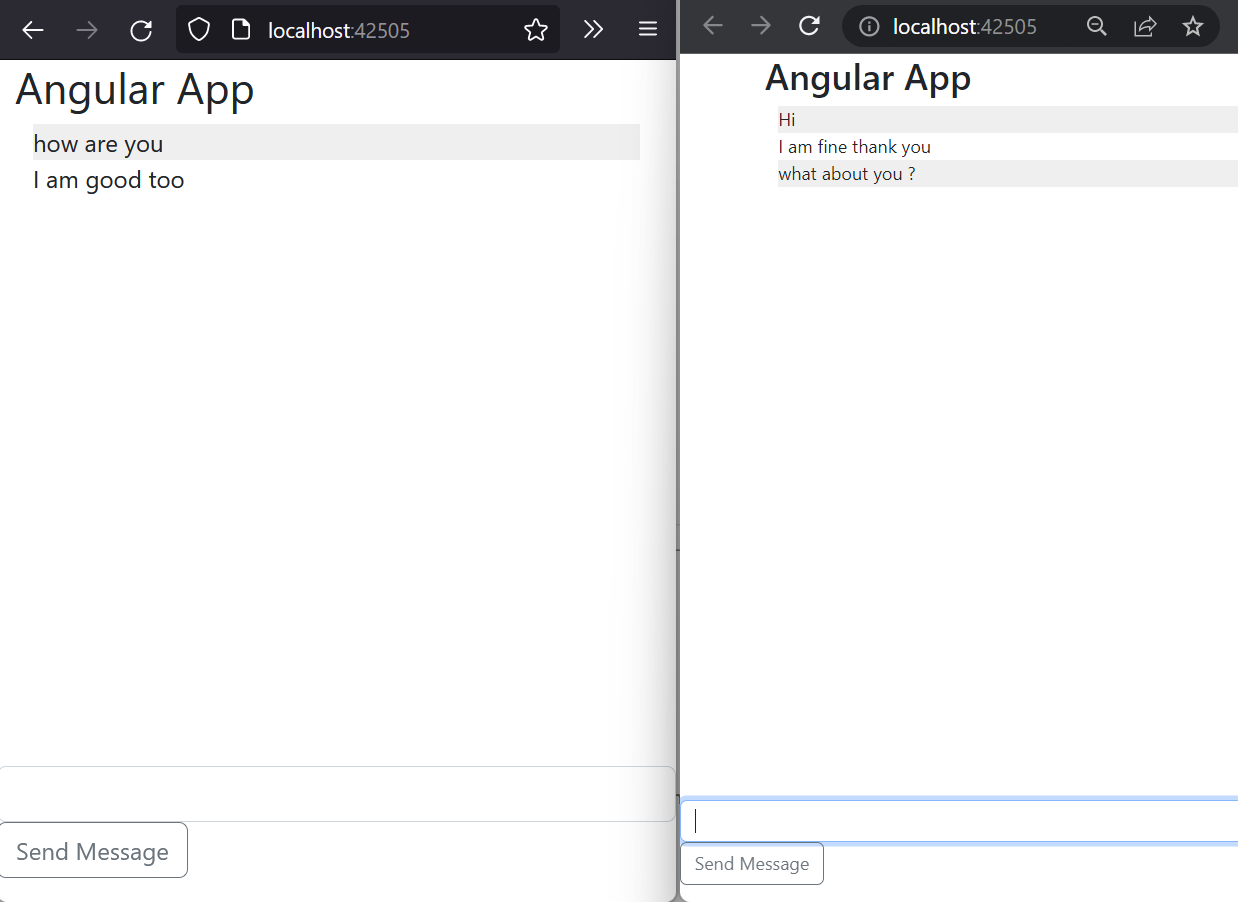
You can use some CSS to improve the app.
DeadSimpleChat
Code on GitHub
The code for this application is on GitHub
Conclusion
In this article we explained how to build a chat application using Angular, NodeJs and socketio.
An easier way to add chat to your angular application is by using DeadSImpleCHat
Add chat just by pasting a single line of code. If you want to learn more about how to add chat to your angular application using DeadSimpleChat refer to this article
Ready to Add Chat to Your Website?
Get started for free. No credit card required.
Start a Free Trial
![Webinar Chat: The Complete Guide to Engaging Your Audience [2026]](/blog/content/images/size/w600/2026/02/article-hero-webinar-chat.svg)
