What is Multer?
Multer is a NodeJs middleware that is often used with Express for uploading multipart/formdata to server.
It is written on top of busboy for maximum efficiency
Multer provides a variety of features such as
- size limits to file uploads,
- ability to upload multiple files in a single request
- Support for different storage solutions such as in-memory, local file system or cloud storage
Multer adds a body Object and a file or files object to the request Object.
The body Object contains the text from the text fields of the form and the files or files Object contains the files uploaded via the form.
Dead Simple Chat offers powerful Javascript Chat SDK and APIs that you can use to easily add Chat functionality to your React Applications.
Pre requisites
The Pre requisites for this tutorial are NodeJs, Express Js and Multer. You should also have a basic understanding of JavaScript and HTML.
All the code used in this article will be available at the end of this page.
Step 1: Initalizing the project and installing dependencies
First, create a directory and nam e it nodejs-multer and cd into it.
mkdir nodejs-multer
cd nodejs-multer
then initlize the project with npm init command and set the entry point of the application to index.js
create a index.js file and a file named index.html and install the nodejs and express
npm install express --save
then install multer with
npm install multer --saveyour package.json should look like
{
  "name": "nodejs-multer",
  "version": "1.0.0",
  "description": "",
  "main": "index.js",
  "scripts": {
    "test": "echo \"Error: no test specified\" && exit 1"
  },
  "author": "",
  "license": "ISC",
  "dependencies": {
    "express": "^4.18.2",
    "multer": "^1.4.5-lts.1",
  }
}
Step 2: Setting up express server with NodeJs and Multer
Once you have installed all the dependencies. Its time to write the code. Open your index.js file and paste the following code
const express = require('express')
const app = express()
const port = 3000

app.get('/', (req, res) => {
    res.sendFile(__dirname + '/index.html');
  });

app.listen(port, () => {
  console.log(`Example app listening on port ${port}`)
})Now go to your index.html and paste the below code
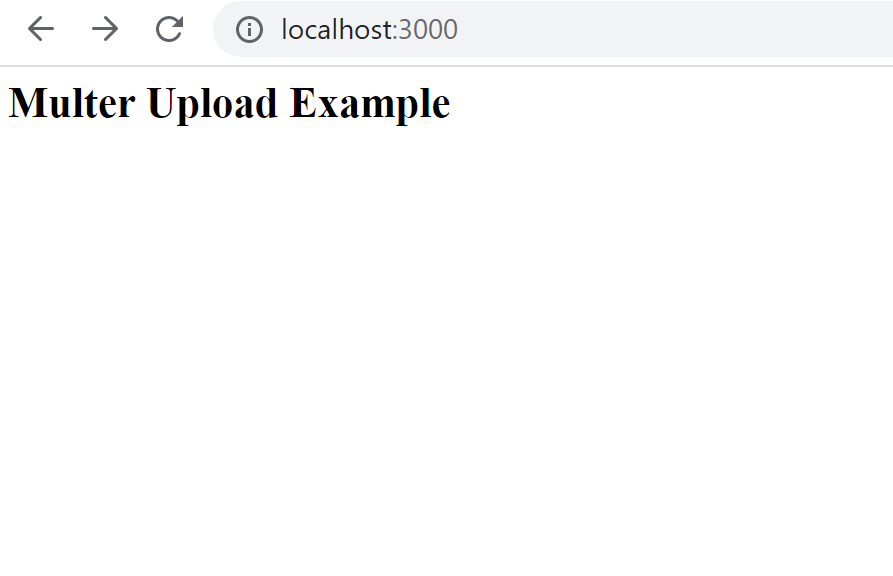
<h1>Multer Upload Example</h1>In your terminal start the app by typing the below command
node index.jsgo to localhost://3000 and you will see a page like this
Step 3: Configuring Multer and uploading a single File
Till now we have started the express server and installed all the dependencies now let us configure the Multer and start uploading files to the server
a. Create a form in the index.html and on submit it will send the form data to the /profile url
<h1>Multer Upload Example</h1>

<form action="/profile" method="post" enctype="multipart/form-data">
    <input type="file" name="avatar" />
    <input type="submit" value="Upload">
</form>and on the index.js file write the following code
const express = require('express')
const multer = require('multer');
const upload = multer({ dest: 'uploads/' })

const app = express()
const port = 3000

app.use(express.static('public'));

app.get('/', (req, res) => {
    res.sendFile(__dirname + '/index.html');
  });

  app.post('/profile', upload.single('avatar'), function (req, res, next) {
    // req.file is the `avatar` file
    // req.body will hold the text fields, if there were any
    try {
        // req.file is the `fileUpload` file
        // req.body will hold the text fields, if there were any

        // handle success
        return res.status(200).json({ message: 'File uploaded successfully!' });
      } catch (error) {
        // handle error
        return res.status(400).json({ message: error.message });
      }
  });


app.listen(port, () => {
  console.log(`Example app listening on port ${port}`)
})What are we doing here
we have requried all the dependencies like express multer and we have created a const with the dest of uploads where the uploaded files will go
When the request comes to the /profile url we are using multer to upload the files to the upload folder
we have the try catch to check for any errors and also to send the res to the browser that the file has been uploaded successfully
If we go to the front end we see that
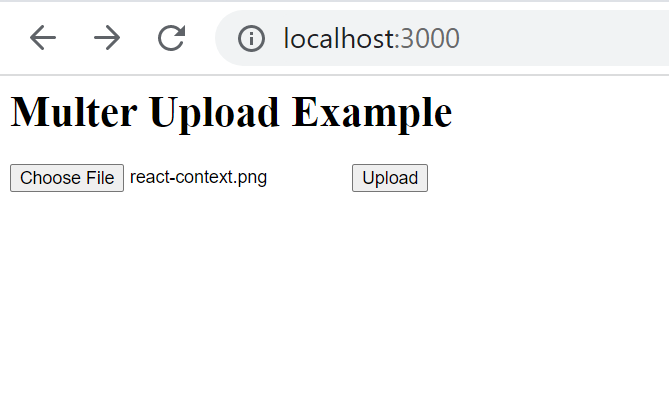
Let us upload an image to the uploads folder
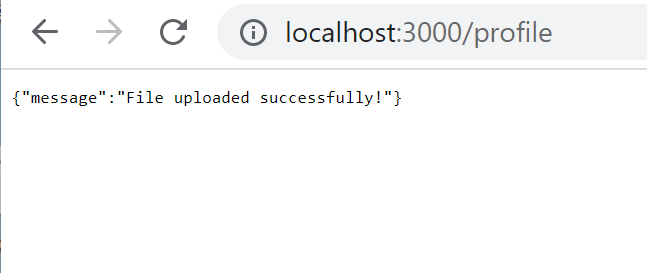
When we click upload button the form sends the request along with the file to the server to be uploaded in the uploads folder and we get the response that the file has been uploaded successfully
we can open the uploads folder locally to verify that the file has been uplaoded
We can see here that the files have been uploaded to the uploads folder
Step 4: Uploading an Array of Files
Now that we have seen a basic example of using multer. Let us now see if we can upload an Array of files
Basically we are going to upload multiple files through multer. Update your front end code like so
<h1>Multer Upload Example</h1>

<form action="/photos/upload" method="post" enctype="multipart/form-data">
    <input type="file"  name="photos" multiple/>
    <input type="submit" value="Upload">
  </form>
here we have added the multiple word to the input so that the user can select multiple files to upload on the front end
we can select multiple images in the front end to upload to multer
Create a new end point on the server side callled /photos/upload and write the below code
app.post('/photos/upload', upload.array('photos', 12), function (req, res, next) {
    // req.files is array of `photos` files
    // req.body will contain the text fields, if there were any
    if (!req.files || req.files.length === 0) {
        return res.status(400).send('file upload failed');
      }

    return res.status(200).json({ message: 'File uploaded successfully!' });
});here we are uploading multiple photos to an array. The req.files contains an array of photos the array looks some thing like this
[
  {
    fieldname: 'photos',
    originalname: 'mobx-react-integration-1.png',
    encoding: '7bit',
    mimetype: 'image/png',
    destination: 'uploads/',
    filename: '686d8682f32bd7d4575fb7943d95c089',
    path: 'uploads/686d8682f32bd7d4575fb7943d95c089',
    size: 160788
  },
  {
    fieldname: 'photos',
    originalname: 'react-context.png',
    encoding: '7bit',
    mimetype: 'image/png',
    destination: 'uploads/',
    filename: '2b9afc88ca37c7802247de86596457fa',
    path: 'uploads/2b9afc88ca37c7802247de86596457fa',
    size: 145435
  },
  {
    fieldname: 'photos',
    originalname: 'React-icon.svg',
    encoding: '7bit',
    mimetype: 'image/svg+xml',
    destination: 'uploads/',
    filename: 'ac2a8ca8f82089c4d57380a932e868de',
    path: 'uploads/ac2a8ca8f82089c4d57380a932e868de',
    size: 366
  }
]The complete server code looks like this
const express = require('express')
const multer = require('multer');
const upload = multer({ dest: 'uploads/' })

const app = express()
const port = 3000

app.use(express.static('public'));

app.get('/', (req, res) => {
    res.sendFile(__dirname + '/index.html');
  });

  app.post('/profile', upload.single('avatar'), function (req, res, next) {
    // req.file is the `avatar` file
    // req.body will hold the text fields, if there were any
    try {
        // req.file is the `fileUpload` file
        // req.body will hold the text fields, if there were any

        // handle success
        return res.status(200).json({ message: 'File uploaded successfully!' });
      } catch (error) {
        // handle error
        return res.status(400).json({ message: error.message });
      }
  });

  app.post('/photos/upload', upload.array('photos', 12), function (req, res, next) {
    // req.files is array of `photos` files
    // req.body will contain the text fields, if there were any
    if (!req.files || req.files.length === 0) {
        return res.status(400).send('file upload failed');
      }

    return res.status(200).json({ message: 'File uploaded successfully!' });
  });

app.listen(port, () => {
  console.log(`Example app listening on port ${port}`)
})
Step 5: Uploading an Object with files
Next we are going to upload an Objext to the server using Multer. Open the index.js file and write the below code there
const cpUpload = upload.fields([{ name: 'avatar', maxCount: 1 }, { name: 'gallery', maxCount: 9 }])
  app.post('/cool-profile', cpUpload, function (req, res, next) {
    // req.files is an object (String -> Array) where fieldname is the key, and the value is array of files
    //
    // e.g.
    //  req.files['avatar'][0] -> File
    //  req.files['gallery'] -> Array
    //
    // req.body will contain the text fields, if there were any
  });
Here we are going to have to input fields one with name called 'avatar' and another with the name called gallary
the avatar can store only 1 file while the gallery can store up to nine files.
let us create the front end to handle these
<h1>Multer Upload Example</h1>

<form action="/cool-profile" method="post" enctype="multipart/form-data">
    <p>Avatar input</p>
    <input type="file"  name="avatar" multiple/>
    <input type="submit" value="Upload">
    <br>
    <p>gallery input</p>
    <input type="file"  name="gallery" multiple/>
    <input type="submit" value="Upload">
</form>Now, let us look at the back end of the code
const cpUpload = upload.fields([{ name: 'avatar', maxCount: 1 }, { name: 'gallery', maxCount: 8 }])
  app.post('/cool-profile', cpUpload, function (req, res, next) {
    // req.files is an object (String -> Array) where fieldname is the key, and the value is array of files
    //
    // e.g.
    console.log(req.files['avatar'][0],
    req.files['gallery'])

        //
    // req.body will contain the text fields, if there were any
  });
When the files arrive at the end point of cool-profile they are stored as an Object with 2 entries namely avatar and gallery
the avatar files can be accessed through req.files['avatar'][0]
and the gallery files can be assessed through req.files['gallery']
we have console.log the req for your reference
Here is what the data looks like
{
  fieldname: 'avatar',
  originalname: 'mobx-react-integration-1.png',
  encoding: '7bit',
  mimetype: 'image/png',
  destination: 'uploads/',
  filename: '5d37a78b8f80024d15253d1aac12e2c8',
  path: 'uploads/5d37a78b8f80024d15253d1aac12e2c8',
  size: 160788
} [
  {
    fieldname: 'gallery',
    originalname: 'Receipt-2535-6993.pdf',
    encoding: '7bit',
    mimetype: 'application/pdf',
    destination: 'uploads/',
    filename: 'db5ec86ee78407ca12c8b47add3d485d',
    path: 'uploads/db5ec86ee78407ca12c8b47add3d485d',
    size: 25568
  },
  {
    fieldname: 'gallery',
    originalname: 'mobx-react-integration-1 - Copy.png',
    encoding: '7bit',
    mimetype: 'image/png',
    destination: 'uploads/',
    filename: '6af73e042be12e1e0ab927cecf31a68a',
    path: 'uploads/6af73e042be12e1e0ab927cecf31a68a',
    size: 160788
  },
  {
    fieldname: 'gallery',
    originalname: 'mobx-react-integration-1.png',
    encoding: '7bit',
    mimetype: 'image/png',
    destination: 'uploads/',
    filename: '4b5419a452be019e6efaeaa62b3ffd61',
    path: 'uploads/4b5419a452be019e6efaeaa62b3ffd61',
    size: 160788
  },
  {
    fieldname: 'gallery',
    originalname: 'react-context.png',
    encoding: '7bit',
    mimetype: 'image/png',
    destination: 'uploads/',
    filename: '07f1c268fc7a1f7636e553a6549a5b02',
    path: 'uploads/07f1c268fc7a1f7636e553a6549a5b02',
    size: 145435
  },
  {
    fieldname: 'gallery',
    originalname: 'React-icon.svg',
    encoding: '7bit',
    mimetype: 'image/svg+xml',
    destination: 'uploads/',
    filename: '3a1f52cdc8cb6d78b8bfd350d766682a',
    path: 'uploads/3a1f52cdc8cb6d78b8bfd350d766682a',
    size: 366
  }
]
Step 6: Validating File Uploads
There are multiple ways of validating file uploads. Here are some of the examples of the same
- first we can check that the file has been uploaded or not
- We can allow only certain types of files to be uploaded to the server
Check whether the file has been uploaded or not
There are multiple ways of checking whether the file has been uploaded or not
One of the ways is to use a try catch blog like we used in some of the code above
    try {
        // req.file is the `fileUpload` file
        // req.body will hold the text fields, if there were any

        // handle success
        return res.status(200).json({ message: 'File uploaded successfully!' });
      } catch (error) {
        // handle error
        return res.status(400).json({ message: error.message });
      }
Another is to check whether the file is there or not like
    if (!req.files || req.files.length === 0) {
        return res.status(400).send('file upload failed');
      }
Allow only certain types of files to be uploaded
let us look at an example where only images are allowed to be uploaded to the server and that too only of certain format.
We can also check for other parameters as well such as size of the image etc
const imageUpload = multer({
    storage: upload,
    fileFilter: function (req, file, cb) {
      if (!file.originalname.match(/\.(jpg|jpeg|png)$/)) {
        return cb(new Error('only file type of image is allowed'));
      }

      cb(null, true);
    }
  });
Here we are checking the format of the files that are uploaded to the server. If they are in the approved format we accept otherwire we give an error to the user
Bonus: Uploading files to AWS S3 via Multer
In this section we are going to upload files that are uploaded through multer and save those files to the aws s3 cloud storage
We are going to use the multer-3 library for this.
Here is the code to achieve this:
const aws = require('aws-sdk');
const multer = require('multer');
const multerS3 = require('multer-s3');

const s3 = new aws.S3({
  accessKeyId: 'access_key_id',
  secretAccessKey: 'secret_access_key',
  region: '<your_region>'
});

const fileUploader = multer({
  storage: multerS3({
    s3: s3,
    bucket: '<your_bucket_name>',
    acl: 'public-read',
    metadata: function (req, file, cb) {
        // whatever is the field name that you have given to the files that are being uploaded like
        // photos, documents etc
      cb(null, {fieldName: file.fieldname});
    },
    key: function (req, file, cb) {
      cb(null, Date.now().toString())
    }
  })
});

app.post('/upload', upload.single('file'), function (req, res, next) {
  res.json({ message: 'Uploaded to S3' });
});
Here are the options
- S3: Instance of aws s3 to which you want to upload thje code
- metadata: metadata generation function. generates the name s of the files as field names
- key: key of the s3 for uploaded files this is just the date and time of the file being uploaded
- bucket: files from multer will be saved to which s3 bucket (name)
- acl: Access control list of aws
You might be interested in some of our other articles
- Node.JS MongoDB: The Complete Guide
- CSV files with Node and PapaParse: The Complete Guide
- Rest API with PostgreSQL and Node Js, Step-by-Step Tutorial
- Sending emails in NodeJs with NodeMailer: The Comprehensive Guide
Conclusion
In this section we have learnt how to upload the files through multer. You can upload a single file through multer or you can upload multiple files through multer as well
This article is brought to you by the DeadSimpleChat team
Ready to Add Chat to Your Website?
Get started for free. No credit card required.
Start a Free Trial
![Webinar Chat: The Complete Guide to Engaging Your Audience [2026]](/blog/content/images/size/w600/2026/02/article-hero-webinar-chat.svg)
