The MERN stack is an acronym for the latest technologies in use today. In this guide we are going to learn about MERN Stack with examples
These technologies are:
- M: MongoDB : A NoSQL database that stores data in a JSON like format, this offers scalability and reliability
- E: ExpressJs: Modern web server that runs on top of NodeJs
- R: ReactJs: Modern front-end web library
- N: NodeJs: Server side Js runtime
MERN stack is very popular in today's environment. One of the best benefits of MERN stack is that it is full stack JavaScript based.
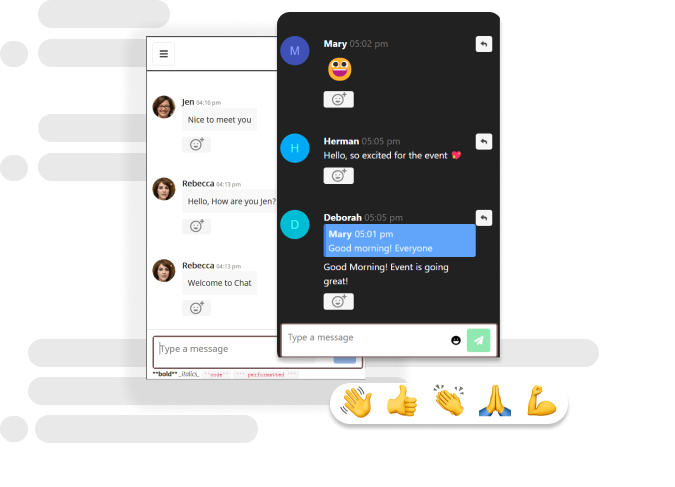
If you want to create a JS chat SDK you can try out the DeadSimpleChat
- Fullstack JavaScript:
- Real Time Applications
- Scalability
- Community and Ecosystem
- Cloud Compatibility
- Market demand
- API centric
Step 1: Prerequisites and setting up the app
For this tutorial you need to have NodeJs installed on your system. If you do not have the node installed, you can go to the website and download the latest version on node and install it on your system
Apart from this we assume that you have some knowledge of
- JavaScript
- Basic Knowledge of software development in general. What is back-end, what is front-end, what are databases etc
- In this tutorial we are going to create a Chat application using the MERN stack

Step 2: Creating the BackEnd for our Chat Application
create a new directory on your computer and name it chat-app then cd in to the direcotry and type the npm init command to initalize a new project like
npm init chat-app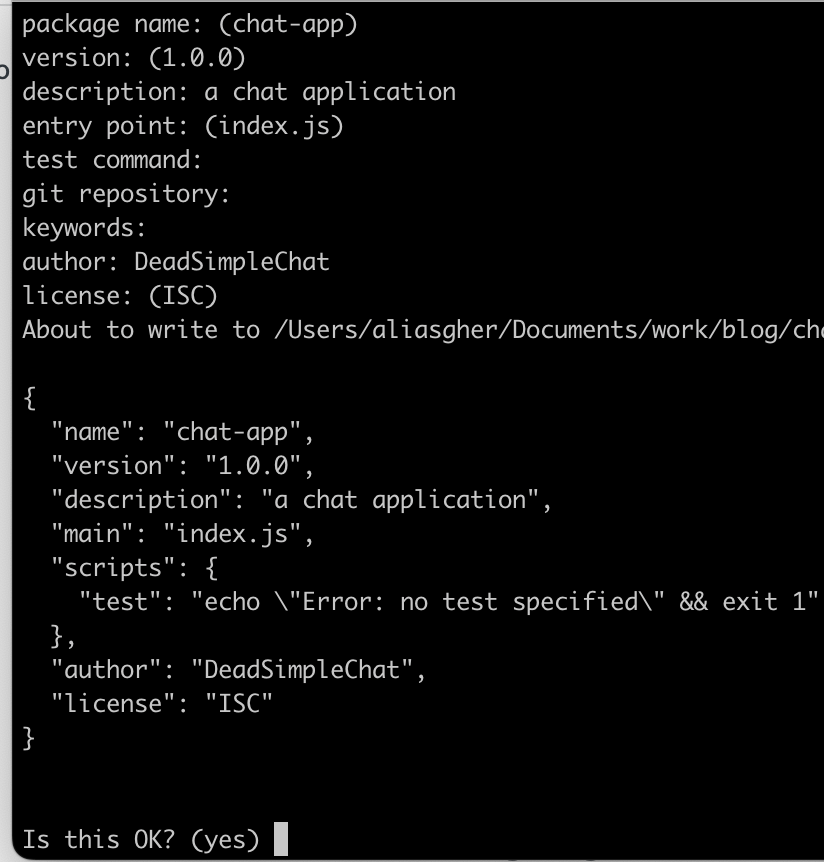
Installing Express Js
next let us install express js to our application. Express Js is a web server that is built on top of NodeJs. Express is a fast, minimalist and opinionated web server
type the below command in your terminal to install express and save it in your package.json file
npm install --save expressnext open you index.js file and paste the below code there. If you don't have a index.js file create one and open it in your favorite code editor, I recommend vscode
const express = require('express')
const app = express()
const port = 3000

app.get('/', (req, res) => {
  res.send('Hello World!')
})

app.listen(port, () => {
  console.log(`Example app listening on port ${port}`)
})
now run
node index.jsand go to localhost:300o to see the hello world written over there
Now we have installed and started the ExpressJs server. Next we need to install the MongoDB database
Installing and Configuring MongoDB
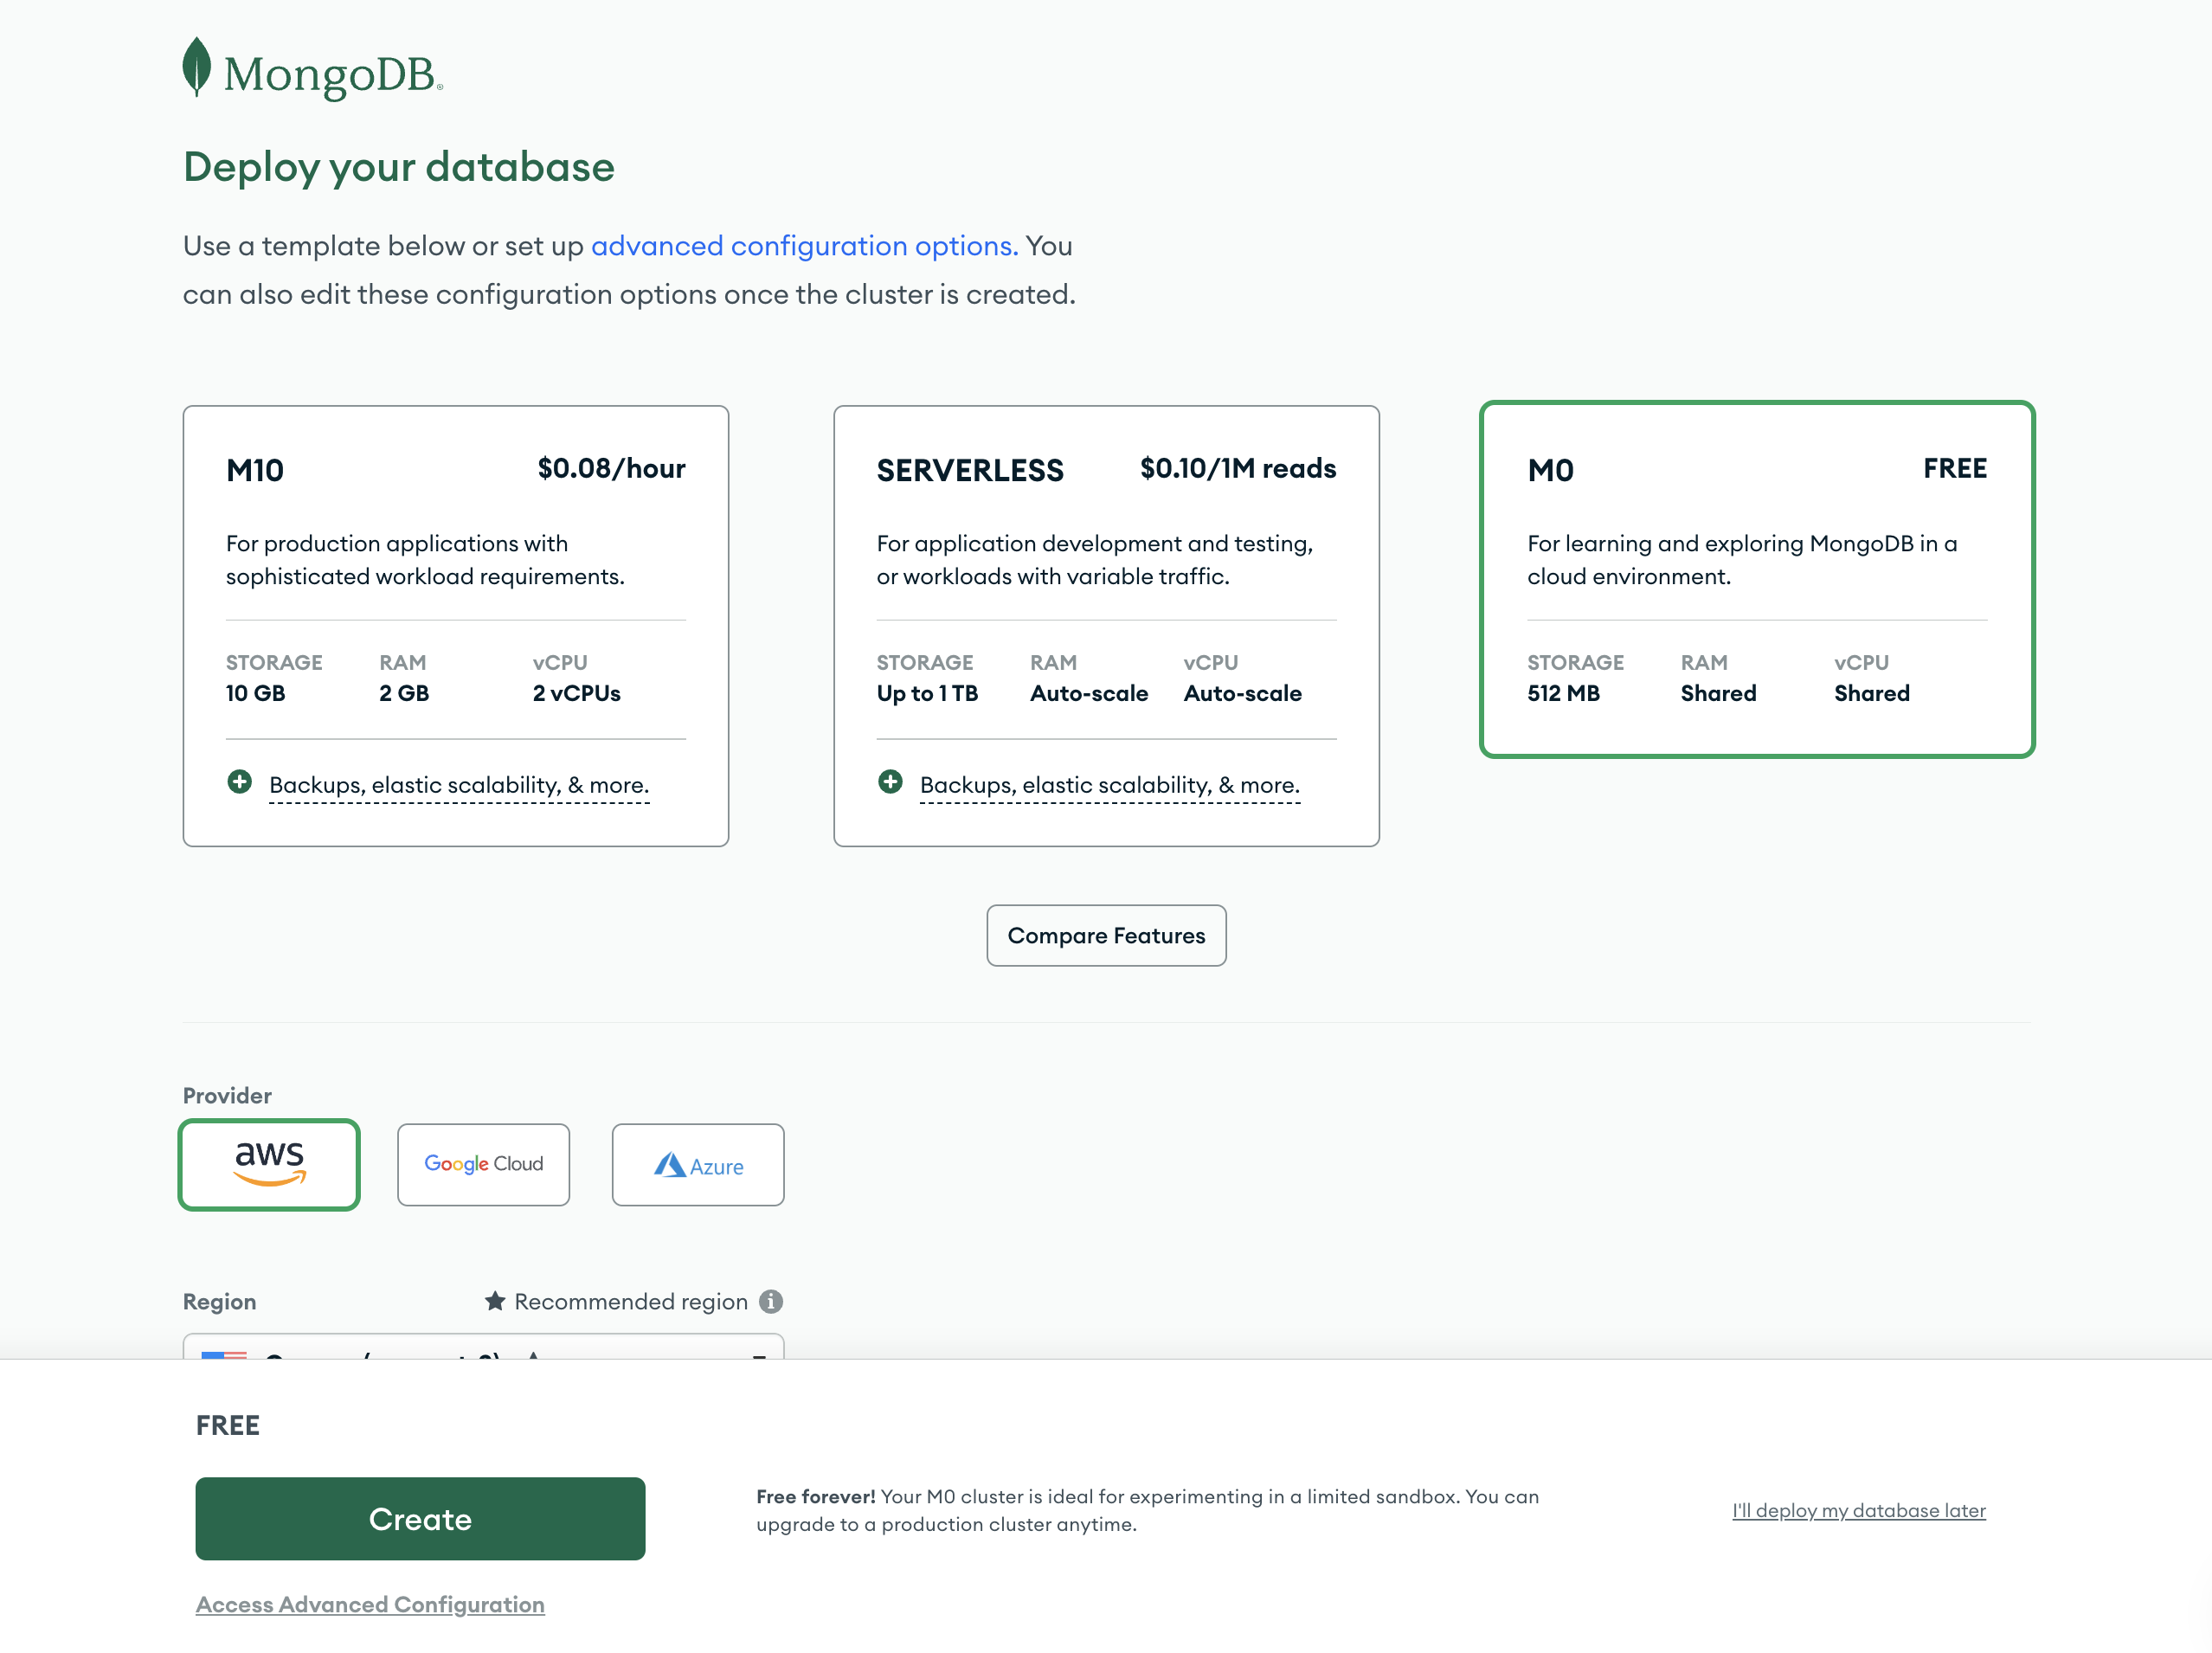
For this tutorial we will be using the MongoDB atlas. It is a Database-as-a-service platform offering fully functional and infinitely scalable MongoDB database on the cloud
step 1: go to the mongodb atlas website and create a free account there, then create a free mongoDB instance
step 2: copy the connection string which looks something like
mongodb+srv://loop-07marbles:<password>@cluster0.fdsfewc.mongodb.net/and create a user and and strong password
Connecting to MongoDB server
next open your terminal and install the mongoose like so
npm install mongooose --saveedit your index.js code to look like this:
// Import required packages
const express = require('express');
const mongoose = require('mongoose');

// Initialize the Express application
const app = express();
const port = 3000;

// In the MongoDB Atlas connection string. Replace '<password>' with your actual password
const connectionString = 'mongodb+srv://loop-07marbles:2E6jU0FyFKEQ7SLC@cluster0.diruhf.mongodb.net/';

// Connect to MongoDB Atlas
mongoose.connect(connectionString, {
  useNewUrlParser: true,
  useUnifiedTopology: true
})
.then(() => {
  console.log('connection sucessful');
})
.catch(err => {
  console.error('Connection error', err);
});

// Define a simple route
app.get('/', (req, res) => {
  res.send('Hello, World!');
});

// Start the Express server
app.listen(port, () => {
  console.log(`Express server running at http://localhost:${port}`);
});
Now go to localhost:3000 and refresh the page. you will see something like this in your terminal
Connection successfulIt means you have successfully connected to the MongoDB server
Creating a Schema for our database
Next we need to create a schema for our database.
create a new file in the root folder and name it chatSchema.js and write the following code in it
const mongoose = require('mongoose');

const chatSchema = new mongoose.Schema({
  username: String,
  message: String,
  timestamp: {
    type: Date,
    default: Date.now
  }
});

module.exports = mongoose.model('ChatMessage', chatSchema);
Here we are defining what fields we are going to save in our database and what are the types
As this is a demo application we are saving username, message and timestamp fields in our database
Integrating the database schema and installing socket.io
Next, let us integrate the schema that we just created into our index.js file and install socket.io that we will be using to send message to and fro from our client to our server
first let us install the socket.io, type the below code in your terminal
npm install socket.io --savethen open your i`ndex.js` file and add the following code
// Import required packages
const express = require('express');
const mongoose = require('mongoose');
const http = require('http');
const socketIo = require('socket.io');
const cors = require('cors');

// Initialize the Express application
const app = express();
app.use(cors());

const server = http.createServer(app);
const io = socketIo(server, {
  cors: {
    origin: "*",
    methods: ["GET", "POST"]
  }
});
const port = 3000; // You can use any port number

// MongoDB Atlas connection string. Replace '<password>' with your actual password
const connectionString = 'mongodb+srv://loop-07marbles:2E6jU0FyFKEQ7SLC@cluster0.keeiub4.mongodb.net/';

// Connect to MongoDB Atlas
mongoose.connect(connectionString, {
  useNewUrlParser: true,
  useUnifiedTopology: true
})
.then(() => {
  console.log('MongoDB Atlas Connected');
})
.catch(err => {
  console.error('Connection error', err);
});

// Define a simple route
app.get('/', (req, res) => {
  res.send('Hello, World!');
});

// Initialize a simple API endpoint for fetching chat history
app.get('/chatHistory', async (req, res) => {
  const messages = await ChatMessage.find();
  res.json(messages);
});


// Handle socket events
io.on('connection', (socket) => {
  console.log('New client connected');
  socket.on('chat', (data) => {
    console.log('Message received:', data);
    io.emit('chat', data);
  });
  socket.on('disconnect', () => {
    console.log('Client disconnected');
  });
});

// Start the Express server
server.listen(port, () => {
  console.log(`Express server running at http://localhost:${port}`);
});
What are we doing here:
- We have imported the http module that is built in with the nodejs
- Initialize the socket.io and set it to listen to the server
- added a new endpoint
/chathistorythat returns all the chat messages. It searches the database for chat messages and then returns them - Added the socket.io connections for new client connections, client disconnections and messages
What will happen when a chat messages hits the server
- When a chat messages hits the server using the socket.io, we are creating a
ChatMessagedocument and saving the same using our imported schema to the database that is MongoDB atlas - After this we are broadcasting the chat message to all the clients connected to the chat
- This is a group chat functionality, we can also make 1-1 chat but that is out of scope for this article
Creating the front end
We are going to be creating the front end app using React as we are developing the app using the MERN stack that is Mongo Express React and Node
To create a application using we are going to use the Vite front end tooling
Setting up the project
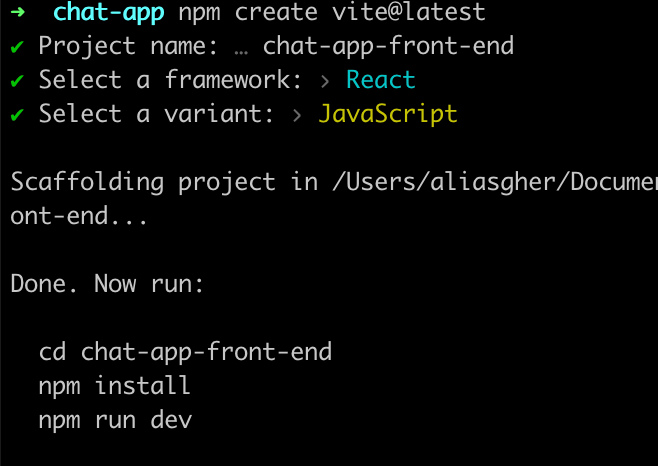
create a new directory and name it chat-app-frontend and then cd into it then type the below code
npm create vite@lateststep 1: Scaffolding the application
This command scaffolds a new Vite application, then
- specify the name of the app and
- select react in the framework option and
- plain javascript in the language option
Step 2 : running the application
after this the Vite will scaffold a new application and then you just cd into the directory and run the below commands
npm install
npm run devWhen you run the npm run dev command you will see this in the terminal
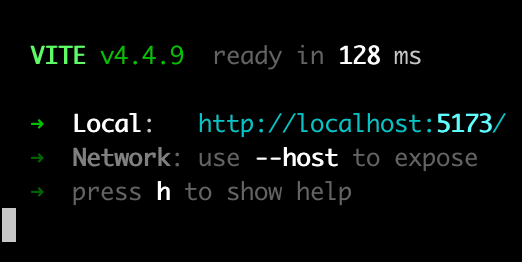
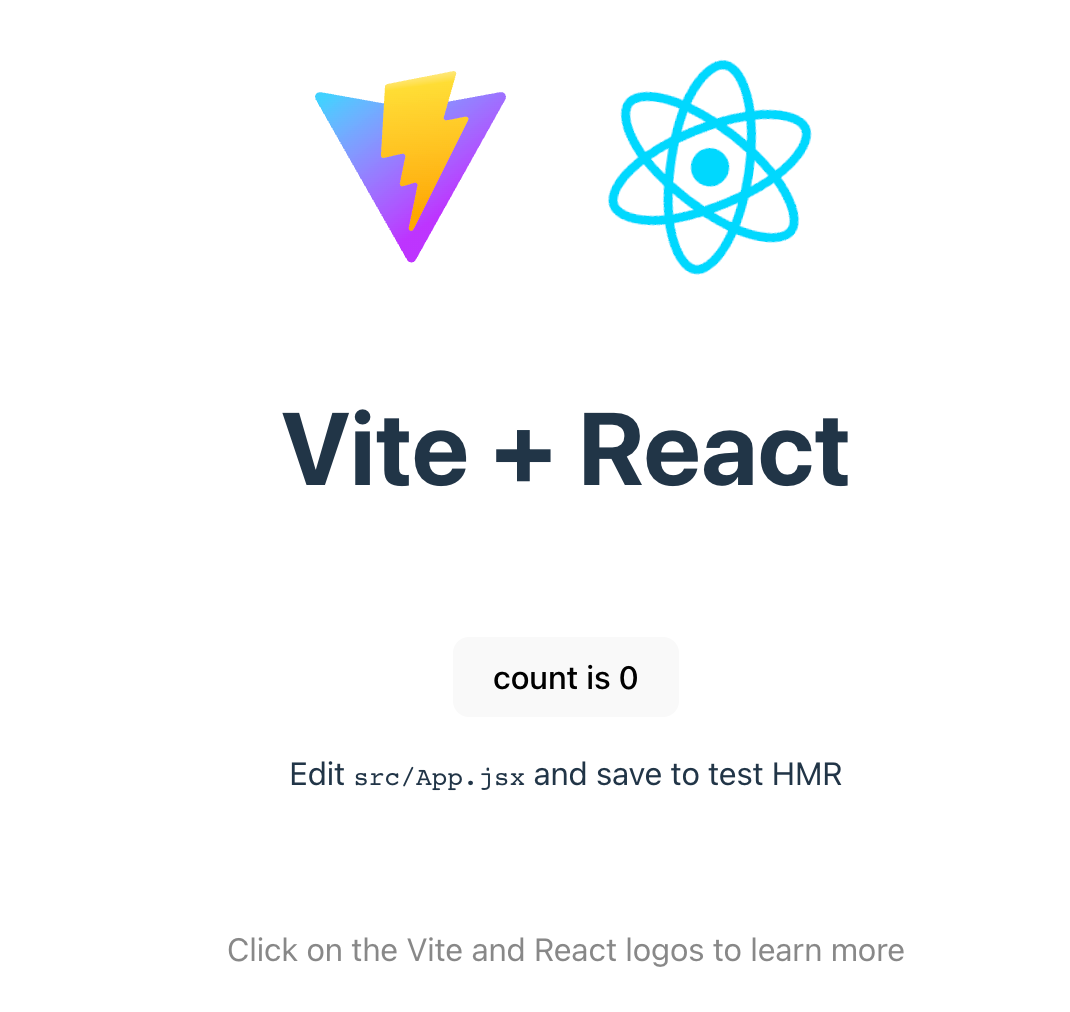
then you can open the localhost:5173 and see the application running
Installing Socket.io
Next, let us install Socket.io Client to handle real time communication in react
npm install socket.io-clientOnce you have installed the socket.io in your application.
Step 2: Creating the chat UI
Create a new file called the chatComponent.js in your /src folder and type the below code in it
import React, { useState, useEffect } from 'react';
import io from 'socket.io-client';

const socket = io('http://localhost:3000');  // Connect to your backend server

const ChatComponent = () => {
  const [message, setMessage] = useState('');
  const [chatHistory, setChatHistory] = useState([]);
  const [username, setUsername] = useState('User' + Math.floor(Math.random() * 1000));  // Generate a random username

  useEffect(() => {
    // Listener for 'chat' event
    socket.on('chat', (data) => {
    const updatedHistory = [...chatHistory, data];
      setChatHistory([...chatHistory, data]);
      console.log('Updated History:', updatedHistory);
    });
  }, [chatHistory]);

  const sendMessage = () => {
    socket.emit('chat', { username, message });  // Use the random username
    setMessage('');
  };
  console.log('Current UI state:', chatHistory);  // Debug line
  return (
    <div>
      <div>
        {chatHistory.map((data, index) => (
          <div key={index}>
            <strong>{data.username}:</strong> {data.message}
          </div>
        ))}
      </div>
      <input value={message} onChange={(e) => setMessage(e.target.value)} />
      <button onClick={sendMessage}>Send</button>
    </div>
  );
};

export default ChatComponent;
What are we doing here?
- We have set up the socket.io client to connect to our server that is running on the localhost 3000
- We have created two states one to keep track of the message being typed and another to save the chat history
- We have the
useEffecthook that is listning to the incoming messages - we have the
sendMessagefunction that sends a message to the socket.io - We have added the CORS library to enable communication with the browser as we are sending and receiving data from the same browser
Step 3: Adding the chatComponent.js to App.js
Now that we have created the chatComponent file we need to add it to our app.js file
Open the app.js file and delete the vite boilerplate the app.js should look something like this
import { useState } from 'react'
import './App.css'

function App() {
  const [count, setCount] = useState(0)

  return (
    <>

    </>
  )
}

export default App
then paste this code inside the brackets like so
import { useState } from 'react'
import ChatComponent from './ChatComponent';
import './App.css'

function App() {
  const [count, setCount] = useState(0)

  return (
    <>
    <div>
      <h1>Your Application</h1>
      <ChatComponent />
    </div>
    </>
  )
}

export default App
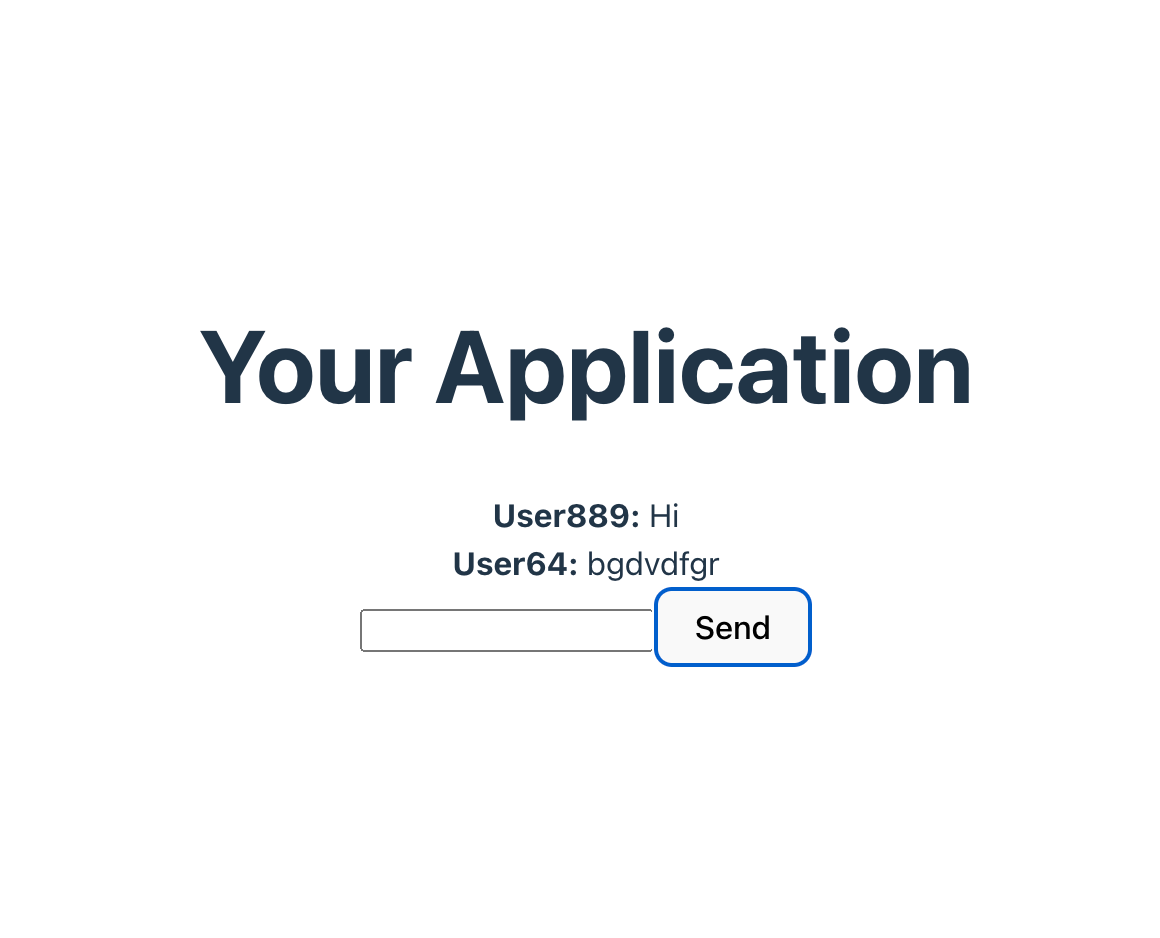
Now we have completed the chat application. we also added the code to randomise the chat username for every user that joins the chat
This is how the completed chat application looks like and the complete code.
ChatComponent.js
import React, { useState, useEffect } from 'react';
import io from 'socket.io-client';

const socket = io('http://localhost:3000');  // Connect to your backend server

const ChatComponent = () => {
  const [message, setMessage] = useState('');
  const [chatHistory, setChatHistory] = useState([]);
  const [username, setUsername] = useState('User' + Math.floor(Math.random() * 1000));  // Generate a random username

  useEffect(() => {
    // Listener for 'chat' event
    socket.on('chat', (data) => {
    const updatedHistory = [...chatHistory, data];
      setChatHistory([...chatHistory, data]);
      console.log('Updated History:', updatedHistory);
    });
  }, [chatHistory]);

  const sendMessage = () => {
    socket.emit('chat', { username, message });  // Use the random username
    setMessage('');
  };
  console.log('Current UI state:', chatHistory);  // Debug line
  return (
    <div>
      <div>
        {chatHistory.map((data, index) => (
          <div key={index}>
            <strong>{data.username}:</strong> {data.message}
          </div>
        ))}
      </div>
      <input value={message} onChange={(e) => setMessage(e.target.value)} />
      <button onClick={sendMessage}>Send</button>
    </div>
  );
};

export default ChatComponent;App.js
import { useState } from 'react'
import ChatComponent from './ChatComponent';
import './App.css'

function App() {
  const [count, setCount] = useState(0)

  return (
    <>
    <div>
      <h1>Your Application</h1>
      <ChatComponent />
    </div>
    </>
  )
}

export default Appindex.js
// Import required packages
const express = require('express');
const mongoose = require('mongoose');
const http = require('http');
const socketIo = require('socket.io');
const cors = require('cors');

// Initialize the Express application
const app = express();
app.use(cors());

const server = http.createServer(app);
const io = socketIo(server, {
  cors: {
    origin: "*",
    methods: ["GET", "POST"]
  }
});
const port = 3000; // You can use any port number

// MongoDB Atlas connection string. Replace '<password>' with your actual password
const connectionString = 'mongodb+srv://loop-07marbles:324nfwkjrbwjkr@cluster0.sdfser.mongodb.net/';

// Connect to MongoDB Atlas
mongoose.connect(connectionString, {
  useNewUrlParser: true,
  useUnifiedTopology: true
})
.then(() => {
  console.log('MongoDB Atlas Connected');
})
.catch(err => {
  console.error('Connection error', err);
});

// Define a simple route
app.get('/', (req, res) => {
  res.send('Hello, World!');
});

// Initialize a simple API endpoint for fetching chat history
app.get('/chatHistory', async (req, res) => {
  const messages = await ChatMessage.find();
  res.json(messages);
});


// Handle socket events
io.on('connection', (socket) => {
  console.log('New client connected');
  socket.on('chat', (data) => {
    console.log('Message received:', data);
    io.emit('chat', data);
  });
  socket.on('disconnect', () => {
    console.log('Client disconnected');
  });
});

// Start the Express server
server.listen(port, () => {
  console.log(`Express server running at http://localhost:${port}`);
});
You might be interested in some of our other articles
- React State Management: A Guide 2023
- Node.JS MongoDB: The Complete Guide
- Bootstrap with React: The Complete Guide
- React useRef: A complete guide with examples
Conclusion
In this tutorial we learned that how to use the MERN stack to create a chat application
This article is brought to you by DeadSimpleChat. I hope you liked the article. Thank you for reading
Ready to Add Chat to Your Website?
Get started for free. No credit card required.
Start a Free Trial
![Webinar Chat: The Complete Guide to Engaging Your Audience [2026]](/blog/content/images/size/w600/2026/02/article-hero-webinar-chat.svg)
