Dead Simple Chat offers prebuilt Chat that can be added in minutes to any app or website. Can be completely customized and offers powerful API and SDK.
Need to add chat to your React JS Application?
You can easily add chat with a single line of code by using DeadSimpleChat. In this article I am going to explain How to add Chat to your React Js application using DeadSimpleChat
Step1. Creating a React Js Application
Let us first create our react js application. Type the below code to create a new app
npx create-react-app react-chat-with-deadsimplechatNow run the app using the code npm run start. You can see the initial landing page like this:
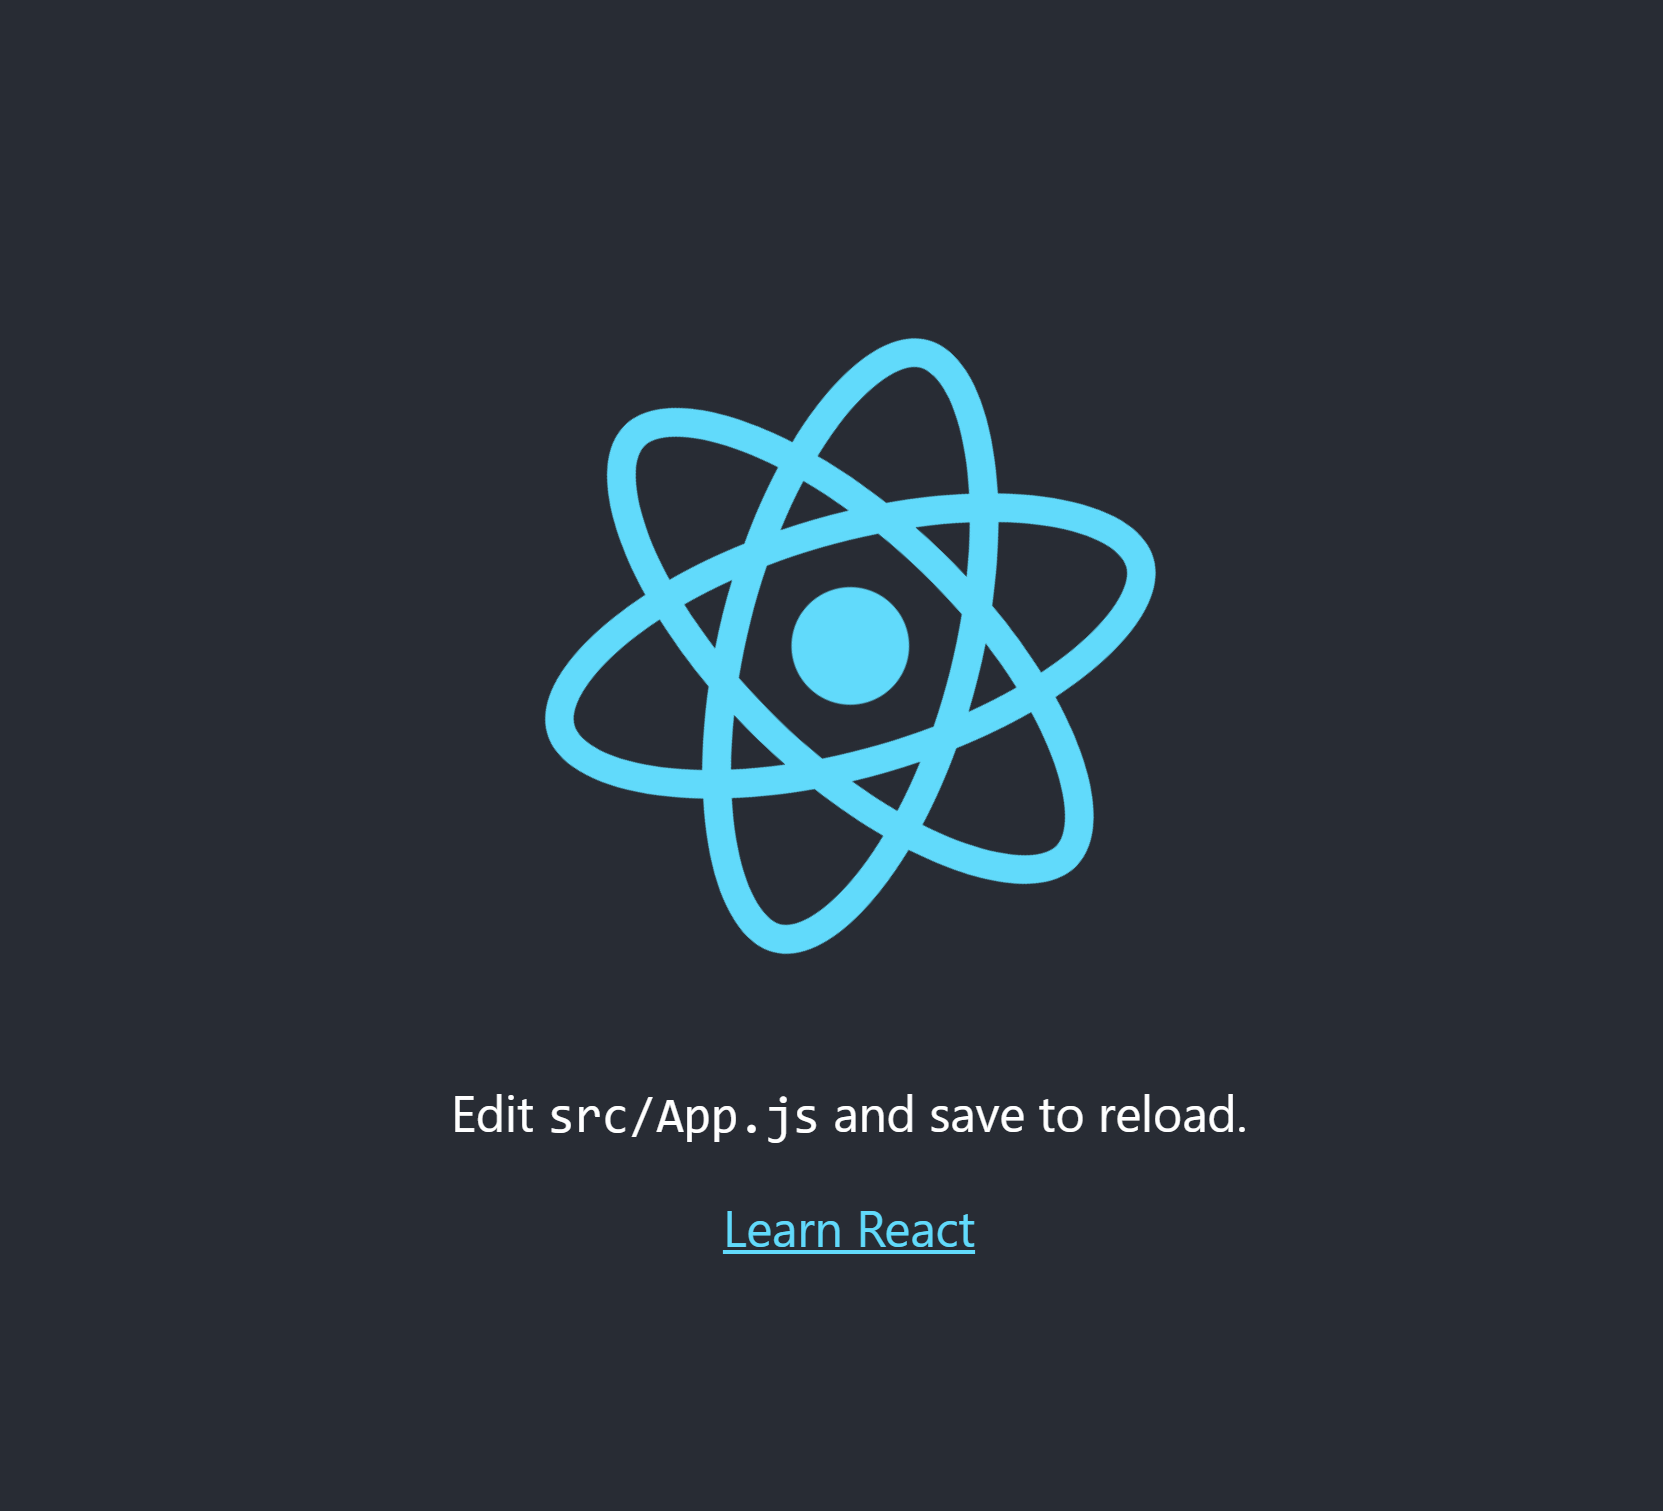
Now to your App.js file and you will find a code like this
import logo from './logo.svg';
import './App.css';

function App() {
  return (
    <div className="App">
      <header className="App-header">
        <img src={logo} className="App-logo" alt="logo" />
        <p>
          Edit <code>src/App.js</code> and save to reload.
        </p>
        <a
          className="App-link"
          href="https://reactjs.org"
          target="_blank"
          rel="noopener noreferrer"
        >
          Learn React
        </a>
      </header>
    </div>
  );
}

export default App;
Delete this code and type in the new code:
import './App.css';

function App() {
  return (
    <div className="App">
      <header className="App-header">

      </header>
    </div>
  );
}

export default App;
Now let us create an account on deadsimplechat
Step 2. Creating a DeadSimpleChat Account
We need to create a React Js Chat application, go to DeadSimpleChat.com and click on the Get Started button to create a free account.
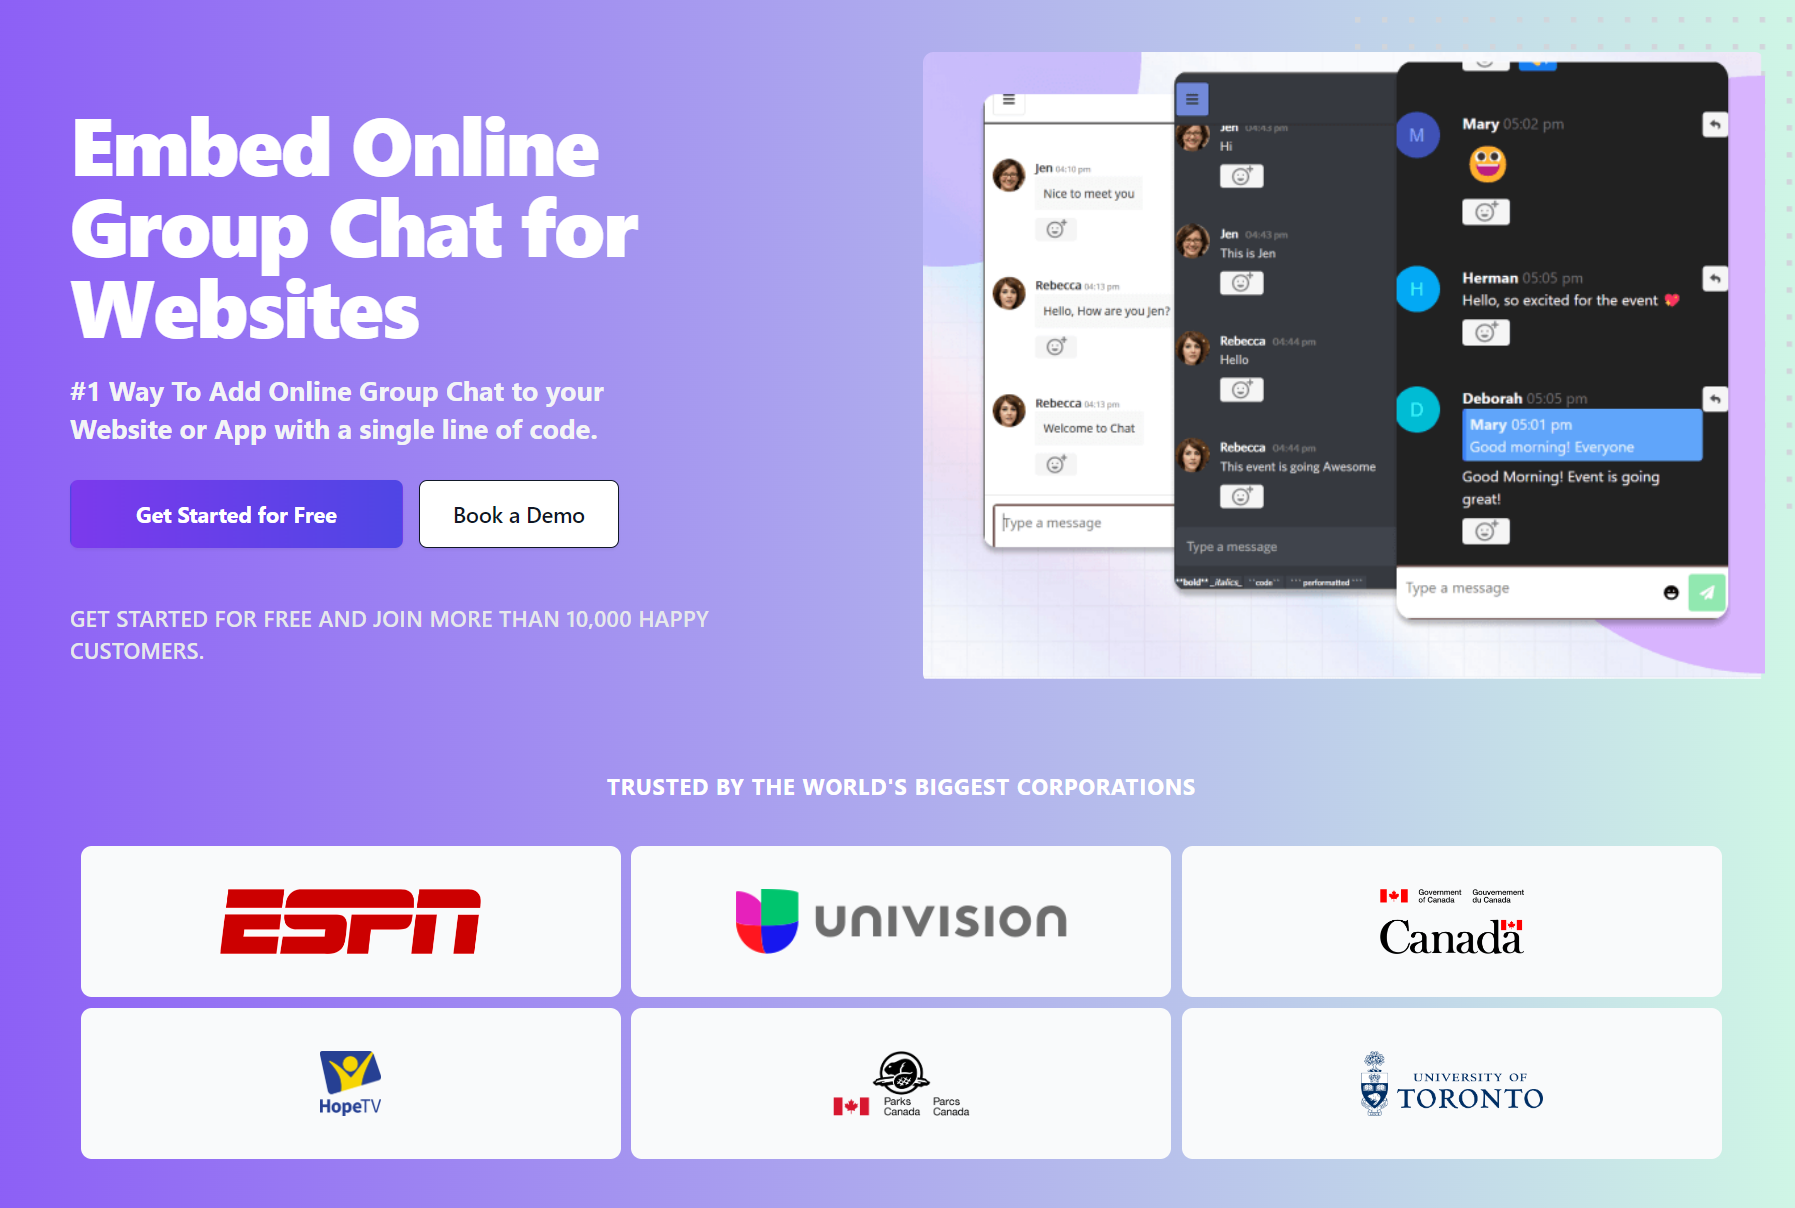
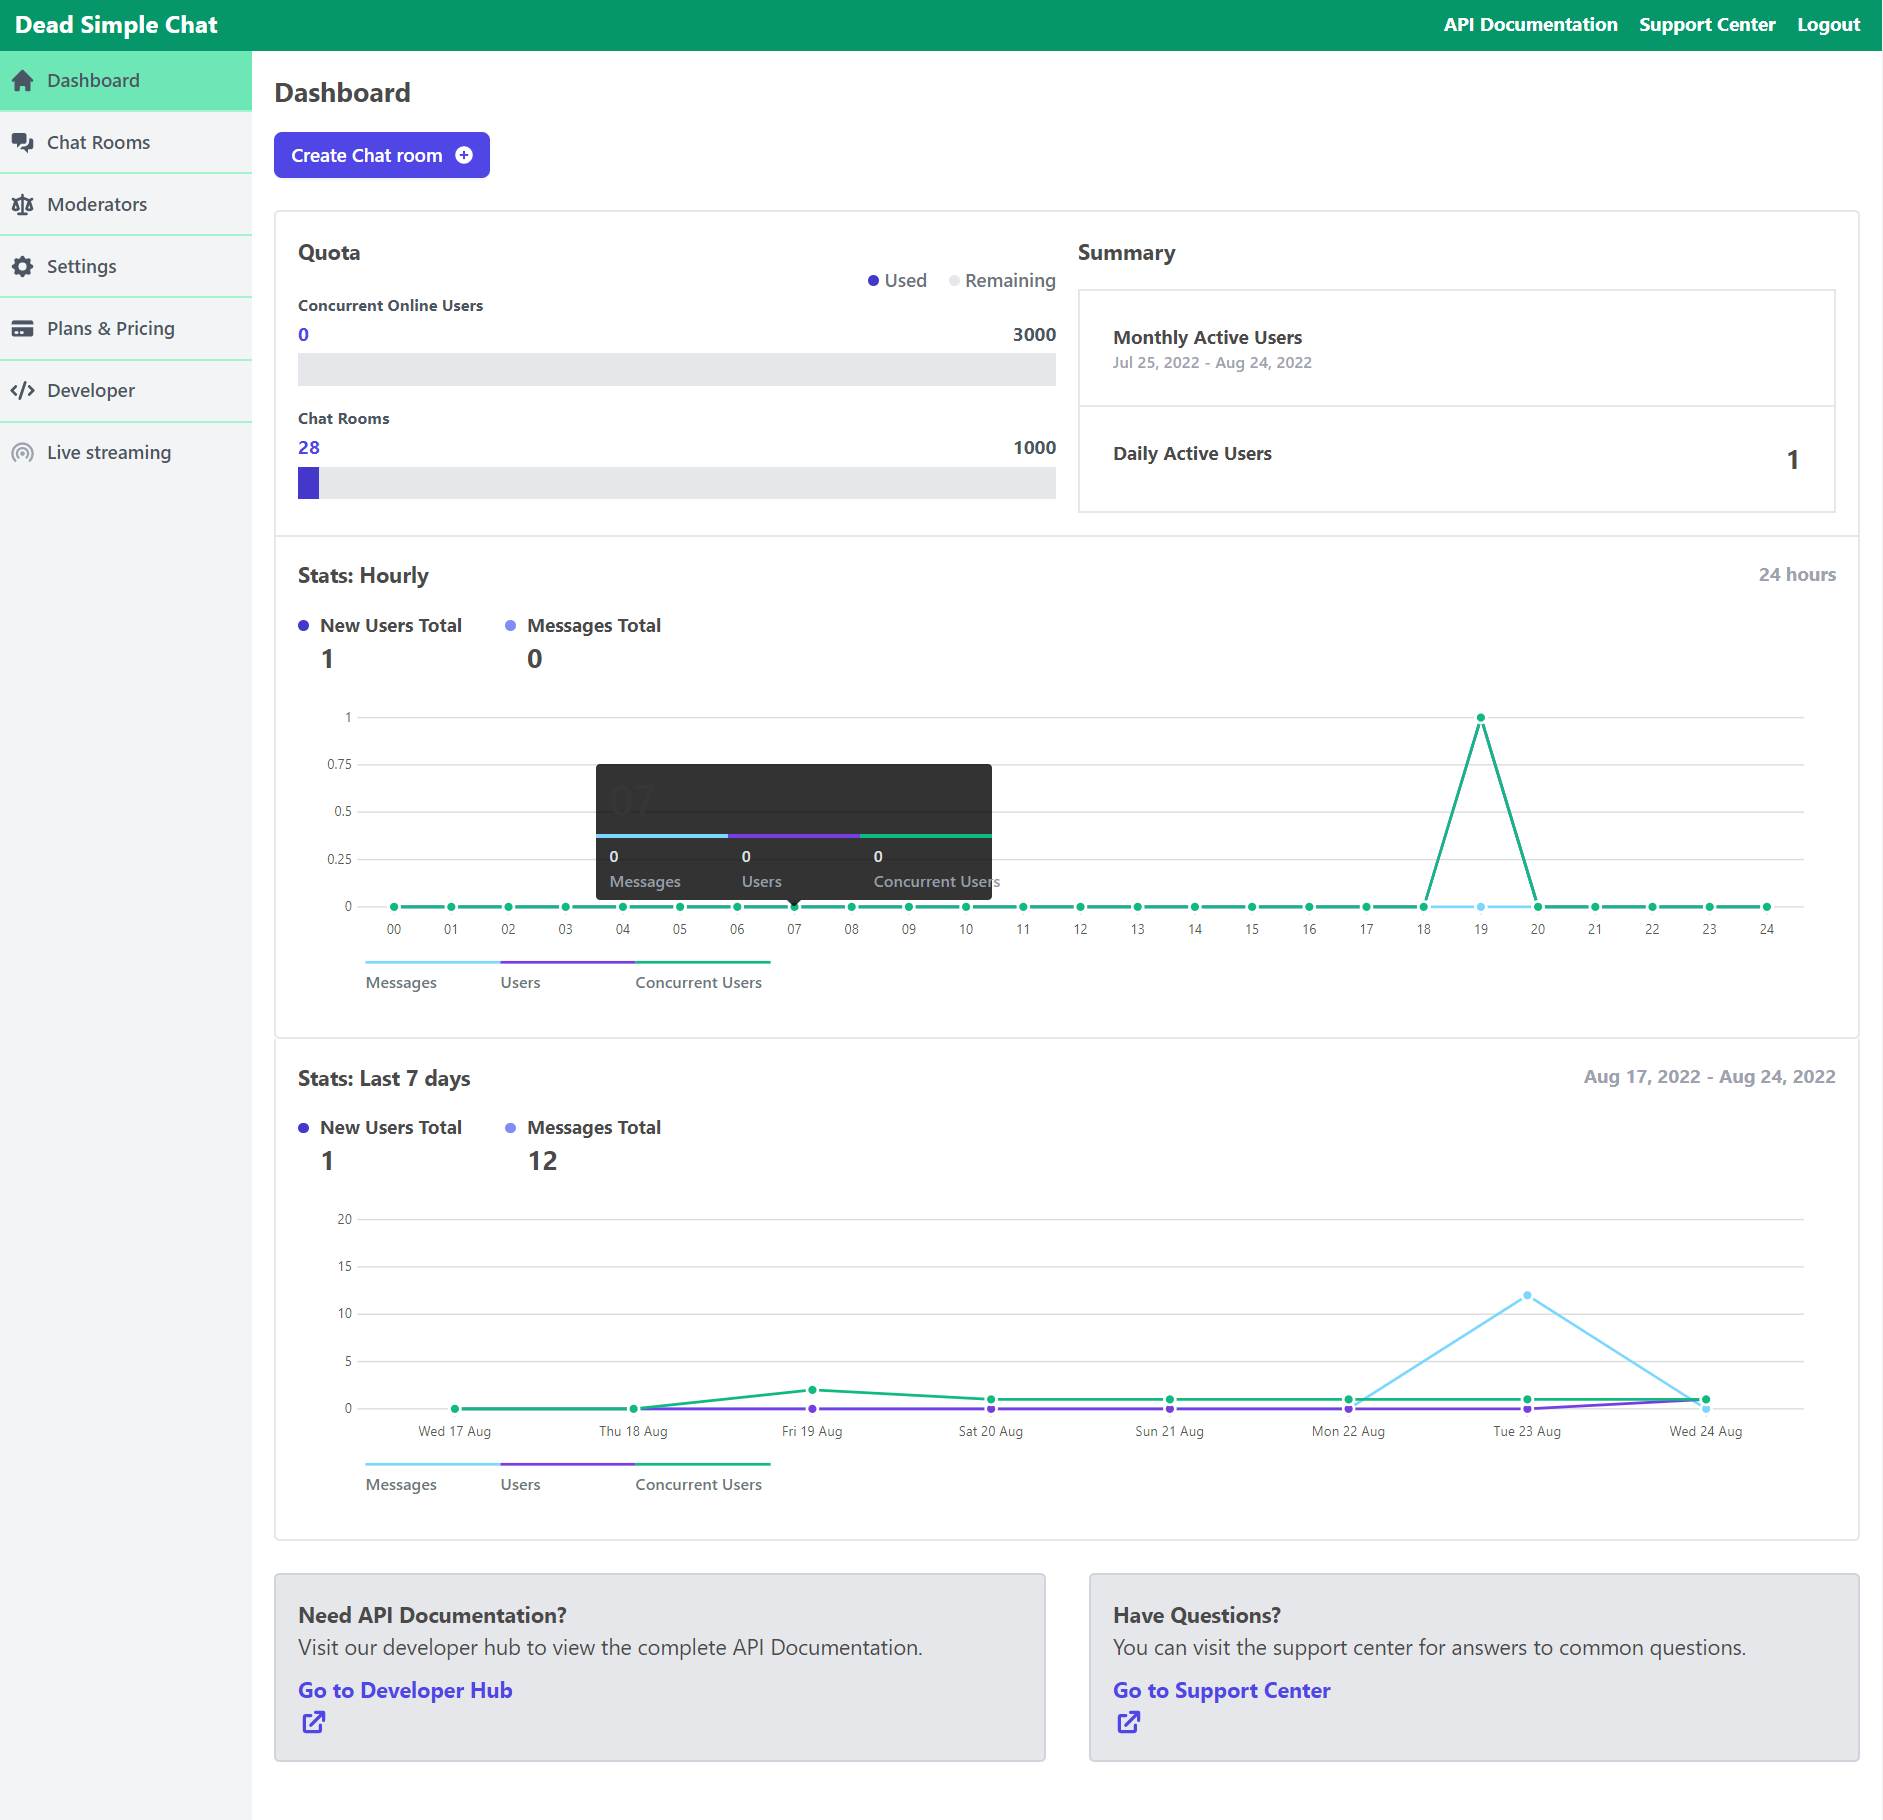
After creating an account the app will land you in the dashboard section. Here click on the create a chat room button to create a chat room to add to your react website.
It should look something like this:
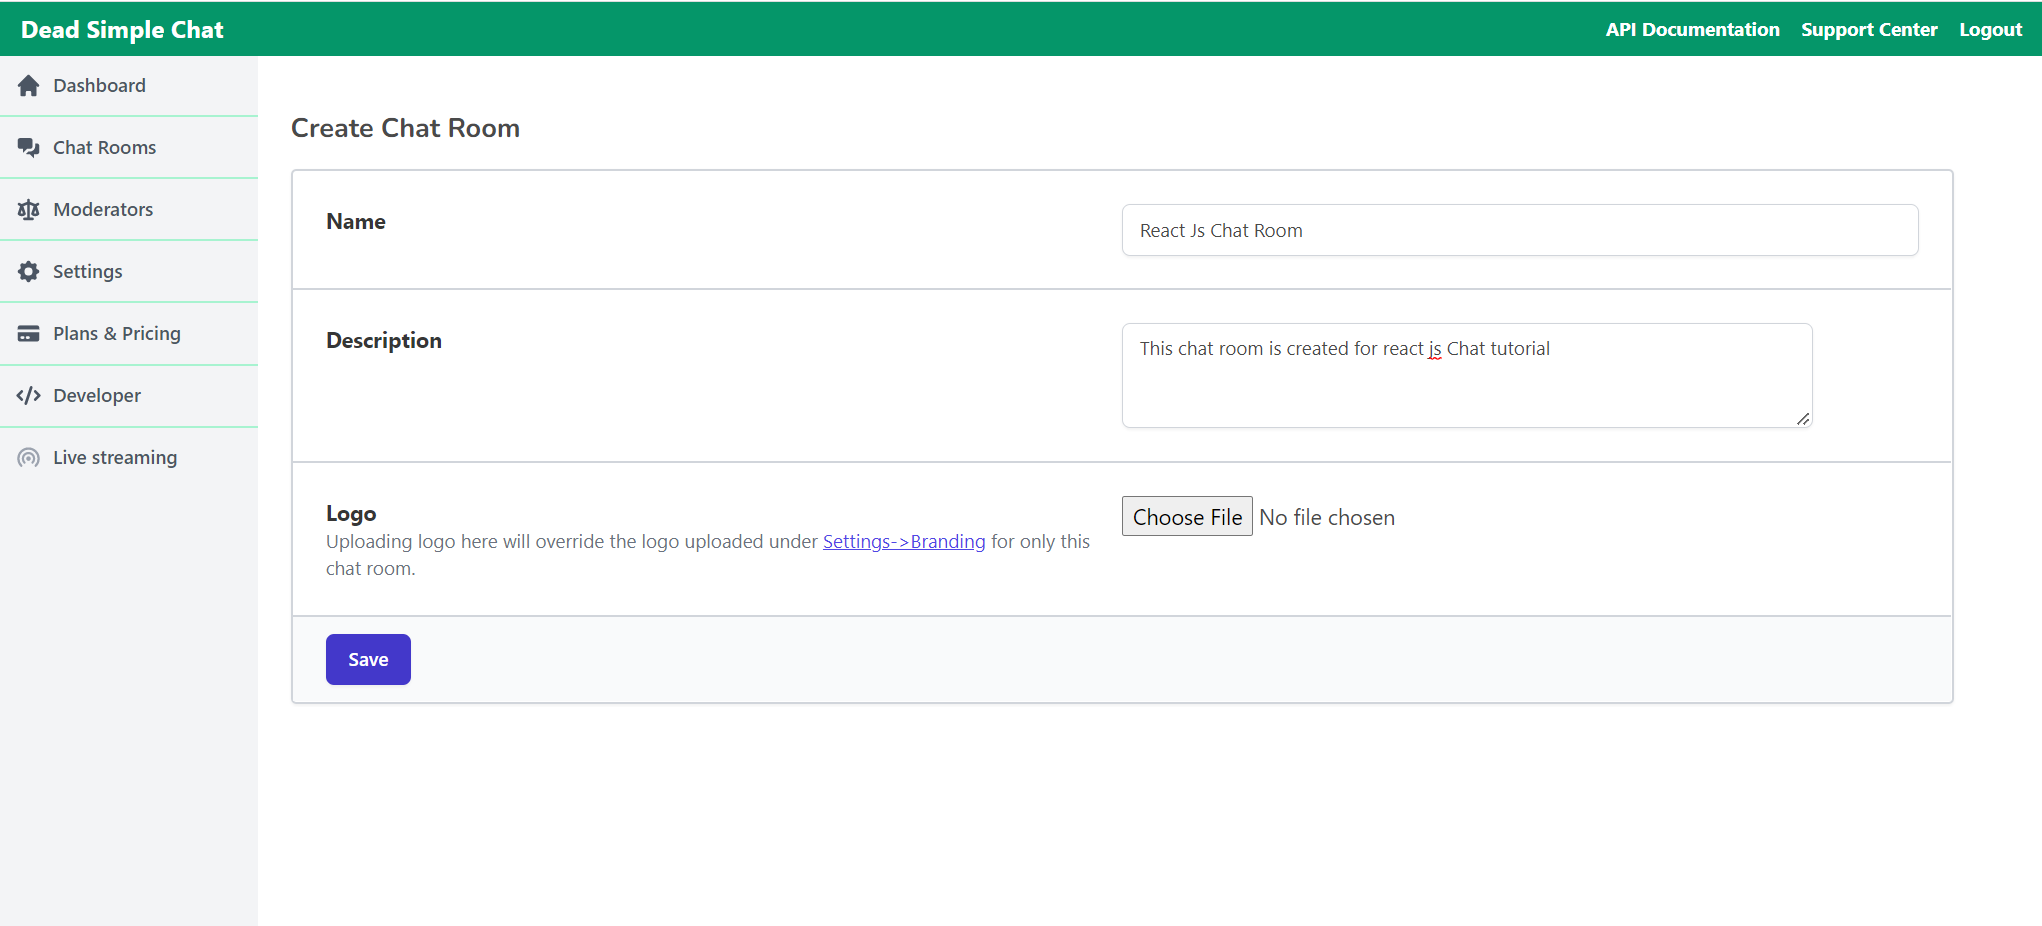
Click on the create chat room button to create a new chat room.
You can give it an name and an optional description also there is ability to upload your logo there.
Finally click on the save button to create the chat room
Once you have created the chat room you will land in the chat room settings page, where you can change the settings. Switch on /off the chat and other features, customize the look of the chat and many more things
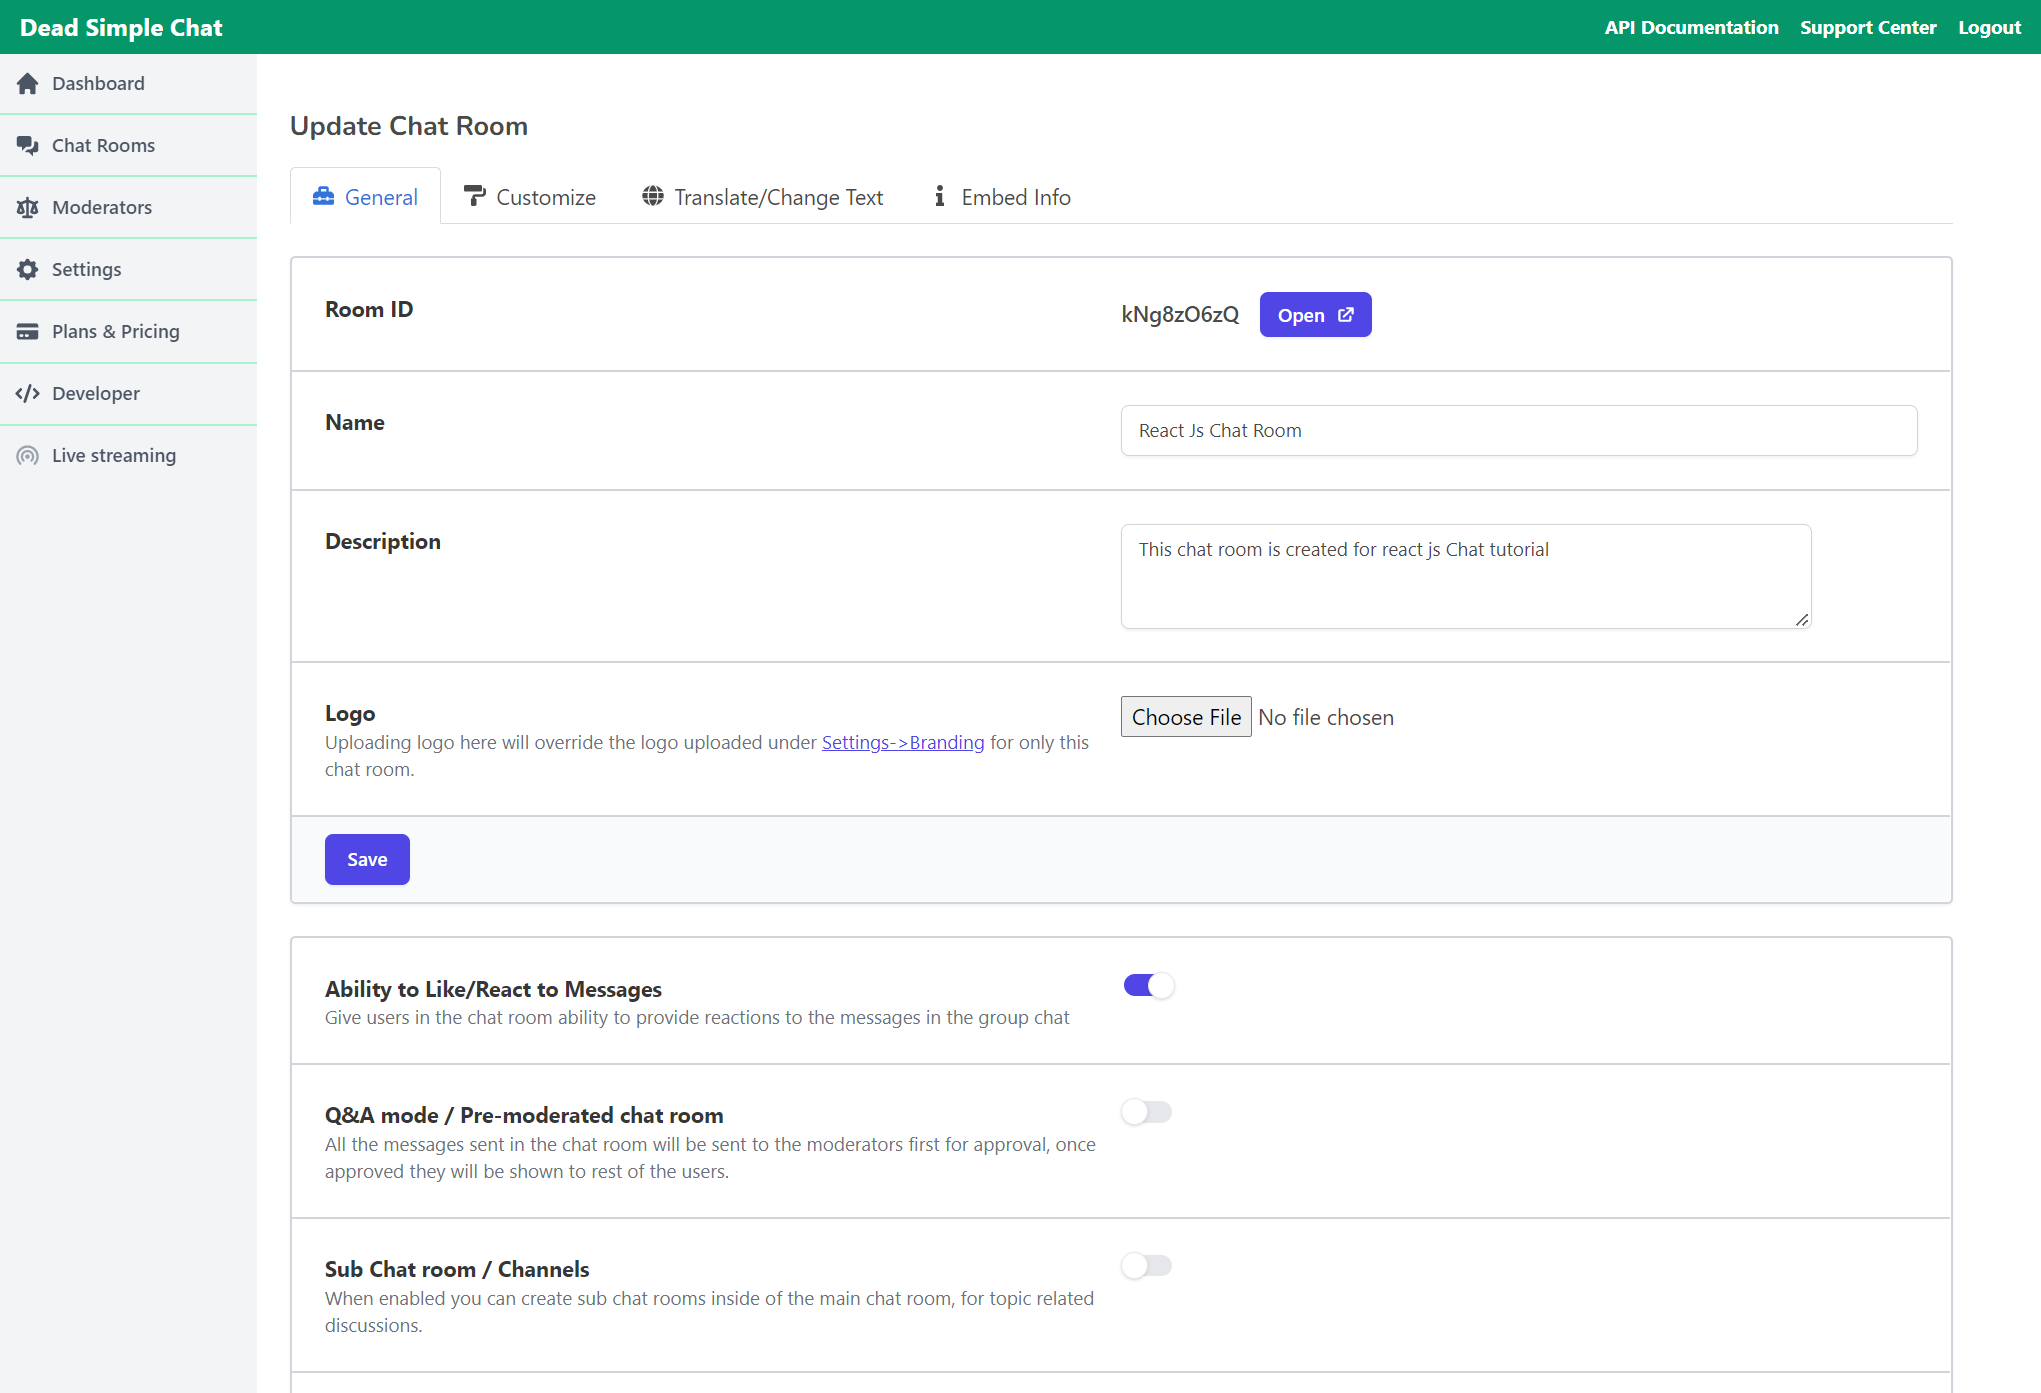
Here click on the Embed Information on the top right hand side corner of the settings page to get the embed instructions
On the Embed Info page you can:
- Customize the size of the chat (large size, small size or custom size).
- Embed chat as a Chat bubble
- Get a pre-view on how the chat will look inside your website.
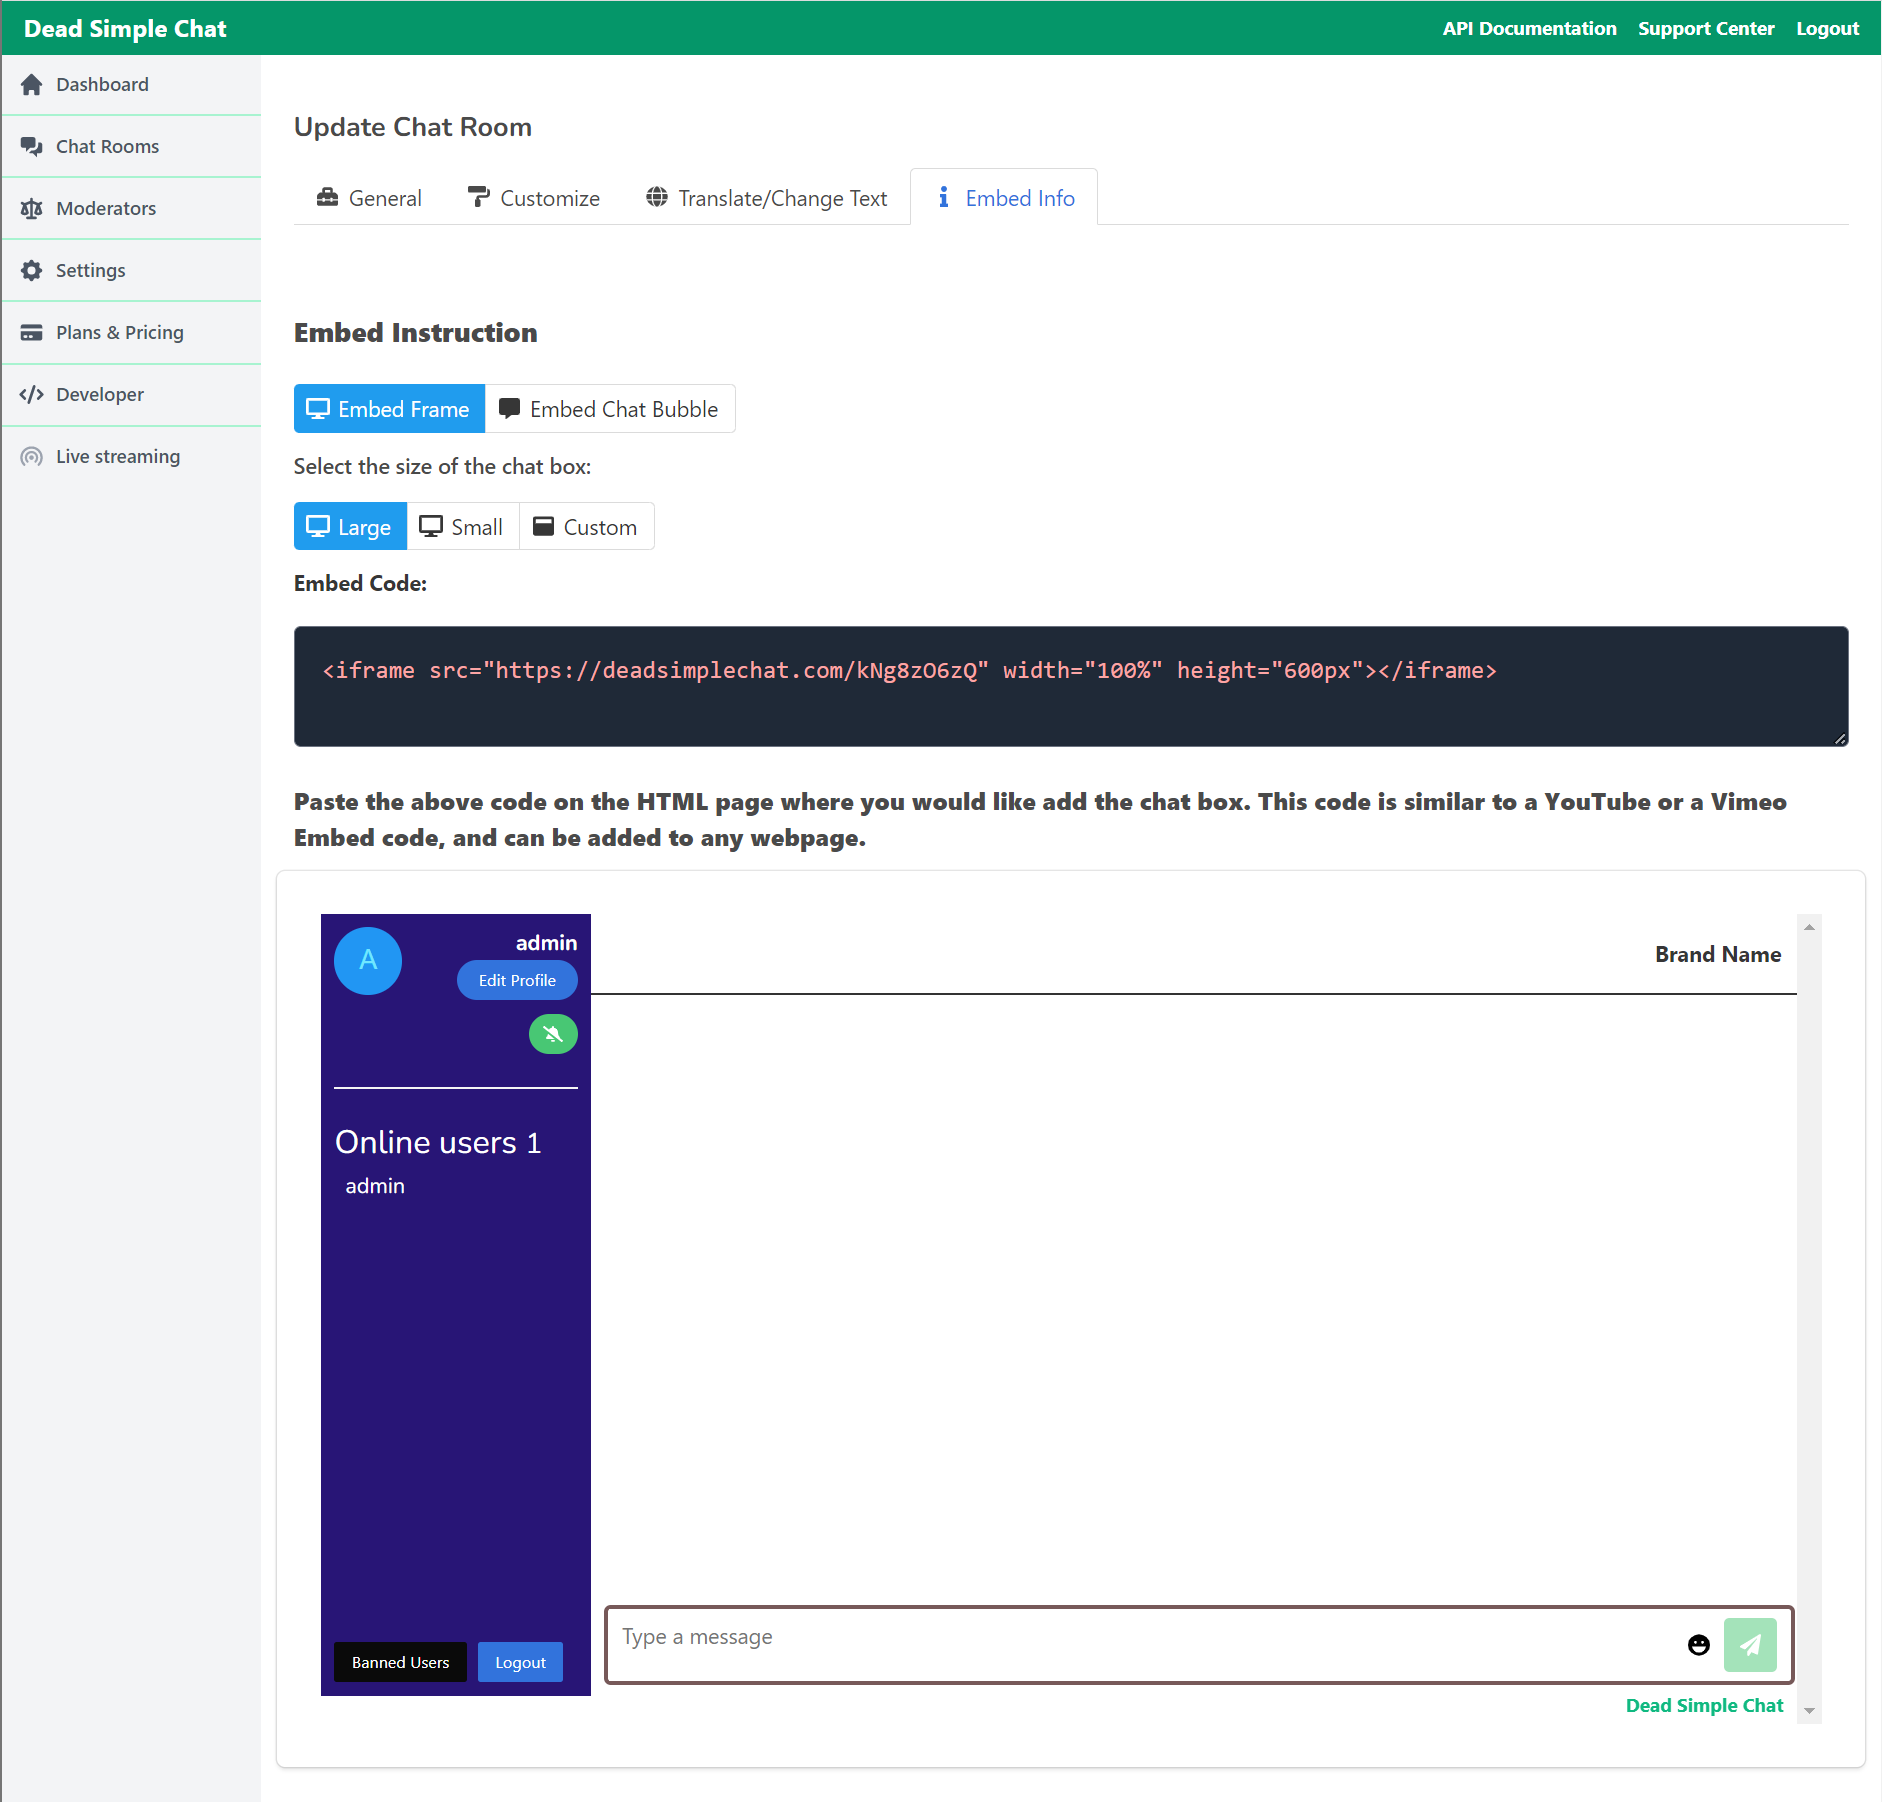
Step 3. Adding DeadSimpleChat to your React Website/App.
Copy the Embed code from the Embed info page and let us go towards our react application.
We created a sample react app and we are going to add DeadSimpleChat to the App.js file but DeadSimpleChat can be easily added to any component of the react.
Paste the Embed code in the App.js file and the code will look like this:
import './App.css';

function App() {
  return (
    <div className="App">
      <header className="App-header">
      <iframe src="https://deadsimplechat.com/CGOC0byXC" width="60%" height="600px"></iframe>
      </header>
    </div>
  );
}

export default App;
Let us view our application and see how the chat looks like:
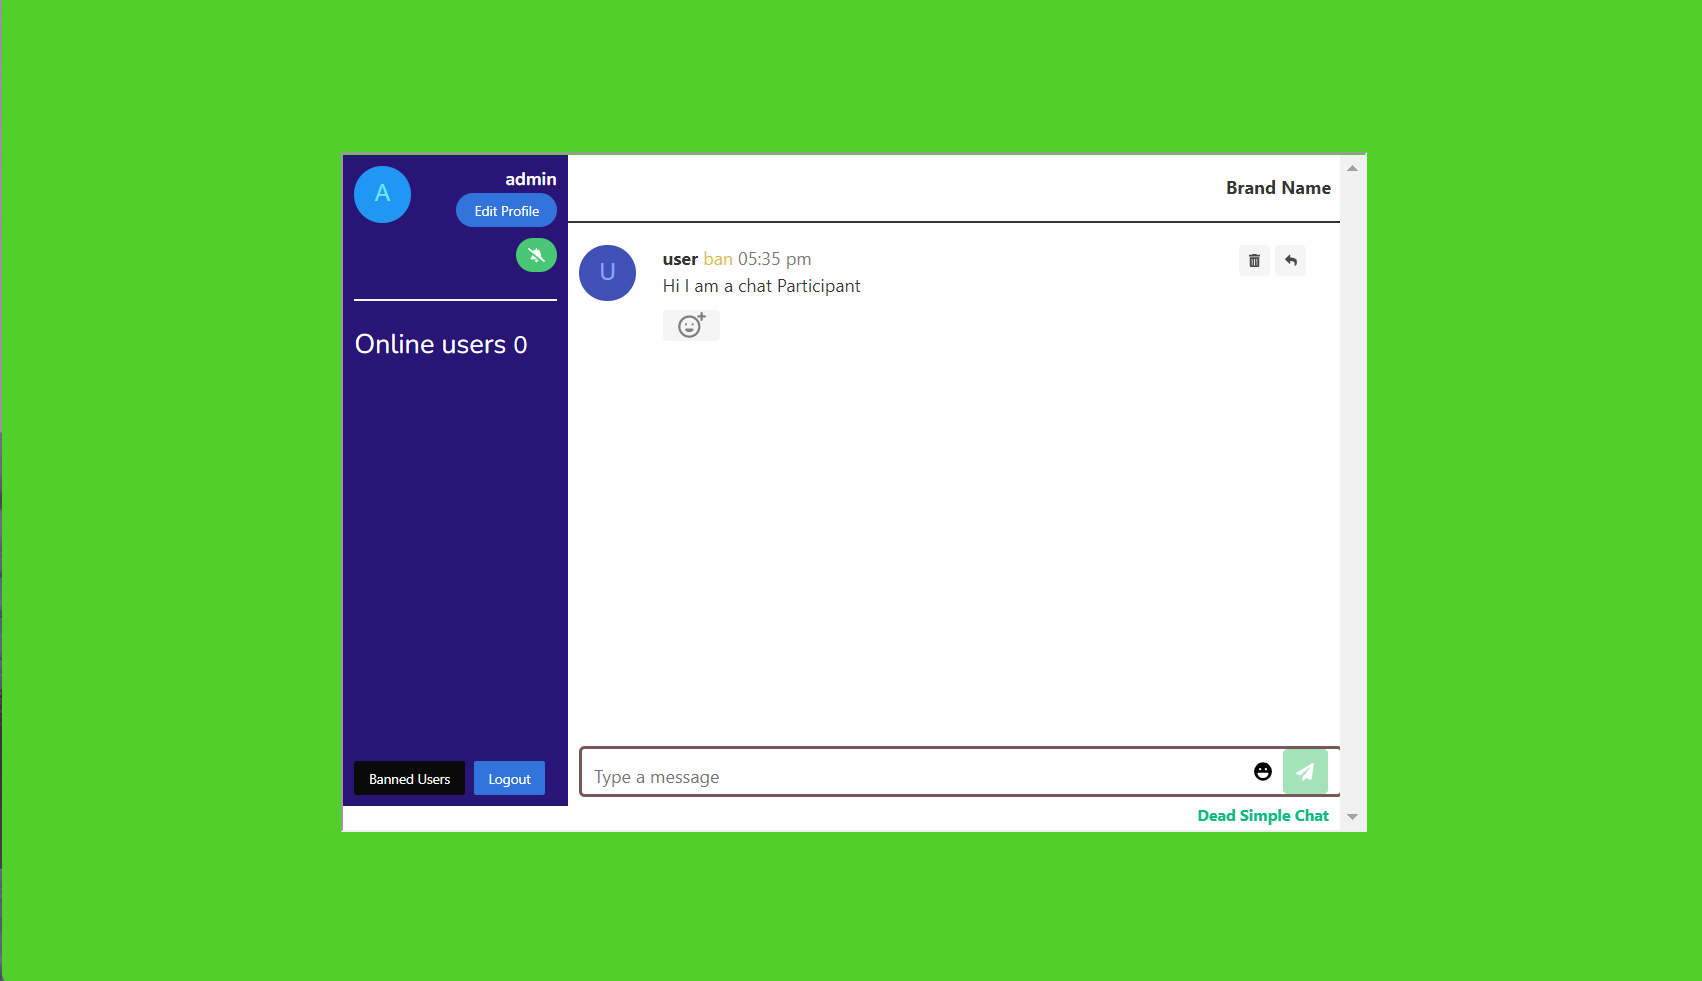
We have added Chat to our React Js application.
Bonus: JavaScript SDK and APIs
With DeadSimpleChat you also get JavaScript SDK and APIs to precision customize the chat application according to your use-case.
There are APIs and Chat SDK to control every aspect of the chat room.
You can add Users to Chat, Send Messages, Delete Messages and all the features that are required are available in the JavaScript SDK
Try out the SDK and API by creating a free account.
Here is the documentation for SDK and API
Let us learn more about some of the basic functions that we can use with the SDK. For the full list of functions refer to the documentation.
- How to add users
- How to send Messages
- How to delete Messages
- How to ban users
- How to load Customization
- How to create 1-1 Chat
- How to create Group Chat
Adding JavaScript SDK to the chat app
Adding the JavaScript SDK to the react app is as easy as pasting a single line of code to import the SDK.
You can learn more about it in the Quick Start Guide
To import the JavaScript SDK to the chat go to the index.html and add the script tag given below:
<script src="https://cdn.deadsimplechat.com/sdk/1.0/dschatsdk.min.js"></script>
the index.html file looks like this:
<!DOCTYPE html>
<html lang="en">
  <head>
    <meta charset="utf-8" />
    <link rel="icon" href="%PUBLIC_URL%/favicon.ico" />
    <meta name="viewport" content="width=device-width, initial-scale=1" />
    <meta name="theme-color" content="#000000" />
    <meta
      name="description"
      content="Web site created using create-react-app"
    />
    <link rel="apple-touch-icon" href="%PUBLIC_URL%/logo192.png" />
    <!--
      manifest.json provides metadata used when your web app is installed on a
      user's mobile device or desktop. See https://developers.google.com/web/fundamentals/web-app-manifest/
    -->
    <link rel="manifest" href="%PUBLIC_URL%/manifest.json" />
    <script src="https://cdn.deadsimplechat.com/sdk/1.0/dschatsdk.min.js"></script>
    <!--
      Notice the use of %PUBLIC_URL% in the tags above.
      It will be replaced with the URL of the `public` folder during the build.
      Only files inside the `public` folder can be referenced from the HTML.

      Unlike "/favicon.ico" or "favicon.ico", "%PUBLIC_URL%/favicon.ico" will
      work correctly both with client-side routing and a non-root public URL.
      Learn how to configure a non-root public URL by running `npm run build`.
    -->
    <title>React App</title>
  </head>
  <body>
    <noscript>You need to enable JavaScript to run this app.</noscript>
    <div id="root"></div>


    <!--
      This HTML file is a template.
      If you open it directly in the browser, you will see an empty page.

      You can add webfonts, meta tags, or analytics to this file.
      The build step will place the bundled scripts into the <body> tag.

      To begin the development, run `npm start` or `yarn start`.
      To create a production bundle, use `npm run build` or `yarn build`.
    -->
  </body>
</html>
we also need to add an id tag to the iframe that we embedded on the app.js page. let us give an id of chat-frame to the iframe tag like this:
<iframe id="chat-frame" src="https://deadsimplechat.com/CGOC0byXC" width="60%" height="600px"></iframe>and the App.js file looks like this:
// import logo from './logo.svg';
import React from 'react';
import ReactDOM from 'react-dom/client';
import './App.css';

function App() {

  return (
    <div className="App">
      <header className="App-header">
      <iframe id="chat-frame" src="https://deadsimplechat.com/CGOC0byXC" width="60%" height="600px"></iframe>
      </header>
    </div>
  );
}

export default App;
Connecting the chat SDK to the iFrame
Now we need to initialize the chat sdk.
This process is very simple just call the chat sdk with these parameters
- Chat Room ID (id of the chat room which we embedded in the react js app: CGOC0byXC
- Id of the iframe which is: chat-frame
- Public API key ( login to DeadSimpleChat and go to developer to get this key)
let us call the connect method to the instance of the constructor, as in the code below:
(async () => {
    // DSChatSDK construction accepts two parameters:
    // 1. Chat Room Id
    // 2. ID of the iFrame tag
    // 3. Dead Simple Chat Public API Key.
    const sdk = new DSChatSDK("CGOC0byXC", "chat-frame", "pub_5738506b4e495f744ee473533271517a485775656f354978795830")
    // Call the connect method to connect the SDK to the Chat iFrame.
    await sdk.connect();
});
We need to call this function in the lifecycle event of react when the page loads. That lifecycle event is componentDidMount()
let us declare a empty variable in the state of our App component like:
  constructor(props){
    super(props);
    this.state = {
      sdk: {}
    }
}In the componentDidMount function let us create a new instance of the DSChatSDK with our Chat Room ID, Id of the iframe, and the Public API Key.
and connect the iframe with the SDK.
  async componentDidMount() {
    let DSChatSDK = window.DSChatSDK;
    console.log("view entered")
    let sdk = new DSChatSDK("CGOC0byXC", "chat-frame", "pub_7172586270477a656a3863587a594f46566e736839307737544b532d3463484c4e524b5743676b7733336d5151767a4b")
    await sdk.connect();
    this.setState({ sdk: sdk });
  }
to test out the SDK let us create a logout function and create a logout button to logout the user.
the logout function would call the logout method of the SDK.
  logout()  {
    this.state.sdk.logout();
}This will not work because we need to bind this for it to work
In the constructor write the below code:
this.logout = this.logout.bind(this);So the constructor code looks like:
  constructor(props){
    super(props);
    this.state = {
      sdk: {}
    }

    this.logout = this.logout.bind(this);
  }
Let us create a button in the render function above the chat iframe and call the logout function when pressed
<button onClick={this.logout}>Logout</button>the render function looks like:
  render(){
    return(
      <div className="App">
      <header className="App-header">
        <button onClick={this.logout}>Logout</button>
      <iframe id="chat-frame" src="https://deadsimplechat.com/CGOC0byXC" width="60%" height="600px"></iframe>
      </header>
    </div>
    )
  }
the chat app looks like this:
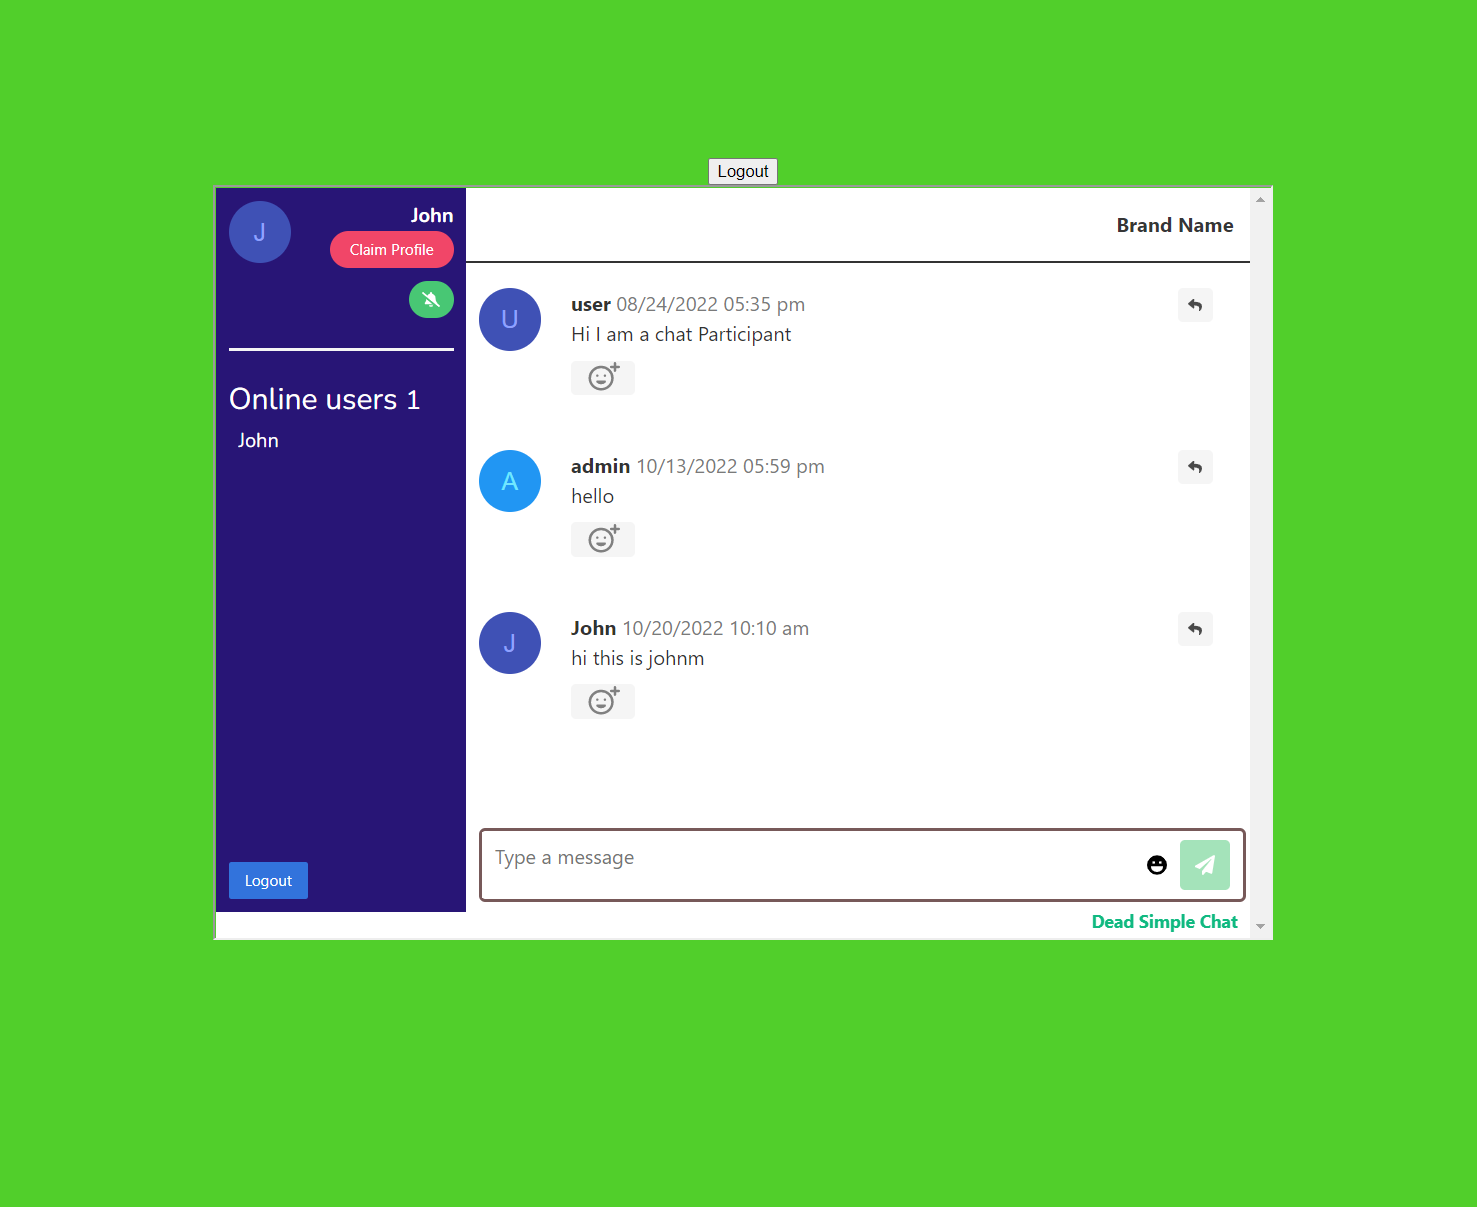
Now when we press the logout button the user logs out.
So, I have given you a tutorial on how to use the SDK and for a complete list of the SDK methods, API and Webhooks reference refer to the documentation
Bonus: Customizing the look and feel of Chat
There are two methods of customizing the look of the chat
- Using the UI based tool
- Using APIs and SDK.
I will explain both the methods here
- Using the UI Based tool.
You can do pretty much everything with the UI based tool. Go to your DeadSimpleChat account and login to the Dashboard
Go to the Chat rooms section and click on the edit button next to the chat room which you want to customize.
Click on the customize section and there you can see settings to customize every aspect of the chat room
- Change Colors
- Change Fonts, even use custom fonts
- Write Custom CSS to customize the chat even further. Refer to our CSS Class guide for details on how to write the custom CSS.
2. Using the APIs
Using the APIs as well you can send the customization to a specific chat room or to multiple chat rooms and you can create chatrooms and send the specific built out customizations to each chat room
Bonus: Useful features of DeadSimpleChat
- Translate chat
- Chat text translation
- Chat APIs
- JavaScript SDK
- Single Sign On
- Moderation
- Ban Bad Words
- Ban Users
- File Sharing
- Image Sharing
- Q&A Mode
- Channels
You can translate the chat interface into any language. You can also alter the wording on the chat interface to say anything that you want.
Go to Dashboard -> Chat Rooms -> Select the chat room where tou want to translate the chat interface and click on the edit button -> click on translate.
Chat text translation
You can translate the Text that is being written in the chat on the fly using the A.I based translation tools in to 15 languages.
Chat SDK
All the functions of the chat are available in the javascript sdk. You can send messages, create moderators, delete messages and chat.
Download chat, create users and many more.
All the functionality of the chat can be controlled via the JavaScript SDK
Chat APIs
Along with the SDK we also have chat apis that you can call to control every aspect of the chat
you can customize the chat and send message, almost everything that you can do with the SDK can be done using the APIS
Single Sign On
With Single Sign on you can automatically sign in users that are on your website, app or platform into the chat with them knowing anything with the username that you set for them
There are two kinds of Single Sign On. Simple Single Sign On it is easy to implement but less secure and
Advanced Single Sign On It needs a bit technical know how but is more secure.
Moderation
With Moderation you can easily create multiple moderators and you can assign them
- a single chat room
- Multiple Chat rooms
- All the chat rooms
Also a chat room can have multiple moderators moderating the chat room
Moderators can delete the chat messages and ban and unban the chat users.
Ban Bad Words
You can add Custom bad words list to the DeadSimpleChat account and those words will not be allowed in the chat room
When someone tries to write the bad word the whole word will be deleted.
Ban Users
Moderators and Admin can ban users from the chat room. Users are banned via their IP Address so they are able to easily re-join the chat room
Moderators and Admin can also unban the users by clicking on the banned users button to show a list of banned users and choose to un-ban anyone they like.
You can also ban and unban users via the chat sdk and api
File Sharing
Files can also be easily shared in the chat room. File sharing needs to be enabled for the users and moderators to be able to share files in the chat room
File sharing can also be enabled using the sdk and api and Files can also be shared via sdk and api.
Ready to Add Chat to Your Website?
Get started for free. No credit card required.
Start a Free Trial

![Webinar Chat: The Complete Guide to Engaging Your Audience [2026]](/blog/content/images/size/w600/2026/02/article-hero-webinar-chat.svg)
