In this article we are going to look at some of the best react animation libraries that you can use in 2023
If you are looking for a React Native Chat SDK to build in app chat messaging application, you can consider DeadSimpleChat React Native SDK
We will also look at how to use each library in your react project, what are their capabilities with a real life example
So, without further ado lets get started
List of Libraries we are going to cover in this article
- React Transition Group. 15,610,562 weekly Downloads
- Framer Motion 2,457,388 weekly Downloads
- React Spring 818,534 weekly Downloads
- GSAP GreenSock 385,435 weekly Downloads
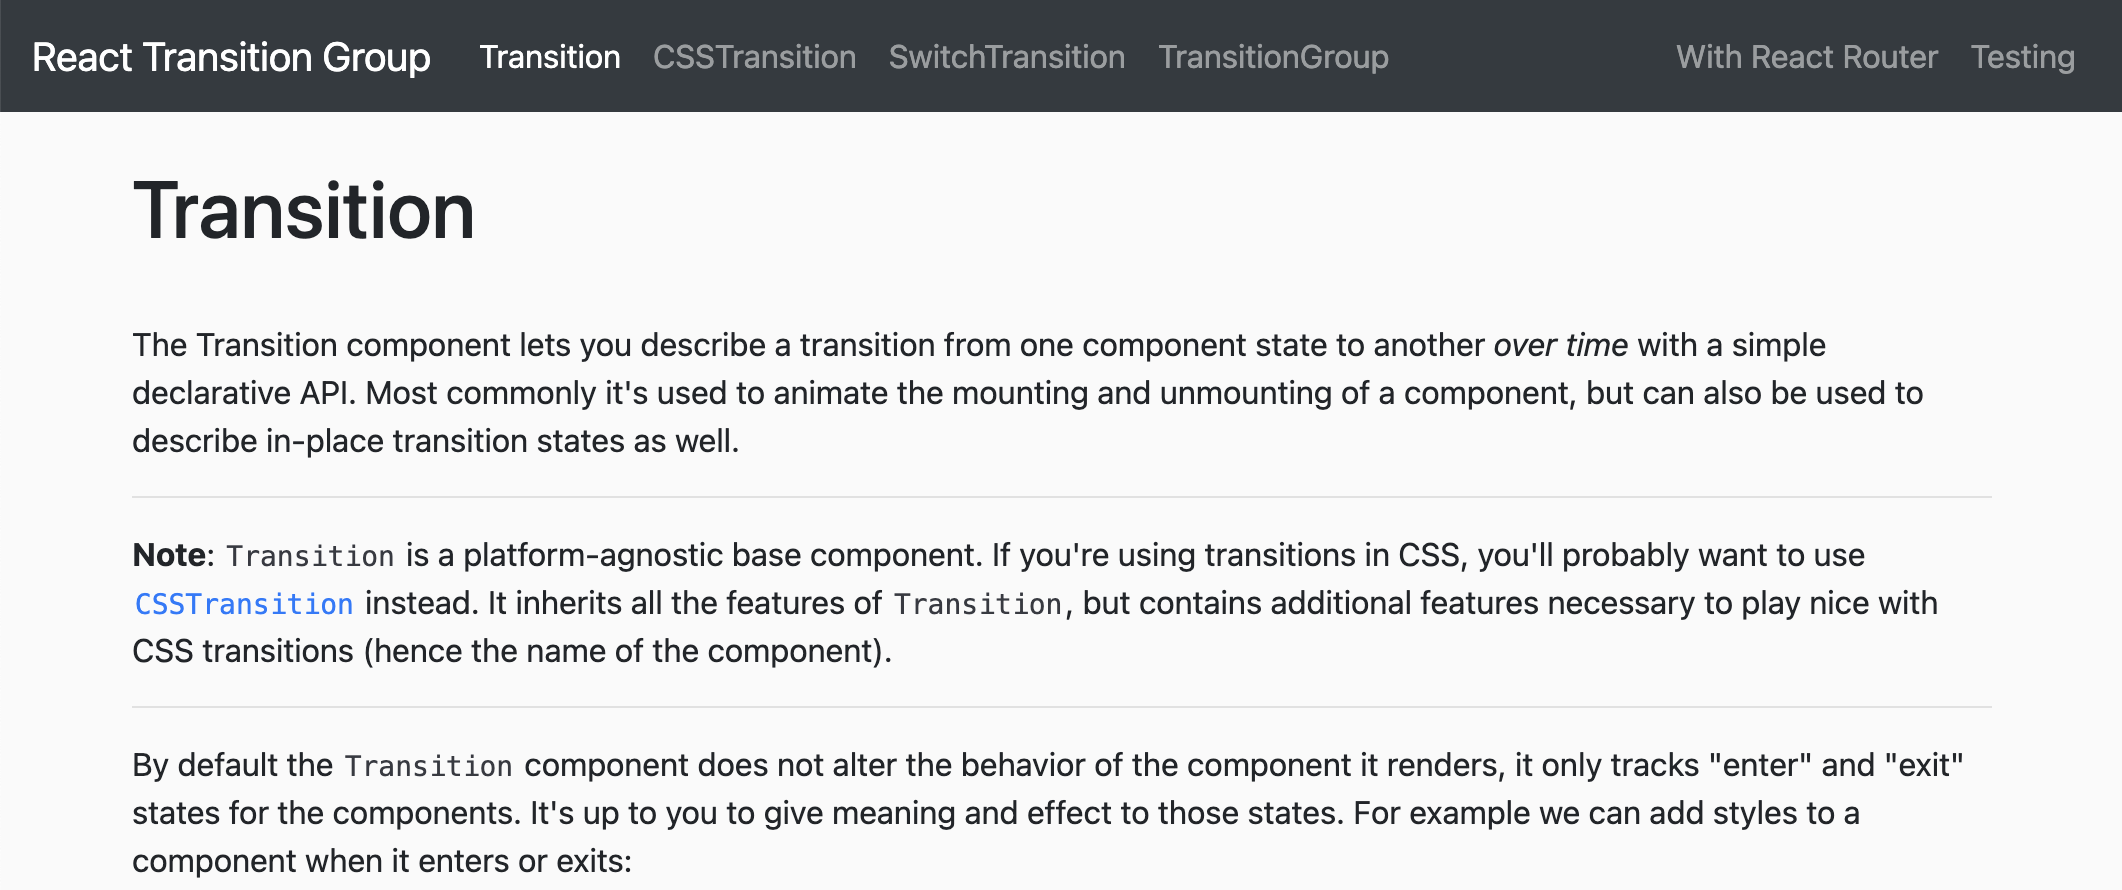
1. React Transition Group
React Transition Group makes it very easy to create visually appealing by handling the lifecycle of components entering and leaving the DOM
It is hugely useful in handling page transitions, lists animations and modal dialogs.
The difference between react transition Group and other libraries is that it does not animate the styles by itself, instead it exposes transition stages, manages classes and group elements and manipulates the DOM in useful ways. Thus making the implementation of visual effects and transitions much easier
Important Features
Transition Group Component
The TransitionGroup component is the basic part of the RTG library
It listens to the changes in the child component using the React's reconciliation algo to detect when a child component is added or removed and then using that it provides a way to manage the animation and transition between different states
Transition Component
Transition component is a wrapper that can easily be used for animating components when they enter or leave
The transition component takes the transition duration and lifecycle callbacks as inputs and animates and transitions the child components.

CSS Transition Component
Like the Transition component, the CSSTransition is also a useful wrapper around react components
The difference is that the CSSTransition component only uses CSS to transition components entering or leaving between states
This is done by using a pre-defined list of CSS class names to the target element.
Let us consider a real life example to better understand
Example
In this example we are going to create a modal dialog using the RTG component
We will be using the CSSTransition to animate the appearance and disappearance of the dialog
Installation
npm install react-transition-groupIn your react project, let us import the library and create a Modal Component
import React from 'react';
import { CSSTransition } from 'react-transition-group';

const Modal = ({ children, showModal }) => (
  <CSSTransition
    in={showModal}
    timeout={900}
    classNames="modal"
    mountOnEnter
    unmountOnExit
  >
    <div className="modal">{children}</div>
  </CSSTransition>
);

export default Modal;What are we doing in the above code
We are using the CSSTransition that we imported and we have wrappped it around the Modal div element
We have also specified the settings that we need for the transition.
We have specified the timeout to be 200ms and the transition to start on mouseOnEnter and end on unmountOnExit
Next we need to create the CSS for the transition
.modal {
  /* Orignal state of the element */
  opacity: 0;
  transform: scale(0.9);
}
.modal-enter {
  /* Start state for entering (right before show) */
  opacity: 0;
  transform: scale(0.9);
}
.modal-enter-active {
  /* Final state for entering (after 'in' change) */
  opacity: 1;
  transform: scale(1);
  transition: all 300ms ease-in;
}
.modal-exit {
  /* Start state for leaving (right before hide) */
  opacity: 1;
  transform: scale(1);
}
.modal-exit-active {
  /* Final state for leaving (after 'in' change) */
  opacity: 0;
  transform: scale(0.9);
  transition: all 300ms ease-in;
}
Lastly we add the Modal in our App component and see it working live
import React, { useState } from 'react';
import Modal from './Modal';

const App = () => {
  const [showModal, setShowModal] = useState(false);

  return (
    <div>
      <button onClick={() => setShowModal(!showModal)}>Toggle Modal</button>
      <Modal showModal={showModal}>
       <h2> Modal is here, No fear </h2>
      </Modal>
    </div>
  );
};

export default App;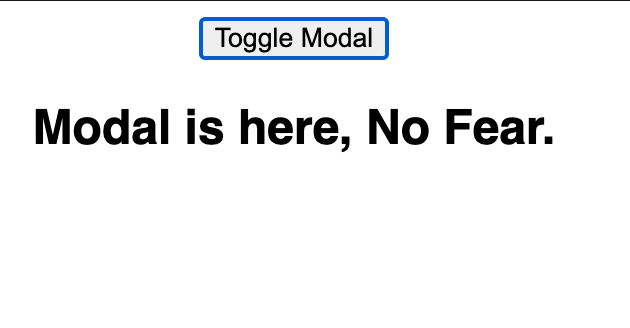
You can go to this code sandbox to see the live working example: https://codesandbox.io/s/wizardly-johnson-g5yflz?file=/src/modal.js
We created a real life example with React Transition Group. We visited what are the key features.
Pros and Cons of React Transition Group
Pros
- Easy to use: It has straightforward and easy to use APIs and Documentation. Easy to use process of handling entering and exiting animations
- Versatility: It works with both CSS transitions and JavaScript based animations. You can choose what works best for you
- Customizable: You can easily change variables like, duration, delay and other timing functions to customize the transitions according to your needs
- Maintenance: React Transitions Group is widely used with millions of weekly downloads and hense has a huge development support
Cons
- Performance: RTG is not great for complex animations, it is basically easy to use and deploy for simply applications that we use in day to day apps. For oone, it does not support hardware accelaration and does not have GPU support. For complex applications and animations you can look at some other libraries
- Limited in feature set: Like I said before RTG is for basic animations only, some features like staggered animations, complex timeline controls and physics based animations are supported in RTG
- Not recommended for Cross-Platform apps: The RTG library is primarily designed for websites and web based applications only. If you are targetting native applications or looking at React Native then RTG is not for you and you should look for other libraries
Framer API
- Easy to use API
- Declarative Syntax
- Physics based Animation Support
- Gesture Support
- Server Side Rendering Support
- Orchestrated Interaction Support
How to use Framer Motion with Example
In this section we are going to learn how to use Framer Motion in our react application with the use of an example
We are going to create an draggable card that will animates its position when dragged and will return to its orignal position when released.
Installation
You can use npm install to install Framer motion in your react website
npm install framer-motionCreating a Draggable card component
Let us create a draggable card component :
import React from 'react';
import { motion } from 'framer-motion';

const DraggableCard = () => {
  const cardVariants = {
    initial: { scale: 1 },
    drag: { scale: 1.1 },
  };

  return (
    <motion.div
      className="card"
      drag
      dragConstraints={{ left: 0, right: 0, top: 0, bottom: 0 }}
      onDragStart={() => console.log('Dragging started')}
      onDragEnd={() => console.log('Dragging ended')}
      variants={cardVariants}
      initial="initial"
      whileDrag="drag"
    >
      Drag me
    </motion.div>
  );
};

export default DraggableCard;
What are we doing here
- We have imported the
motionObject from Framer Motion. - To make the card draggable we used the
dragprop - We also defined the
dragContraintsso as to constrain the draggable area to its container - We have also added the
onDragStartandonDragEndevent listners - Then we are configuring the
cardVariantsto define the animations for the initial state and the dragging state and we are using theinitialandwhileDragprops to apply these changes
Let us start by adding some basic styling to our card.
.card {
  display: inline-flex;
  justify-content: center;
  align-items: center;
  width: 150px;
  height: 100px;
  background-color: blue;
  color: white;
  border-radius: 5px;
  cursor: grab;
  user-select: none;
}
Finally, let us add the DraggableCard component to our application
import React from 'react';
import DraggableCard from './DraggableCard';

const App = () => {
  return (
    <div className="container">
      <h1>WE are animating this card</h1>
      <DraggableCard />
    </div>
  );
};

export default App;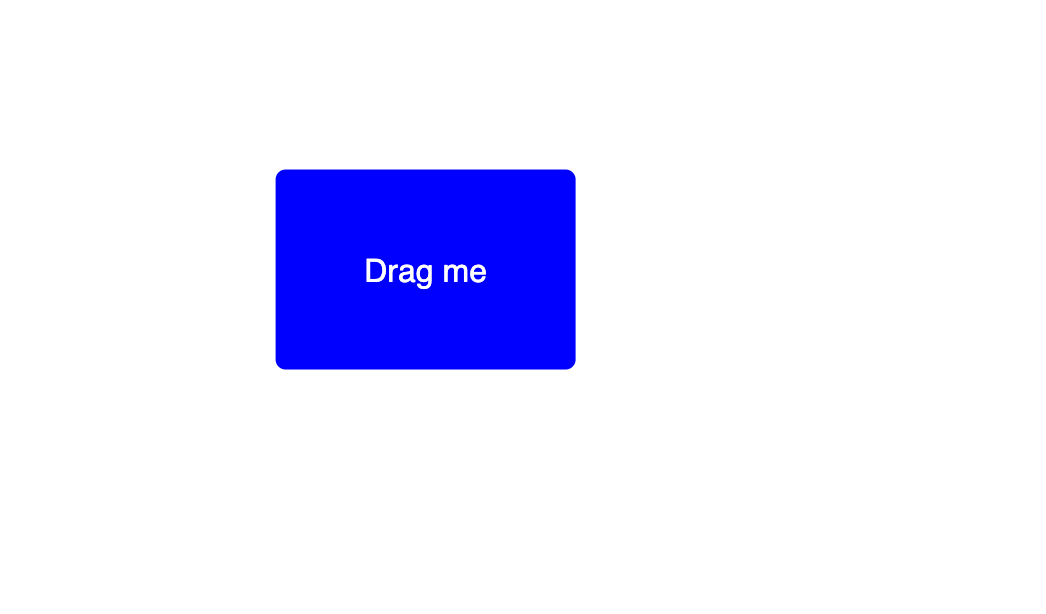
For the complete working application you can visit the code sandbox here: https://codesandbox.io/s/strange-maxwell-yfv86j?file=/src/App.js
Here are some of the Pros and Cons of the Framer Motion
It is a very good library for creating animations in react websites
Pros
- Easy to use:
- Lots of Features
- High Performance
- Seamlessly integrates with React
- Server Side rendering support
Cons
- High Overhead
- Mild Learning Curve
React Motion
React Motion is a react library focused on physics based animations
Making it the best choice for natural and organic motions, it addition to springs the react motion also has flexible APIs and multiple interpolation and timing functions available, that are quite easy to use as well
Features
- Best for Physics based animations
- Flexible APIs
- High Performance with hardware acceleration
- Interpolation
- Declarative Syntax
How to use React Motion with Example
In this section we are going to learn how to use the React motion library with an example
We are going to create a showcasing box that scales up and changes color when clicked
Installation
we can use npm to install the react motion library to your project
npm install react-springNext we will create the ScaledBox component
import React, { useState } from 'react';
import { useSpring, animated } from 'react-spring';

const ScaledBox = () => {
  const [clicked, setClicked] = useState(false);
  const animationProps = useSpring({
    backgroundColor: clicked ? 'blue' : 'red',
    transform: clicked ? 'scale(1.2)' : 'scale(1)',
  });

  const handleClick = () => {
    setClicked(!clicked);
  };

  return (
    <animated.div
      className="box"
      style={animationProps}
      onClick={handleClick}
    ></animated.div>
  );
};

export default ScaledBox;What are we doing here?
- We added the
useSpringlibrary - then we created
clickedstate - then we created properties like background color and transform
- lastly we added the
onClickhandler to handle the clicked state - The article is brought to you by DeadSimpleChat, Chat API for your website and app
Now, let us add some styling to our component
.box {
  width: 100px;
  height: 100px;
  cursor: pointer;
}
lastly, let us use our ScaledBox component in our application
import React from 'react';
import ScaledBox from './ScaledBox';

const App = () => {
  return (
    <div className="container">
      <h1>we are doing animation here with React Motion</h1>
      <ScaledBox />
    </div>
  );
};

export default App;
Pros and Cons of React Motion
Pros
- Declarative Syntax
- Physics based Animations
- Detailed Configuration
- Flexible API
- Optimized Performance
Cons
- Learning Curve
- Documentation
- Limited in Scope
GreenSock
GreenSock is used for creating high performance animations. It is widely used JavaScript Library. GSAP powerful and easy to use APIs make it popular choice to create complex animations and transitions
Features
- High Performance: With hardware accelerated graphics performance and GPU support, GSAP can deliver responsive animations, smooth motion graphics performance.
- Granular Timeline Controls: With Advanced timeline control abilities, it makes it possible to sequence animations, delays, manage durations and even manage to synchronize multiple animations with smoothness
- Interoperable: GSAP can be used across platforms and libraries, if you have an app with multiple technologies such as react, vue etc. GSAP has support for these and many other frameworks
- Wide Range of Plugins: Being a widely used platform there are multiple plugins available for various use-cases
- SVG Animations: GSAP has support for SVG animations, you canmorph SVG paths and create animations with SVG and GSAP
How to use GSAP with Example
In this section we will learn how to use GSAP with an example. We are going to create a complex animation example with GSAP.
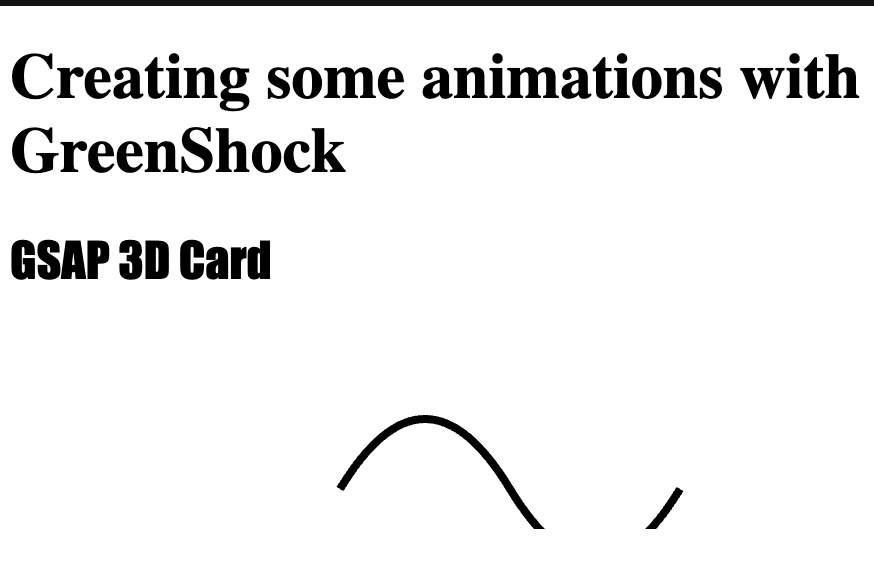
It is a 3D rotating card with an animated SVG path and dynamic text
Installation
Let us first install the GSAP library
npm install gsapCreating the 3D card Component with GSAP
Now we will be creating the 3D card component and importing the GSAP library to our component
import React, { useEffect, useRef } from 'react';
import { gsap } from 'gsap';

const Card3D = () => {
  const cardRef = useRef();
  const svgRef = useRef();
  const textRef = useRef();

  useEffect(() => {
    const tl = gsap.timeline();

    tl.to(cardRef.current, {
      duration: 2,
      rotationY: '360deg',
      transformOrigin: 'center',
      ease: 'Power4.easeOut',
    });

    tl.to(
      svgRef.current,
      {
        duration: 1,
        attr: { d: 'M10 80 C 40 10, 65 10, 95 80 S 150 150, 180 80' },
        ease: 'Power4.easeInOut',
      },
      0
    );

    tl.to(textRef.current, { duration: 1, fontFamily: 'Impact', fontSize: 24 }, 0);

    return () => {
      tl.kill();
    };
  }, []);

  return (
    <div className="container" ref={cardRef}>
      <h2 ref={textRef}>GSAP 3D Card</h2>
      <svg ref={svgRef} width="100%" height="100" viewBox="0 0 200 100">
        <path
          d="M10 80 Q 52.5 10, 95 80 Q 137.5 150, 180 80"
          fill="none"
          stroke="#000"
          strokeWidth="4"
        />
      </svg>
    </div>
  );
};

export default Card3D;
What are we doing here?
We have imported the GSAP and we are using the react hooks useEffect and useRef to handle side effects.
Next we need to define a timeline where the animations will happen, we are doing this with the help of gsap.timeline()
Lastly, we are combining multiple animations that will happen in the timeline that target our 3D card, SVG path, and text.
Next, we are adding some styles to the container
.container {
  display: inline-flex;
  flex-direction: column;
  align-items: center;
  justify-content: center;
  width: 200px;
  height: 200px;
  background-color: lightblue;
  border-radius: 5px;
  perspective: 500px;
}
Lastly, we are using the 3D card component in our application
import React from 'react';
import Card3D from './Card3D';

const App = () => {
  return (
    <div>
      <h1>Creating some animations with GreenShock</h1>
      <Card3D />
    </div>
  );
};

export default App;
You can see the example live on the website : https://codesandbox.io/s/dry-hill-856qcc?file=/src/App.js
In this example we created complex animations with GreenShock, we also saw some features of GreenShok that distinguish it from other animation libraries
Now let us look at some of the pros and cons of GSAP
Pros
- High Performance
- Versatile library
- Excellent Cross Browser Compatibility
- Easy to use
- Supports a lot of third party plugins
Cons
- Large Size: With lots of features comes lots of code and a bigger size. GSAP is a big library and hence if you doing small animation. It is probably not a good choice for you
- Price : Although GSAP itself is free some of the Plugins require a paid membership. which is something to think about
- React Compatibility: While GSAP works with react and other modern front end frameworks. It requires a bit more work to get it working than some of the other libraries that are only available for react
Comparison of all the Libraries
| Criteria | React Transition Group | Framer Motion | React Spring | GSAP (GreenSock) |
|---|---|---|---|---|
| Ease to Use | Easy | Very easy | Easy | Very easy |
| Performance | Good | Excellent | Excellent | Excellent |
| Versatility | Good | Excellent | Excellent | Excellent |
| Integration with React | Excellent | Excellent | Excellent | Good |
| Declarative Syntax | Yes | Yes | Yes | No |
| Physics-Based Animations | No | Yes | Yes | Yes, with Plugins |
| Gesture Support | No | Yes | No | Limited |
| Cross-Browser Compatibility | Good | Excellent | Excellent | Excellent |
| Server-Side Rendering Support | Yes | Yes | Yes | Yes |
| File Size | Small | Small | Small | Medium |
| License & Cost | Free & Open Source | Free & Open Source | Free & Open Source | Freemium |
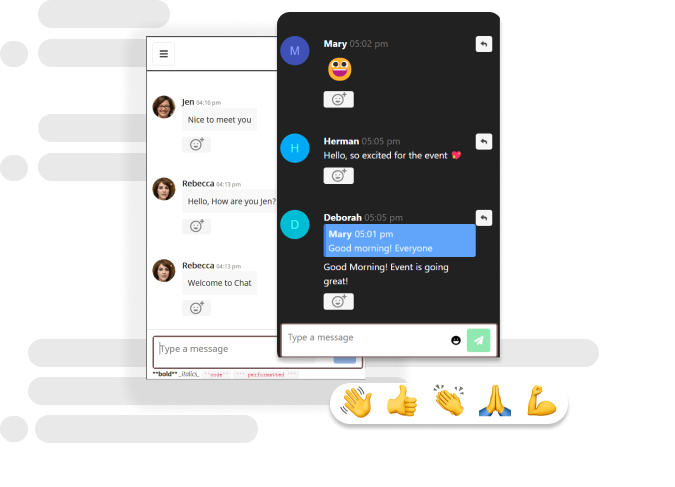
Need Chat API for your website or app
DeadSimpleChat is an Chat API provider
- Add Scalable Chat to your app in minutes
- 10 Million Online Concurrent users
- 99.999% Uptime
- Moderation features
- 1-1 Chat
- Group Chat
- Fully Customizable
- Chat API and SDK
- Pre-Built Chat
Conclusion
In this article we looked at the top 4 react animation libraries, their features, and how to use them in your react project.
We also looked at their pros and cons. All the libraries are excellent, which one is best for your use-case that is something you have to decide.
I have provided here tools to help you make the best logical decision for your react application
I hope you liked the article. Thank you for reading
Ready to Add Chat to Your Website?
Get started for free. No credit card required.
Start a Free Trial
![Webinar Chat: The Complete Guide to Engaging Your Audience [2026]](/blog/content/images/size/w600/2026/02/article-hero-webinar-chat.svg)
