How to Create and Login Moderators
When you first create a chatroom there is no moderator assigned to the chat room, but there are several features that only moderators can do inside of a chat room which include:
- Approving messages in a pre-moderated chat room
- Deleting Messages
- Banning / Un-Banning Users
- Creating Polls
Hence it is essential to create a moderator after you create the chat room. There are several ways using which you can create the moderator, which include:
- Creating Moderator using the "Members" tab inside of the Chat Rooms page
- Creating Moderator from the "Users" page
- Creating Moderator using the "REST" API
In this guide we will discuss each of the above ways, lets first start with creating moderator using the Members tab inside the edit chat room page.
Moderators cannot login using the uniqueUserIdentifier. Moderators can only login using the accessToken.
Creating Moderator using the Members Page
- To create the Moderator from the members page go to the Chat Room -> Edit and then go to the Members page

- Then click on the "Create User" button, this will present you with a modal that would allow you create the user and add it as a member to the chat room.
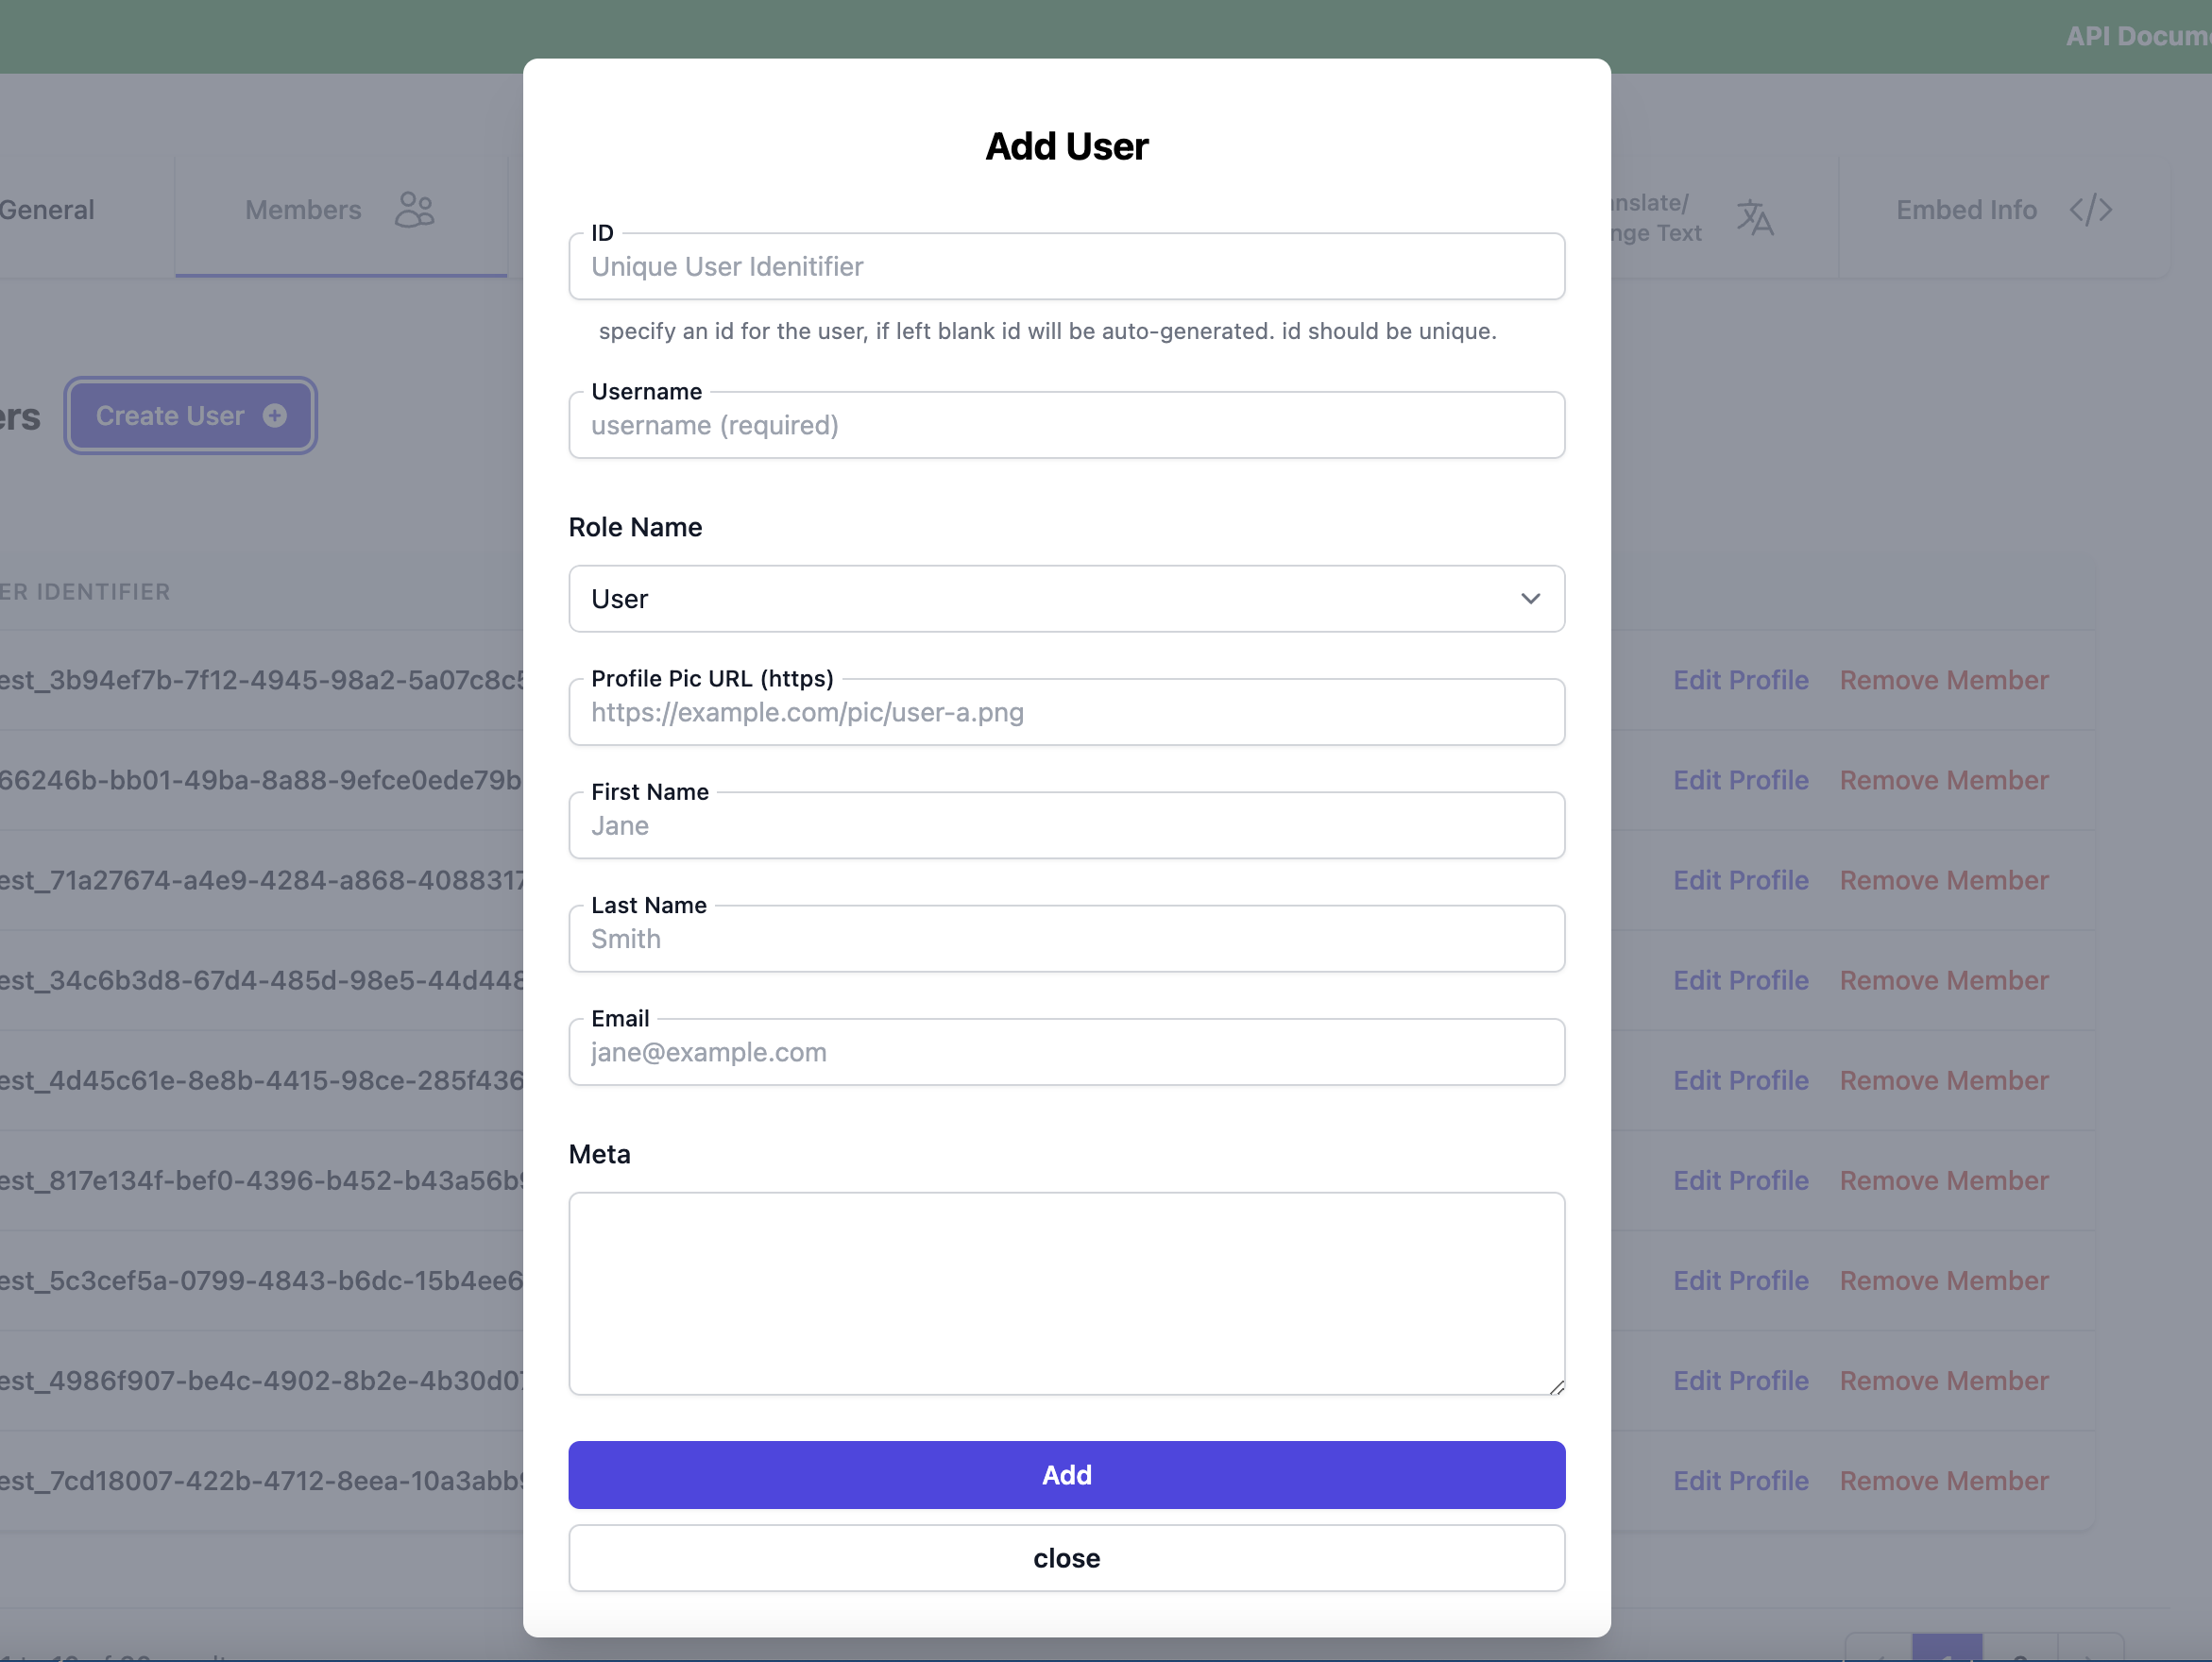
- Fill in the moderator details, from the "Role Name" select box, select the role "Moderator" and then press the add button.
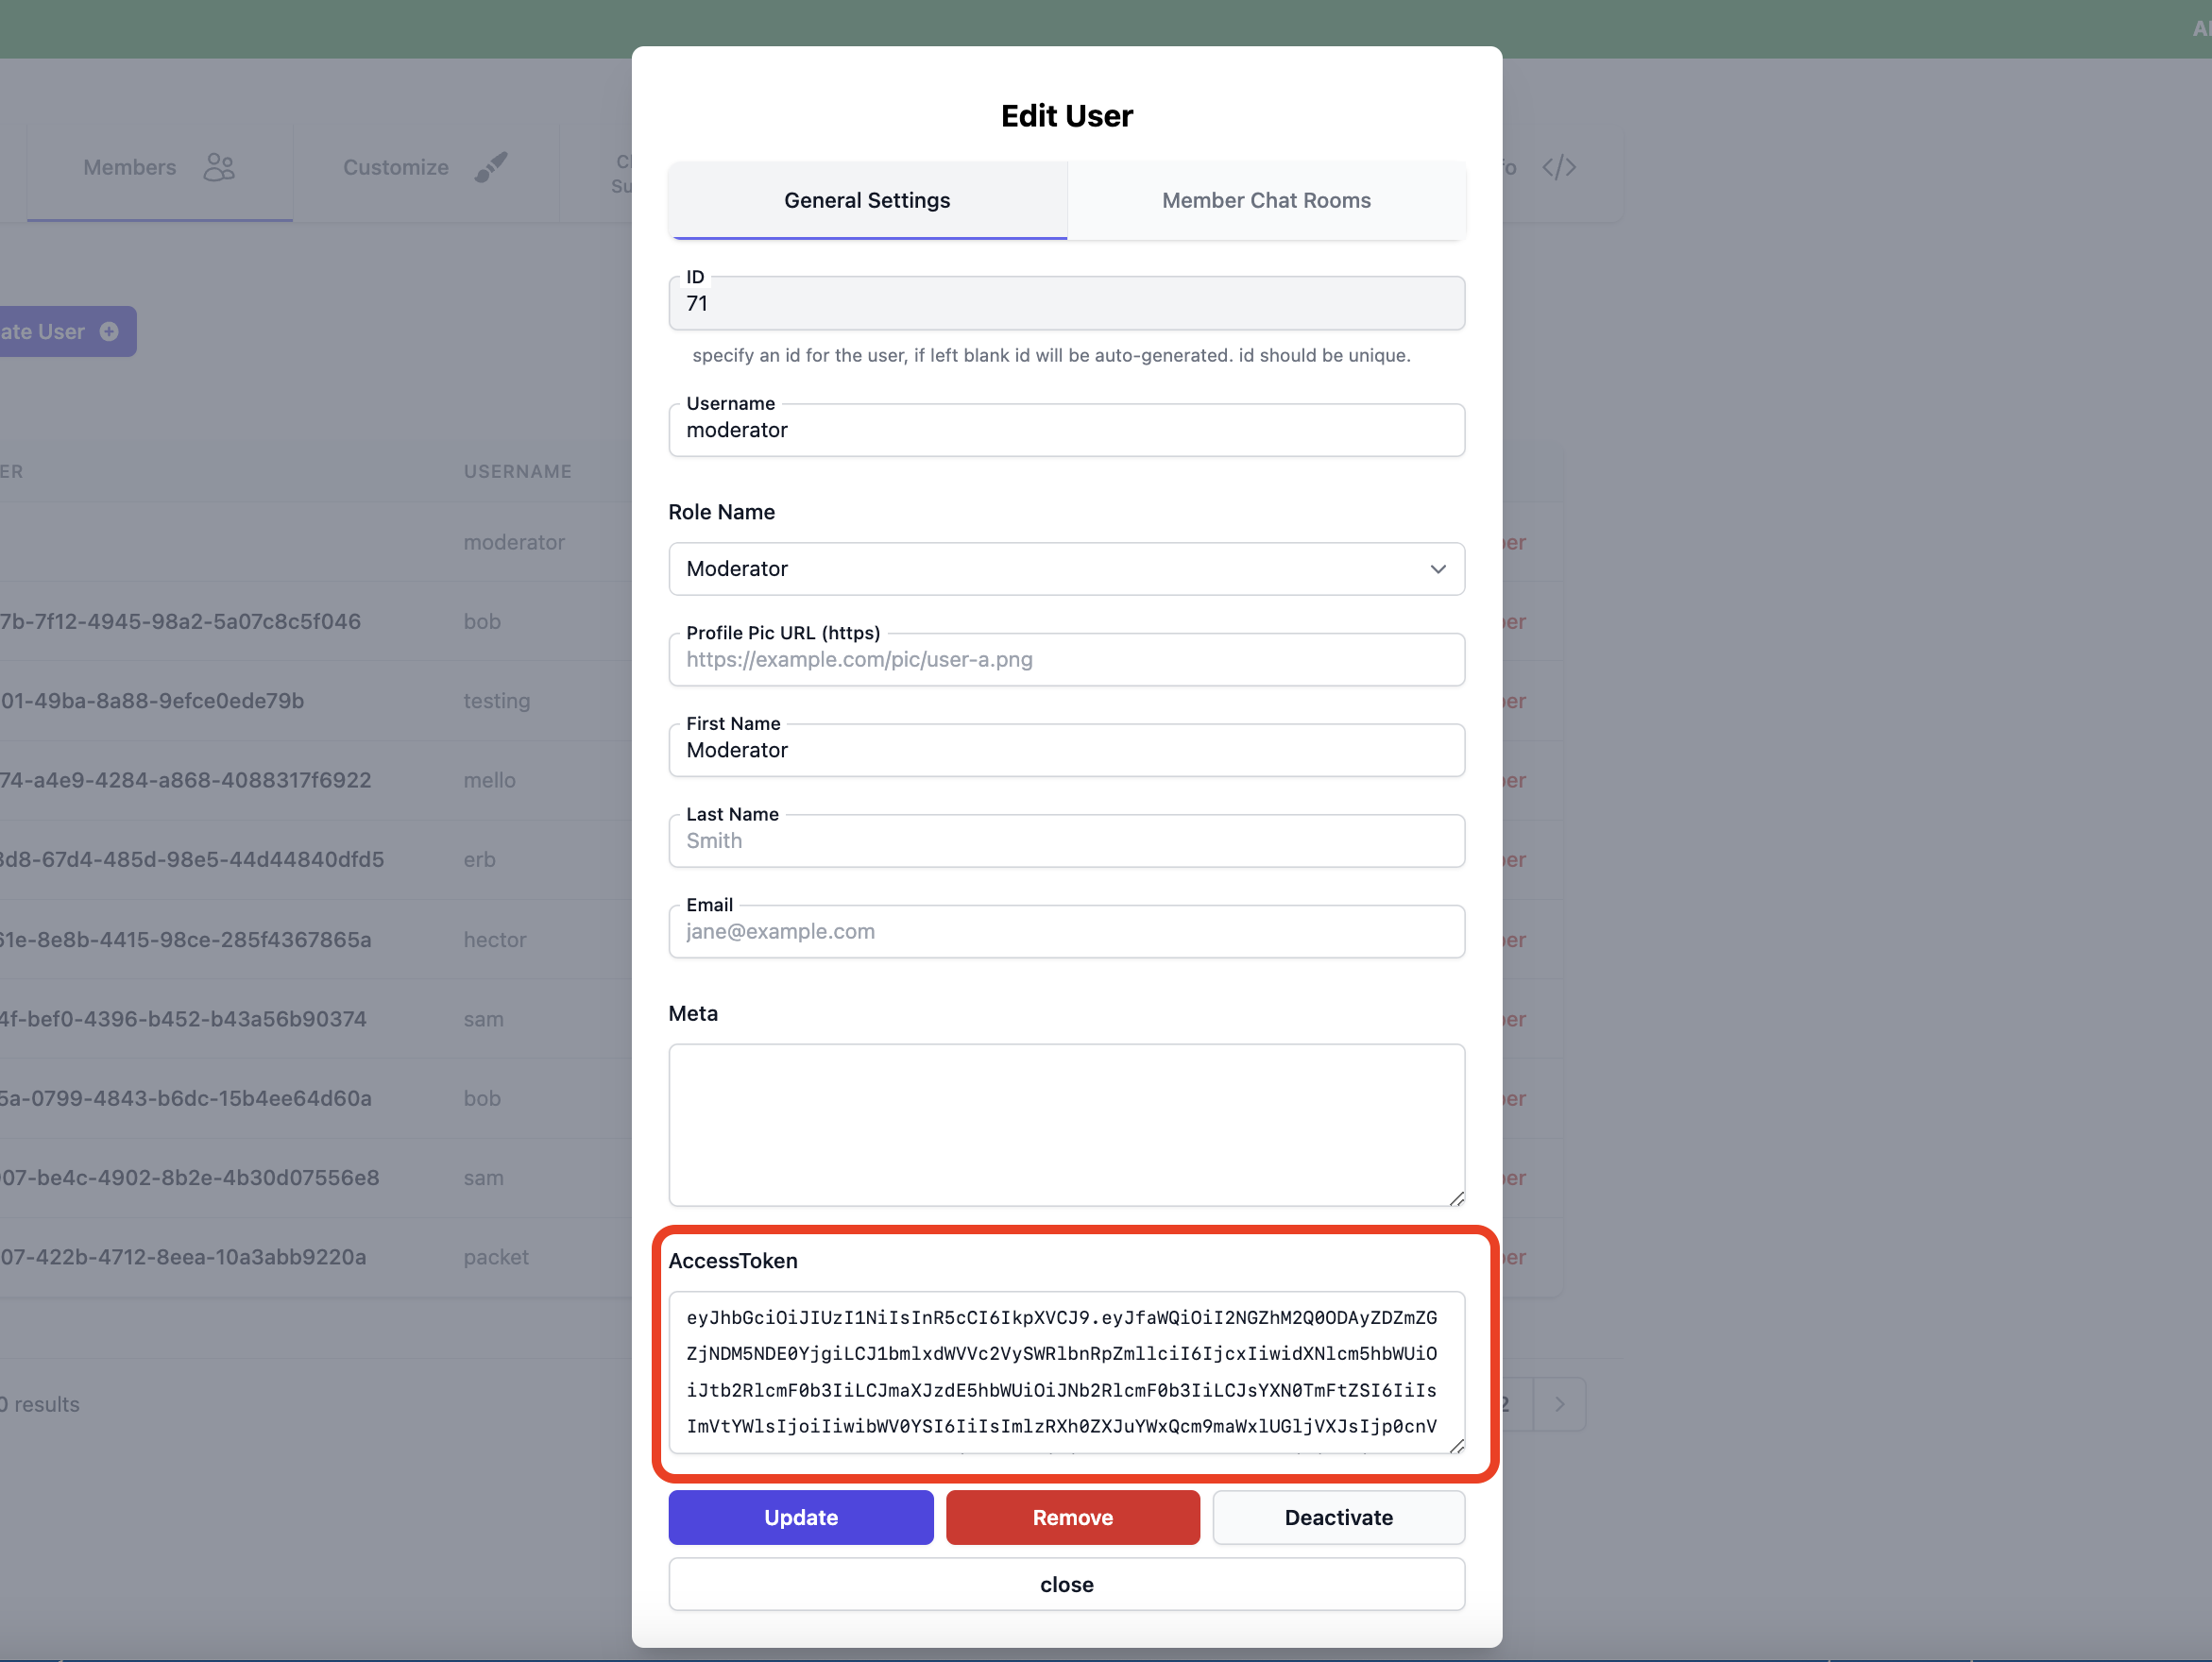
After you add the moderator, "Access Token" for the moderator will be generated, save the "Access Token", as it is the only way to login the moderator.
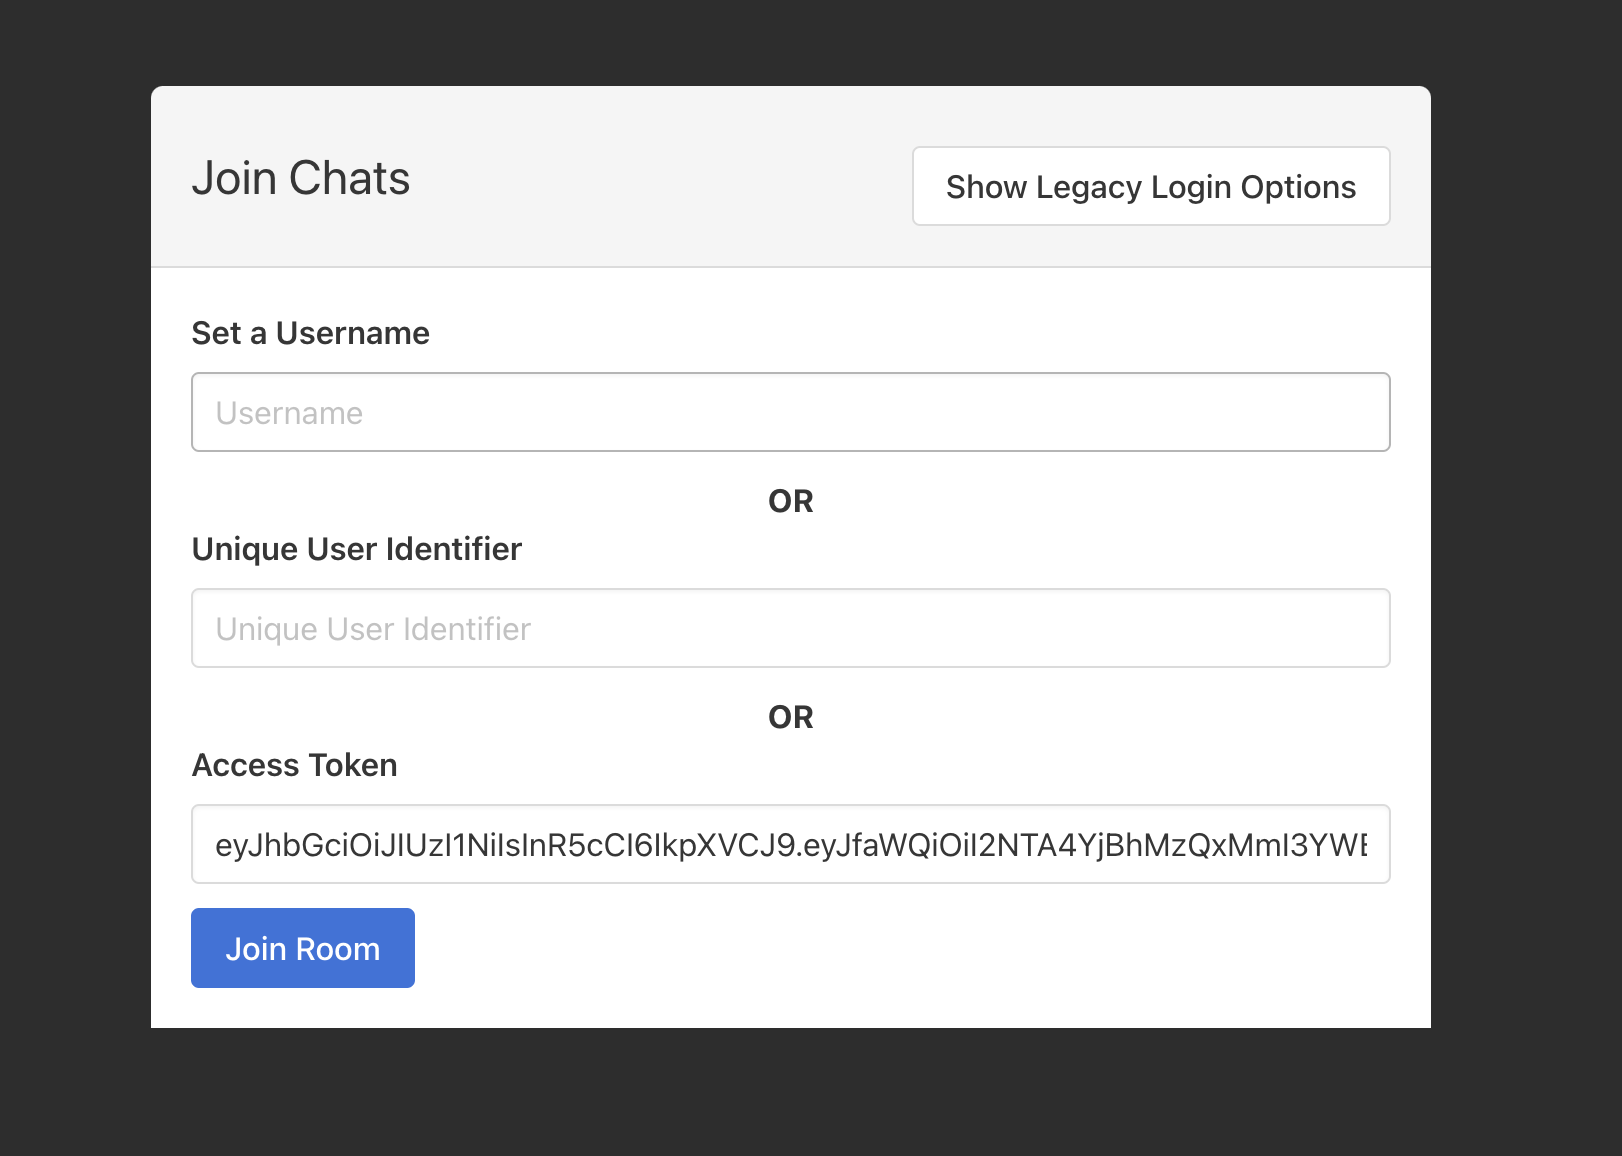
- Login the Moderator: To login the moderator just copy the accessToken and paste it into the Access Token filed in the Join Chat Room Modal
Creating Moderator from "Users" Page
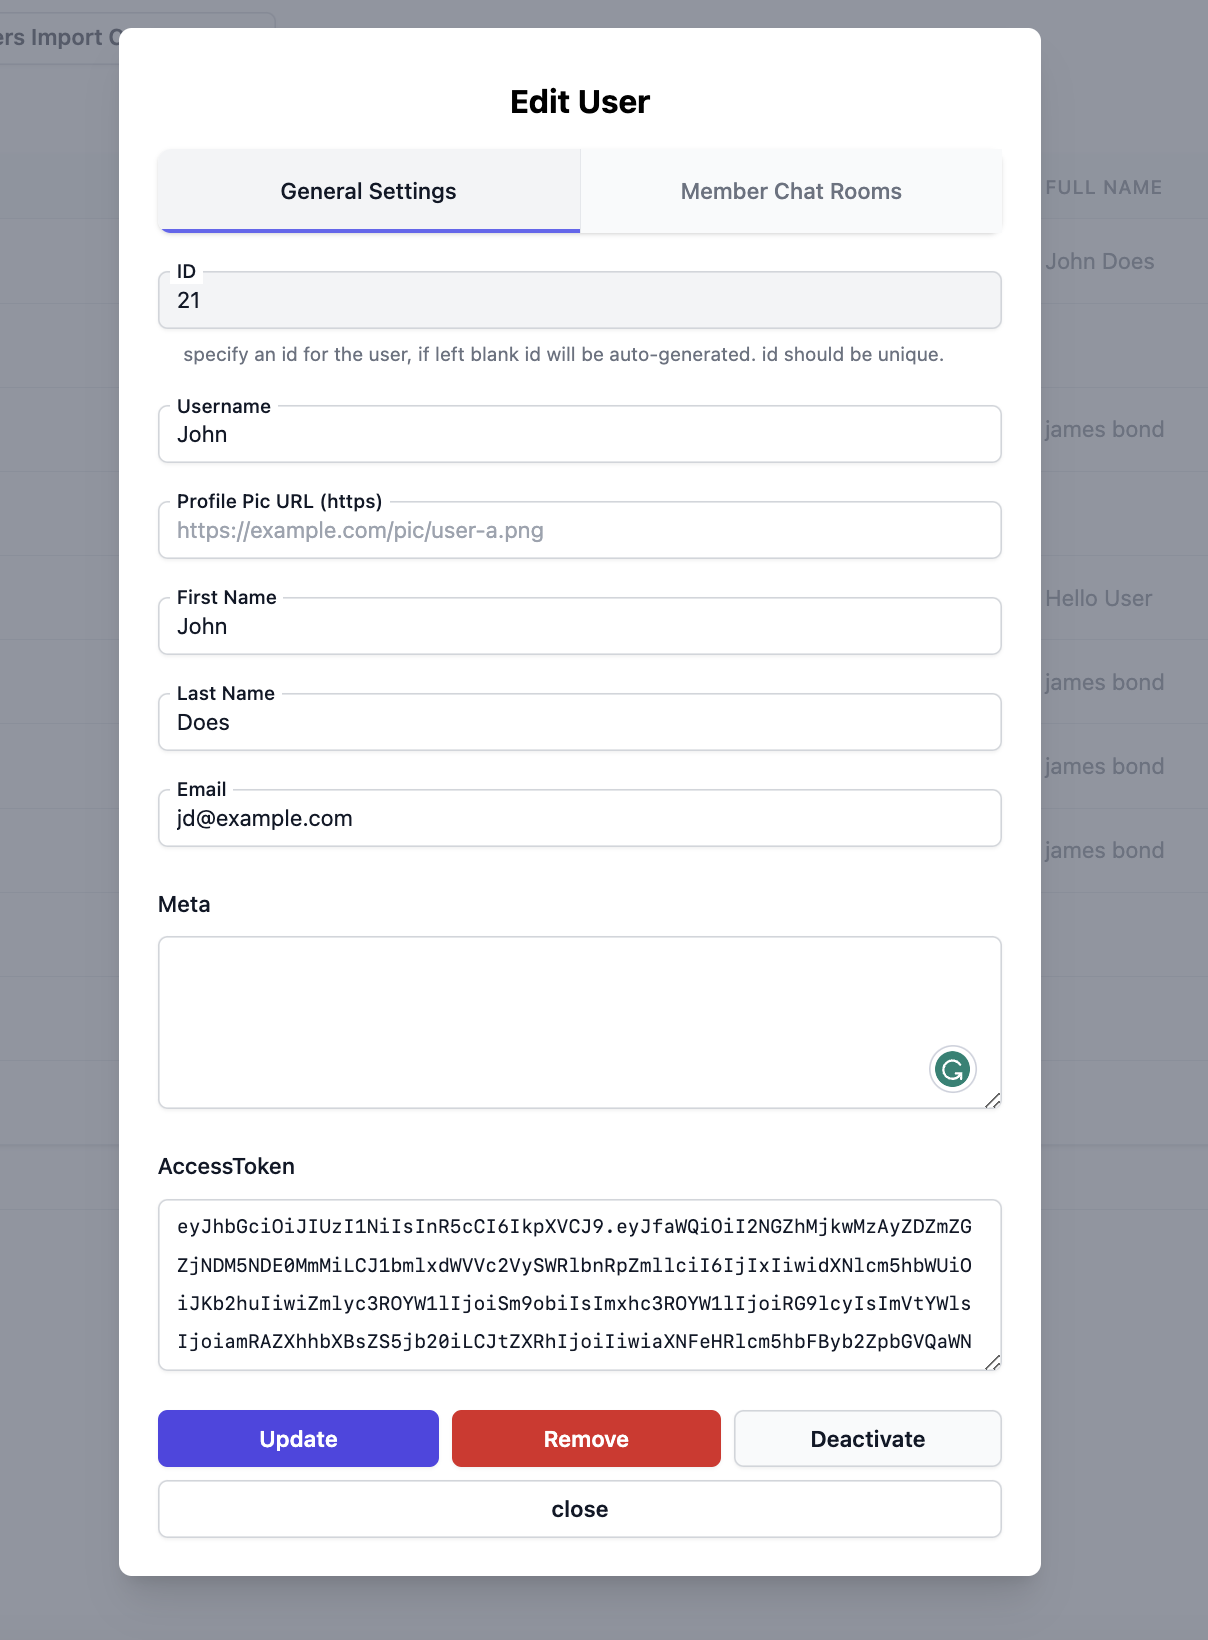
You can also create moderator using the "Users" page, go to Dashboard -> Users, you can create a new user using the "Create User" button or edit and existing user and assign it as a moderator.
After you have added a new user or click on the "Edit Profile" button you will be presented with Edit User modal, in the edit user modal, there will be "Member Chat Room" tab.
Click on the Member Chat Rooms tab to make the user a member of the chat room.
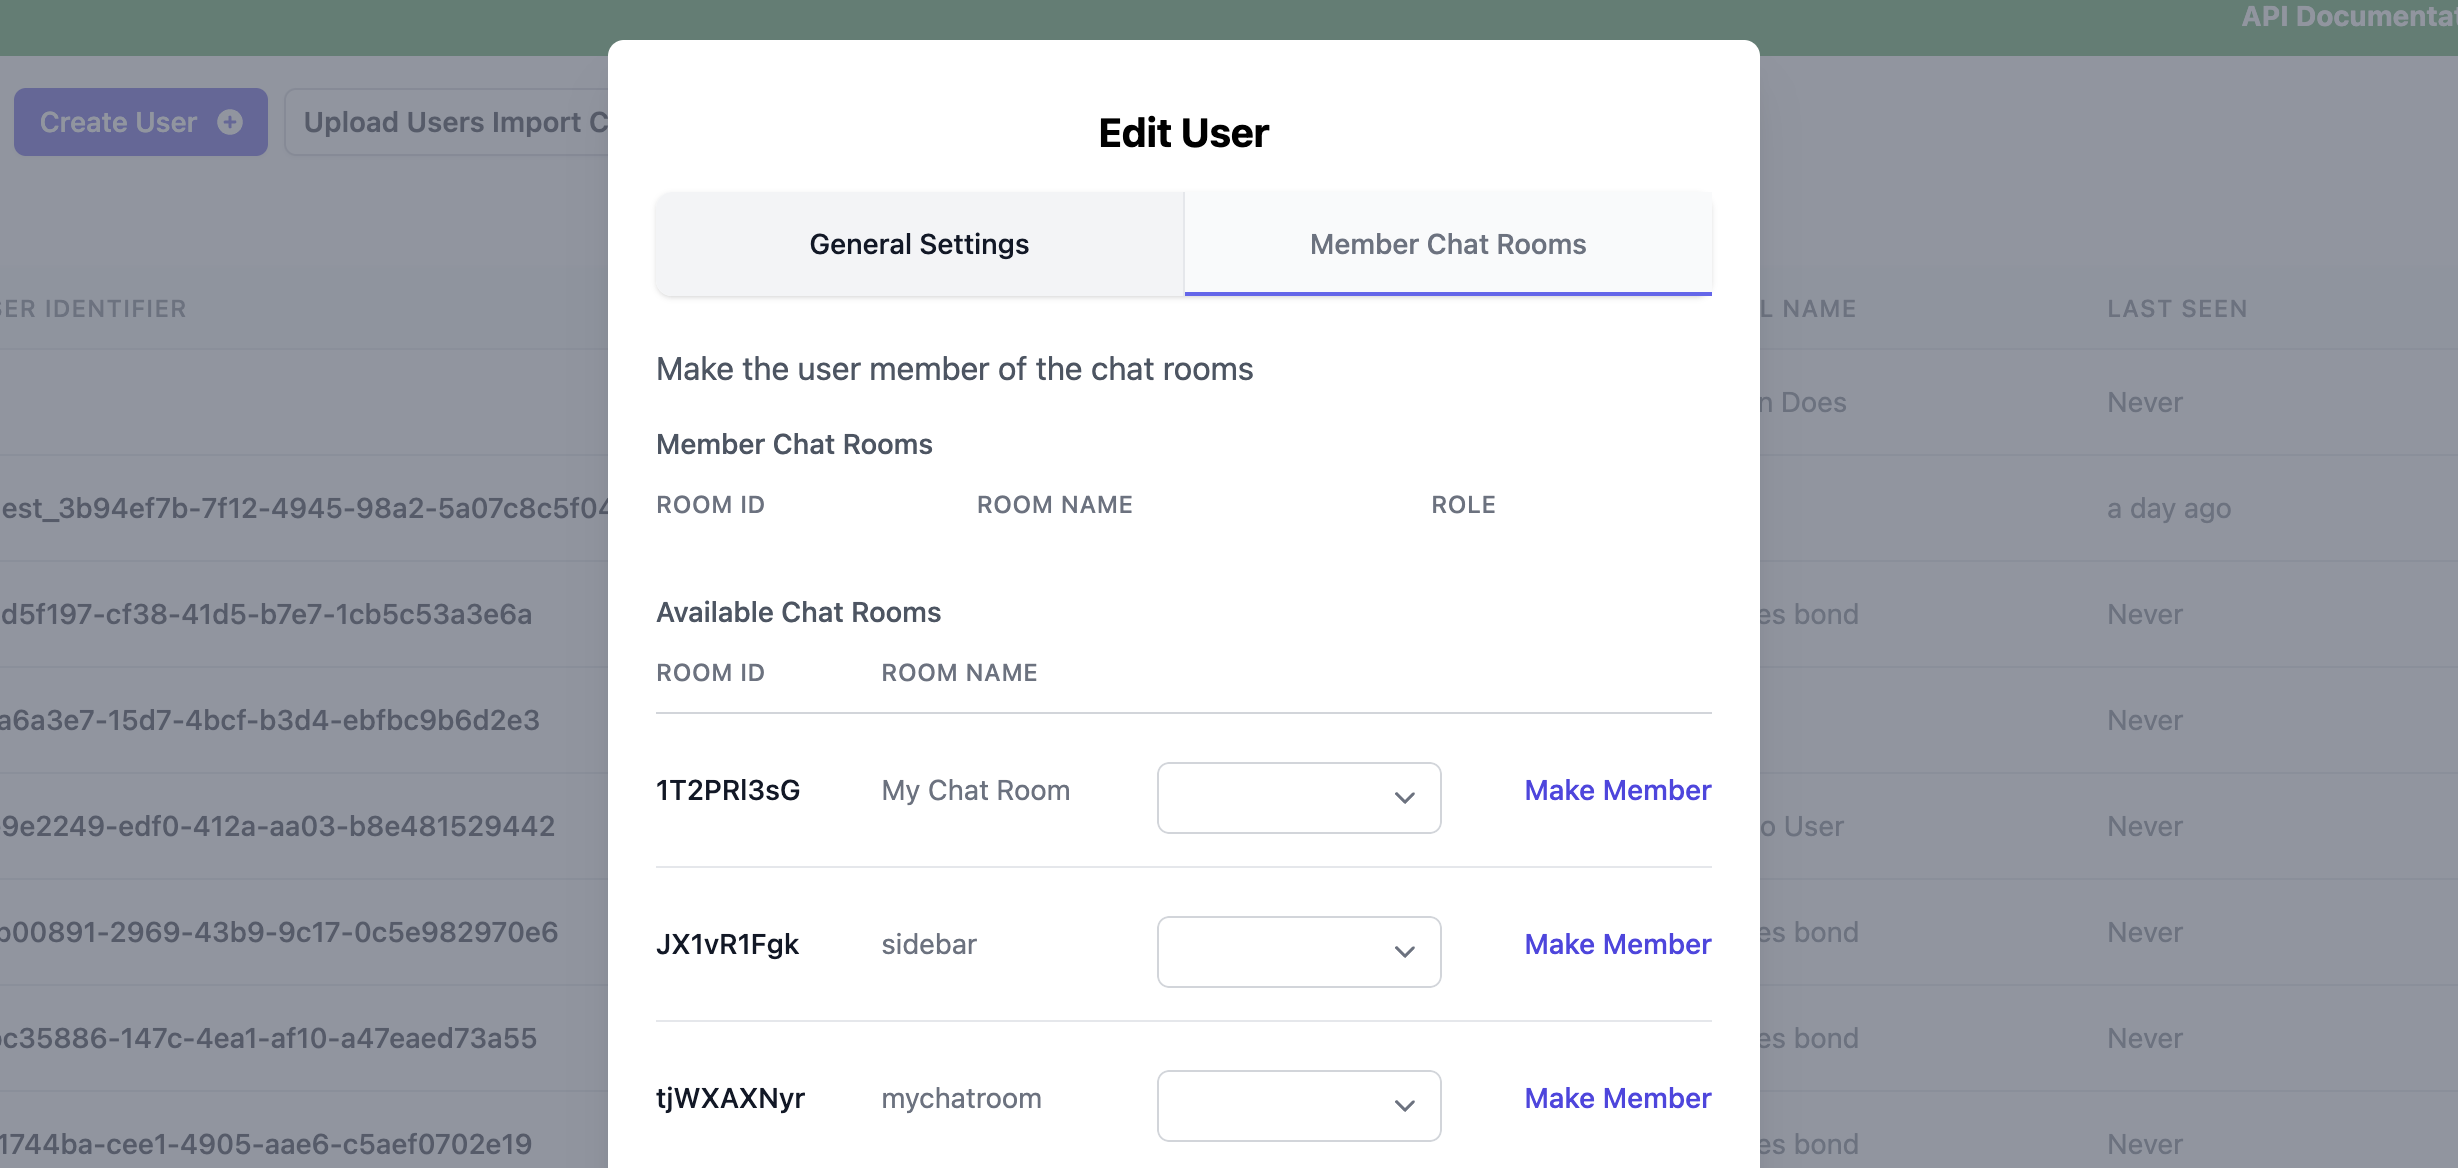
To make the user a member, click on the "Make Member" button, it will make the user member of the chat room with a default role of "User".
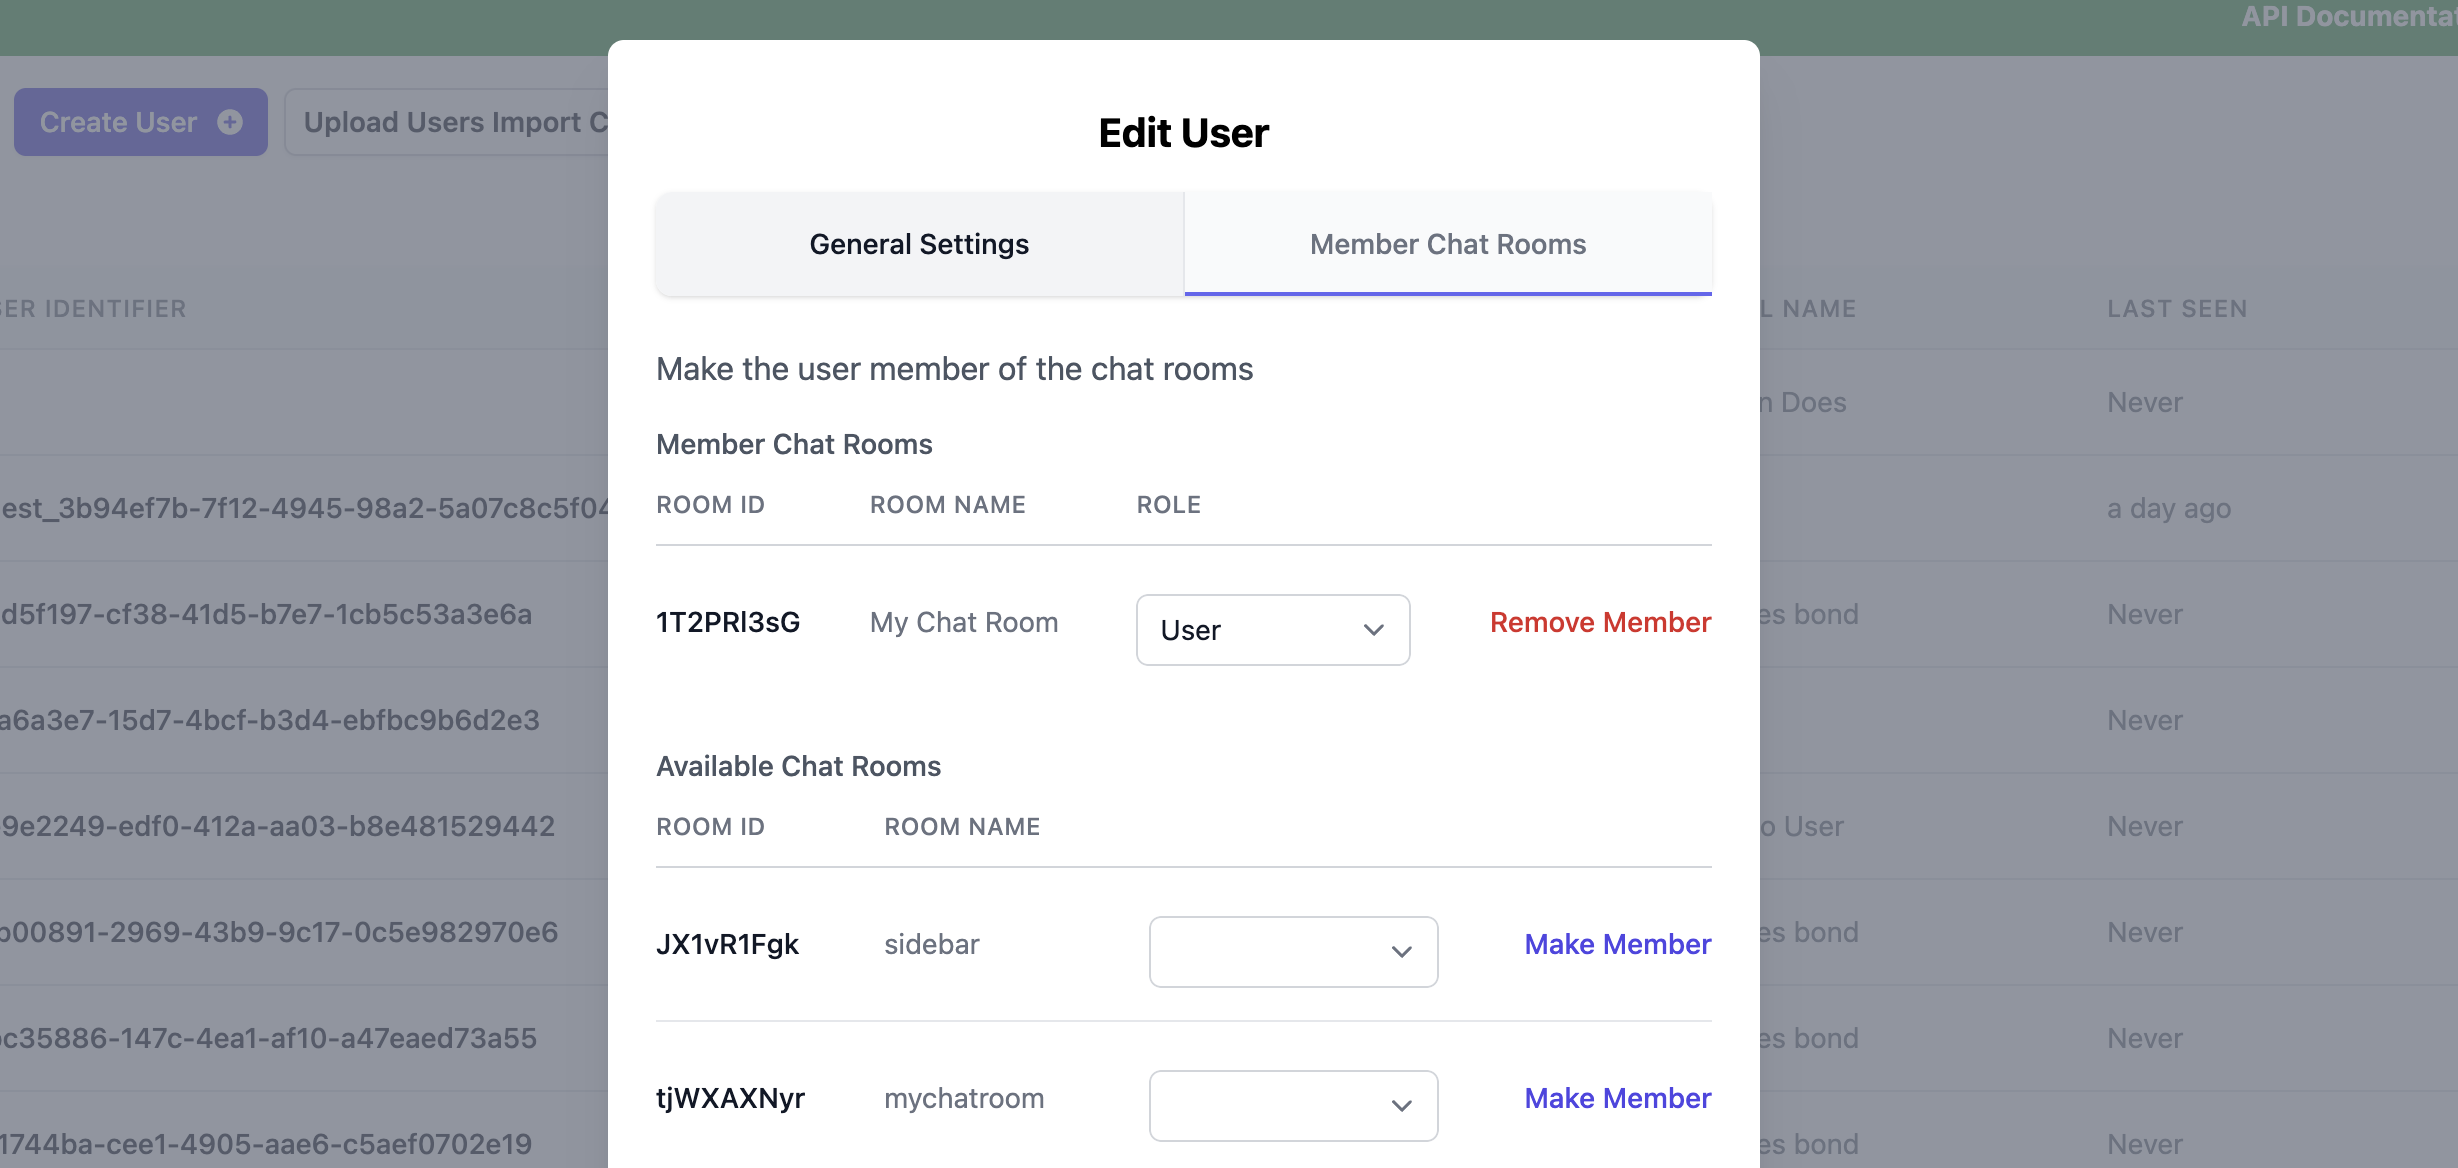
Using the Select Box change the role from "User" to "Moderator".
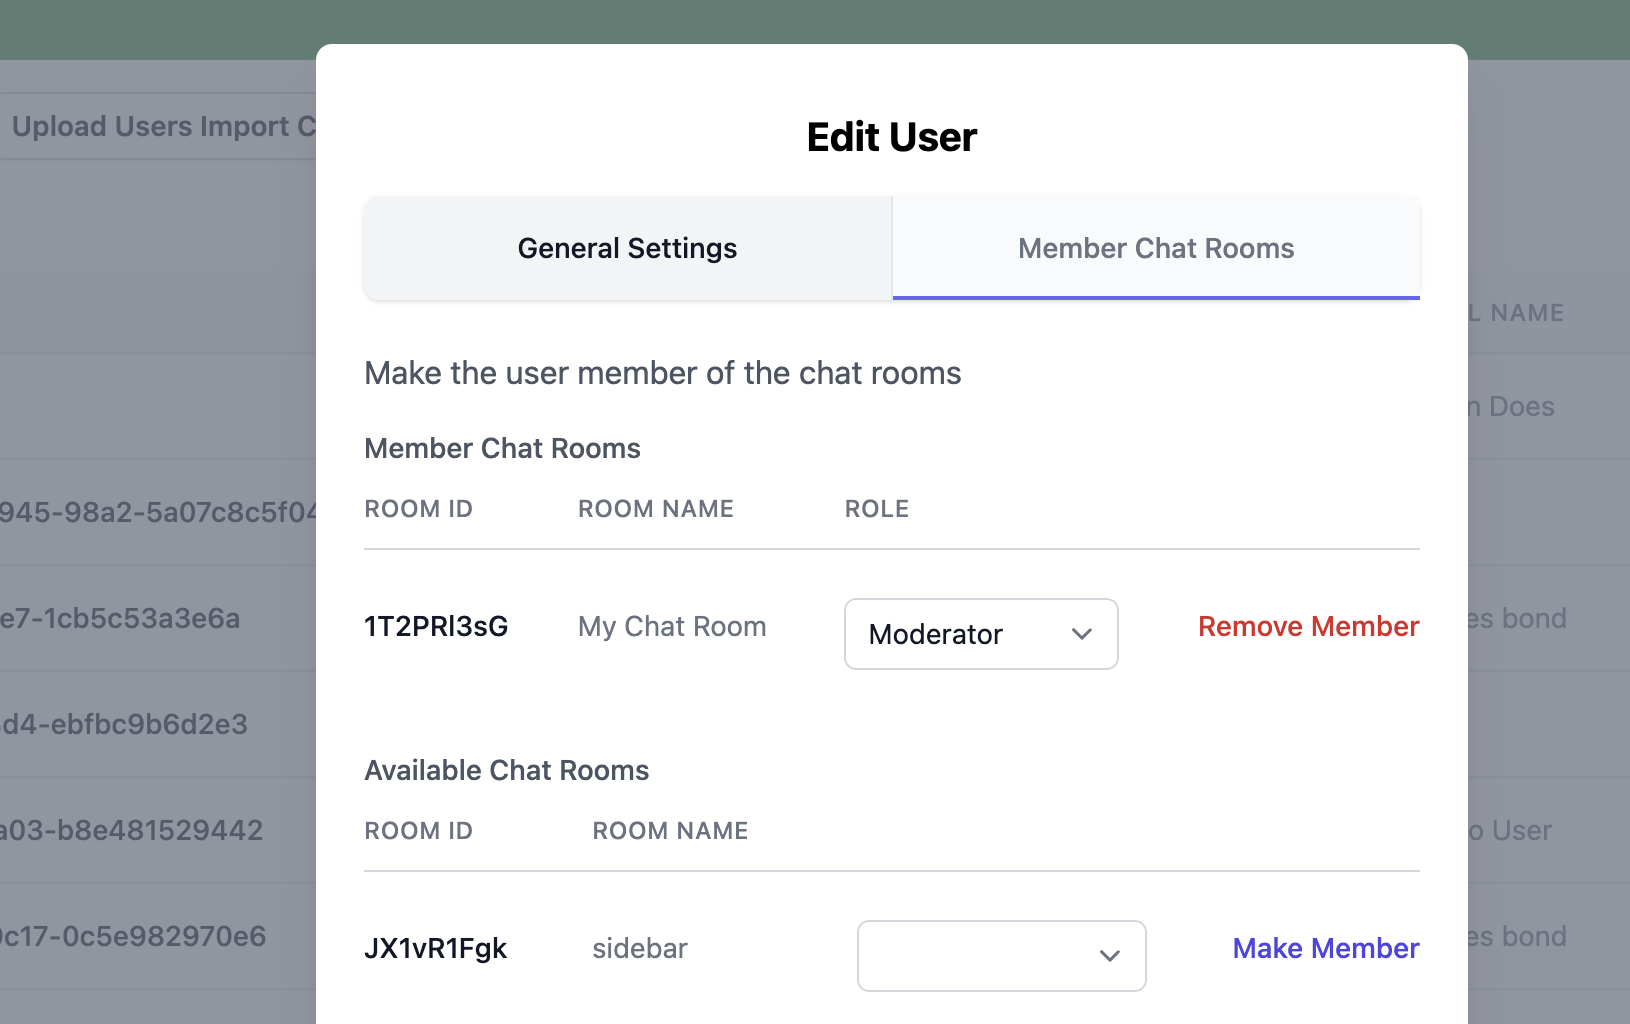
Moderators cannot login using the uniqueUserIdentifier. Moderators can only login using the accessToken.
Creating Moderators using the "REST" API
Now lets learn how we can create moderators using the REST API.
There are 2 ways using which we can create a moderator:
Make or Update Member: Use this API to make an existing user Moderator of the Chat Room
Create User API: Use this API to create a new user and make it the Moderator.
Make or Update Member
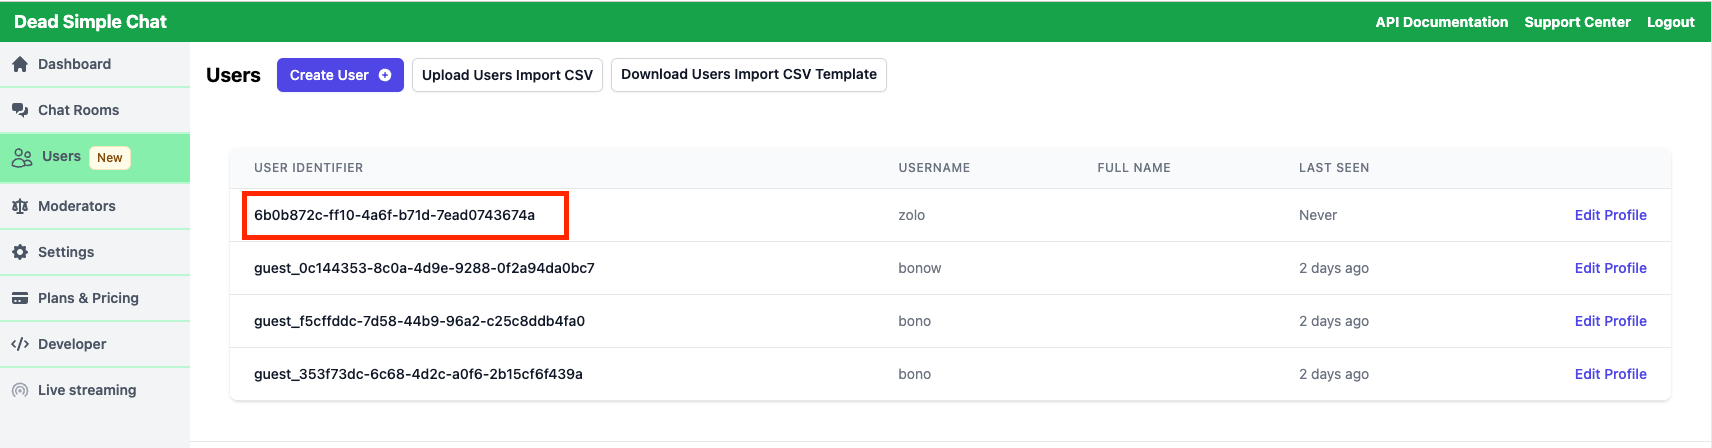
We have this user named zolo and we want to make this user a moderator of the chat room with ID DQWac5hPf, the user has the uniqueUserIdentifier as 6b0b872c-ff10-4a6f-b71d-7ead0743674a .
Now with this info lets, call our REST API using CURL Command:
curl -X POST "https://api.deadsimplechat.com/consumer/api/v2/room/DQWac5hPf/member?auth=af3f7ec966f102d6571310943749ac2dda49ed53126f87138bd4b60774734517596b94c955cdb0f7d7f3a91" \
     -H "Content-Type: application/json" \
     -d '{
         "uniqueUserIdentifier": "6b0b872c-ff10-4a6f-b71d-7ead0743674a",
         "roleName": "moderator"
         }'
Replace auth= with your private key obtained from the Developer page, in the dashboard
We will get the following response:
{
  "_id": "650afc6137be20bbf6896227",
  "user": {
    "_id": "6508be68820a36add12ed76f",
    "uniqueUserIdentifier": "6b0b872c-ff10-4a6f-b71d-7ead0743674a",
    "username": "zolo",
    "firstName": "",
    "lastName": "",
    "email": "",
    "meta": "",
    "parentCustomerAccount": "5cb71cdd82ba6b00042fb43f",
    "provisioned": true,
    "created": "2023-09-18T21:17:28.723Z",
    "updated": "2023-09-18T21:17:28.723Z",
    "__v": 0
  },
  "chatRoom": {
    "_id": "650afa8aebc9f9b168a40731",
    "roomId": "DQWac5hPf",
    "name": "Test Room"
  },
  "roleName": "moderator",
  "customer": "5cb71cdd82ba6b00042fb43f",
  "created": "2023-09-20T14:06:25.642Z",
  "__v": 0
}
In the response you can see that the roleName is now set to moderator.
If we go to the User tab and click on "Edit Profile" and select the Members tab, we can see that the user has been made member of the chat room and the Role "Moderator" has been assigned to the user.
Create User API
Now let's create a user using the Create User API and make the user moderator of the chat room.
We will use the following curl command to send a HTTP POST request to create user and make the moderator of the chat room DQWac5hPf.
curl -X POST "https://api.deadsimplechat.com/consumer/api/v2/user?auth=YOUR_PRIVATE_API_KEY" \
     -H "Content-Type: application/json" \
     -d '{
         "uniqueUserIdentifier": "571",
         "username": "john_doe",
         "firstName": "John",
         "lastName": "Doe",
         "email": "johndoe@example.com",
         "meta": "{ badge: 'great_user' }",
         "externalProfilePicURL": "https://example.com/path/to/profilepic.jpg",
         "membershipDetails": {
             "roleName": "moderator",
             "roomId": "DQWac5hPf"
         }
     }'
After sending the request, we will get the following response:
{
  "success": true,
  "user": {
    "_id": "650aff80b51822b12d620cc4",
    "uniqueUserIdentifier": "571",
    "username": "john_doe",
    "firstName": "John",
    "lastName": "Doe",
    "email": "johndoe@example.com",
    "meta": "{ badge: great_user }",
    "profilePic": "https://example.com/path/to/profilepic.jpg",
    "parentCustomerAccount": "5cb71cdd82ba6b00042fb43f",
    "provisioned": true,
    "created": "2023-09-20T14:19:44.690Z",
    "updated": "2023-09-20T14:19:44.690Z",
    "__v": 0
  },
  "membershipDetails": {
    "roleName": "moderator",
    "roomId": "DQWac5hPf"
  }
}
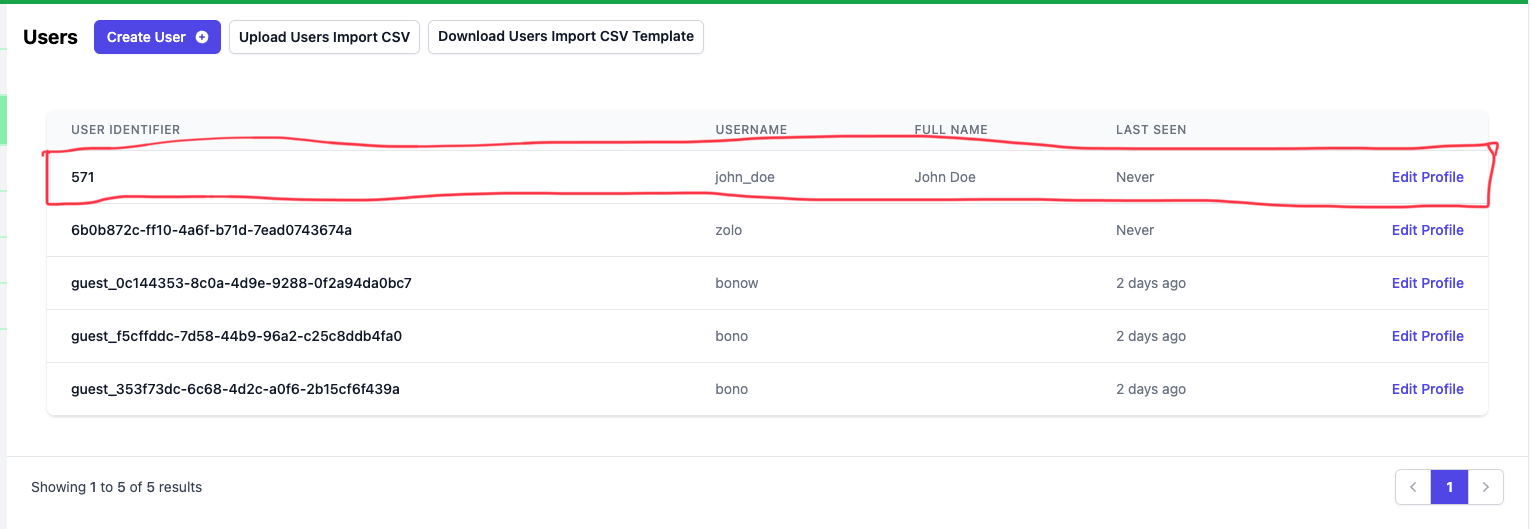
We can see our newly create user in the Users page.