Chat Room Permission Levels
Chat Room Permission Level controls who is allowed to join a chat room. It is set per room, and it is the first thing checked when someone opens the room, so it decides both what the join screen offers them and which credentials the room will accept.
There are three levels:
- Public — anyone can join by typing a username.
- Provisioned Users — only people who already exist as users in your account.
- Members — only people you have added as members of that particular room.
Every newly created chat room starts as Public.
Where to find it
Go to your dashboard, open a chat room and stay on the General tab. The setting is badged New and offers the three levels as radio buttons.
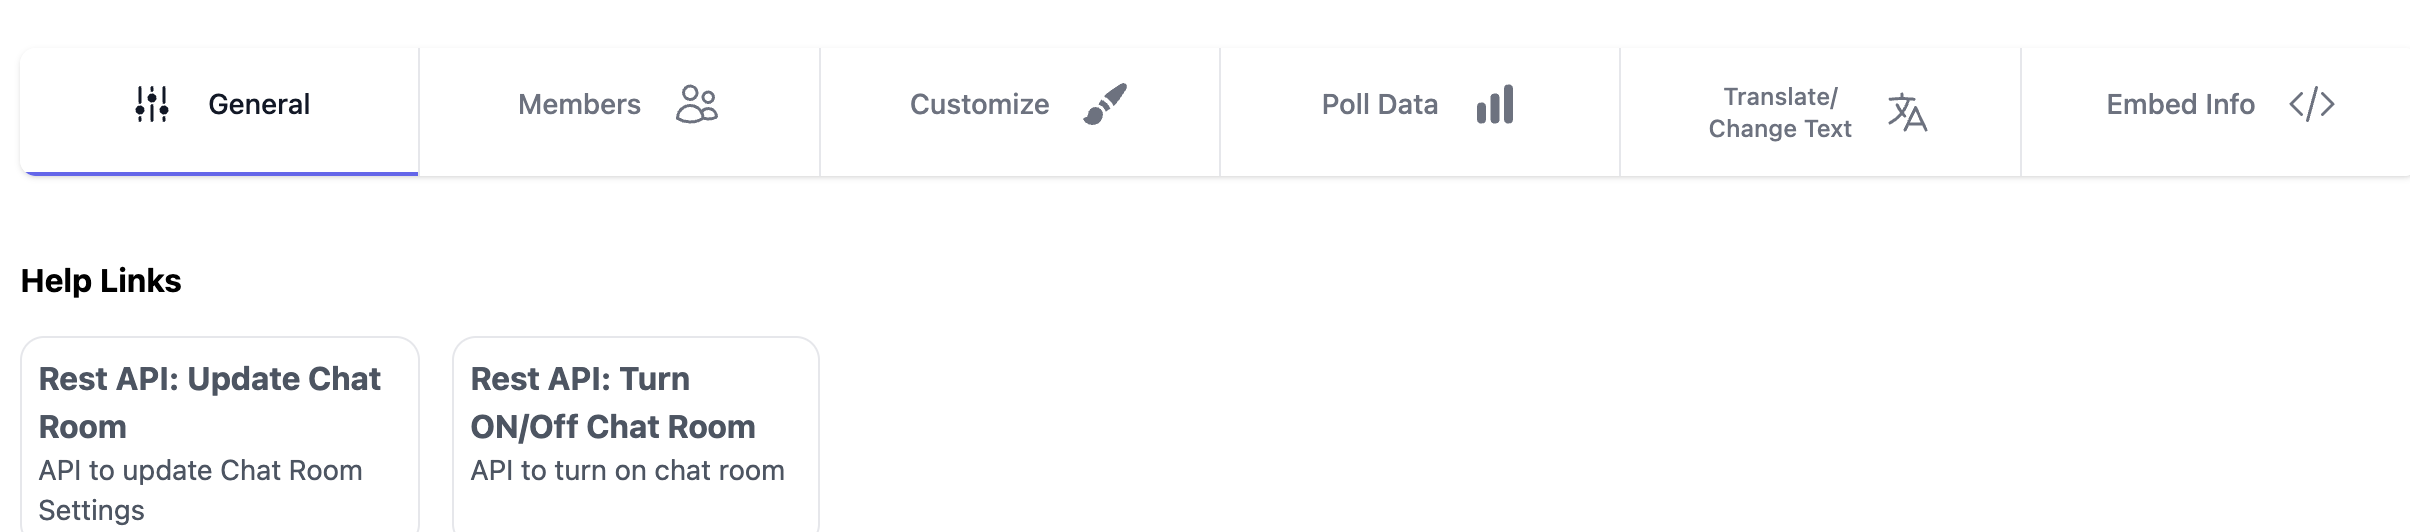
If your account is still using the older join screen, the setting appears greyed out behind a Switch to New Join Modal to Use this Feature button. Permission levels rely on the new join modal, so move the room over first — Creating and Managing Users and Chat Room Permissions walks through it.
Choose a level and save the room. The new level applies to everyone who joins from that moment on. People who are already in the room are not disconnected by the change itself — the one exception is removing someone's membership from a Members room, which is described in What a refused join looks like.
At a glance
| Public | Provisioned Users | Members | |
|---|---|---|---|
| Join by typing a username | Yes | No — field not shown | No — field not shown |
| Join with a unique user identifier | Yes | Yes | Only if already a member |
| Join with an access token | Yes | Yes | Only if already a member |
Basic SSO (username URL parameter) | Yes, on older accounts | No | No |
| The person must already exist as a user in your account | No | Yes | Yes |
| The person must already be added to this room | No | No | Yes |
| Role they get when they join | Guest | User, or Moderator for a moderator | The role you gave them |
| Default for new rooms | Yes | — | — |
Public
Who can join: anyone who has the chat room URL.
What they supply: any username, typed into the Set a Username box on the join screen. The username does not have to be unique and the person does not have to exist in your account beforehand — a user is created for them on the spot and added to the room with the Guest role.
A Public room also accepts the other two routes. If someone is already a user in your account they can join with their Unique User Identifier or an Access Token instead, and they keep their existing username, profile picture and metadata.
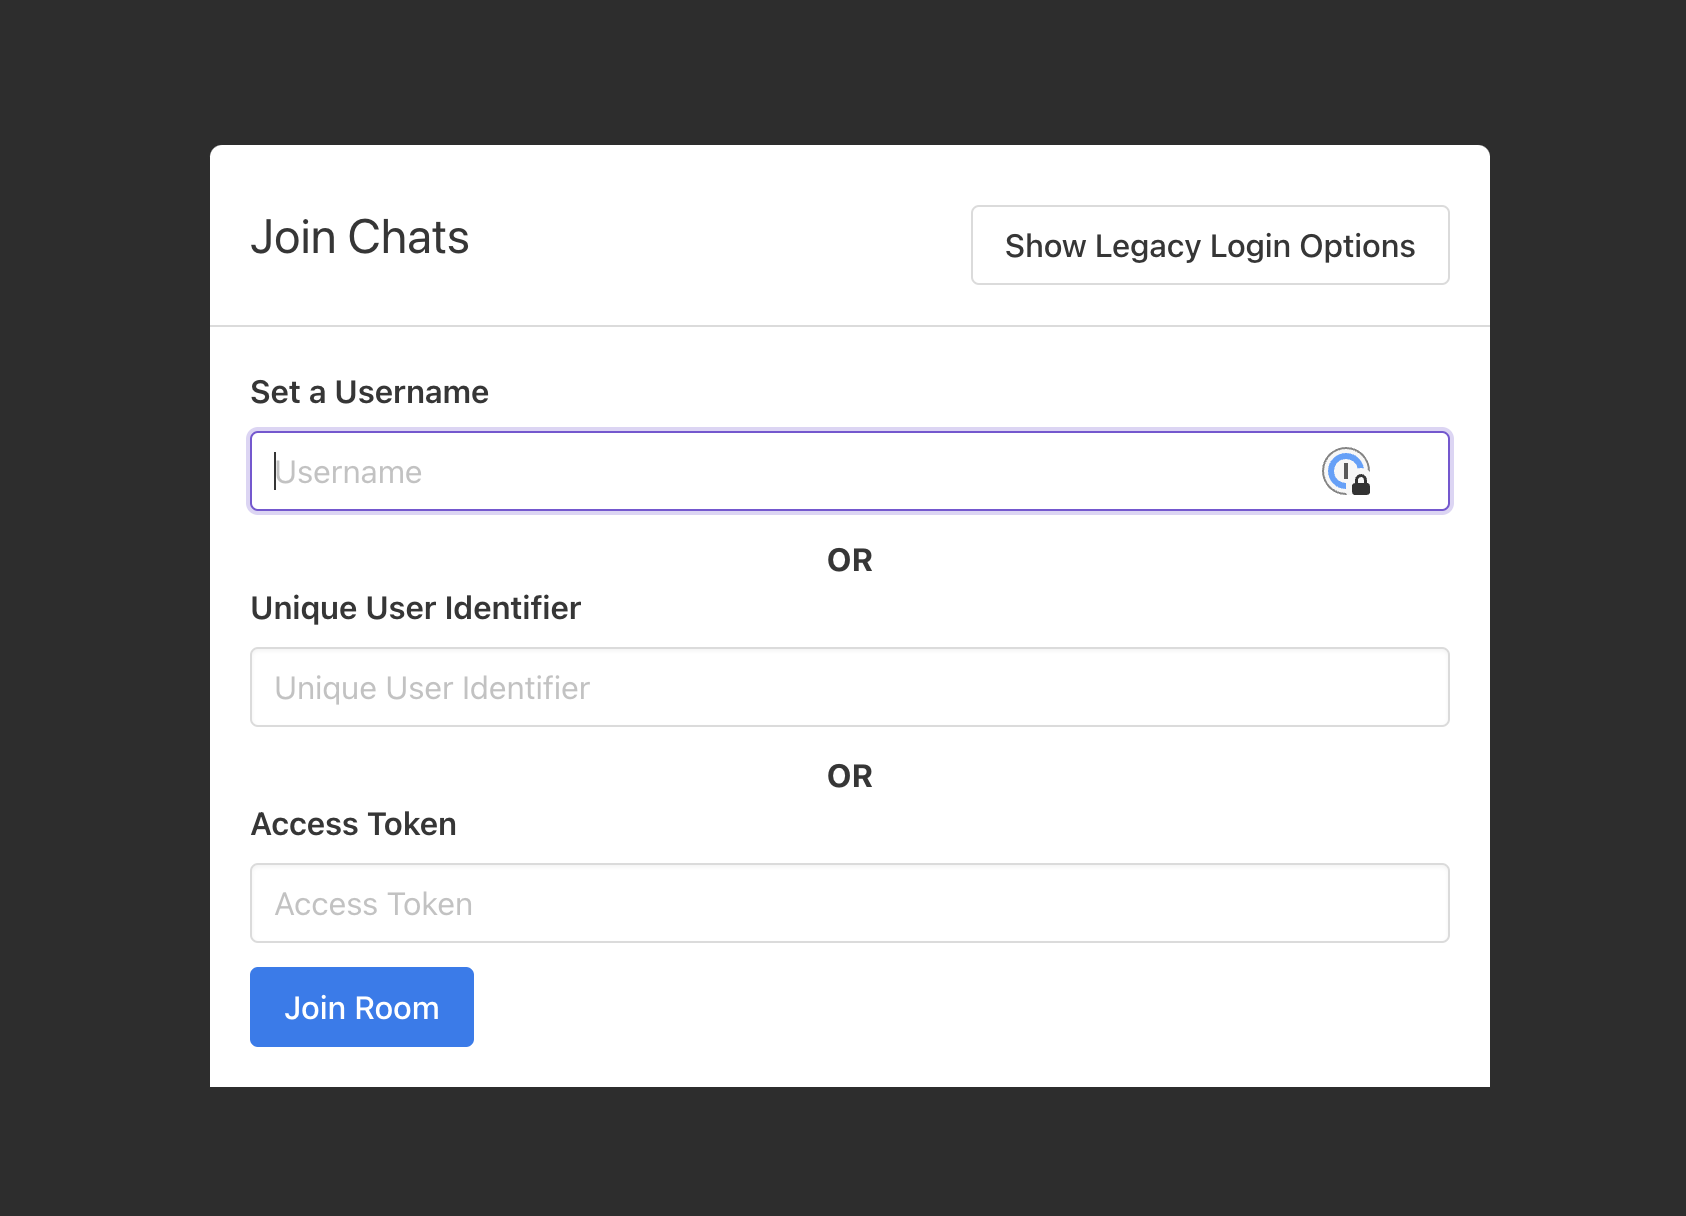
What happens to someone who does not qualify: on a Public room the permission level never turns anybody away. Someone can still be refused for an unrelated reason — a wrong room password, or a ban — but not because of this setting.
When to choose it: livestream and event chat, townhalls, a support or community room embedded on a public page — anywhere you want zero friction and do not need to know who anybody is.
Provisioned Users
Who can join: only people who already exist as users in your account. You create them on the Users page of the dashboard, or with the Create User API. They do not have to be members of the room.
What they supply: their Unique User Identifier, or an Access Token. The join screen for this level does not show the Set a Username box at all — only those two fields.
The first time someone joins, they are added to the room with the User role, so they will show up afterwards on the room's Members tab.
Moderators are the one exception to the identifier route: a moderator has to join with an access token. Joining with a unique user identifier is refused for them with "cannot login moderator using uniqueUserIdentifier. Please use accessToken to login the moderator".
What happens to someone who does not qualify: there is nothing for them to type. If they press Join Room with both fields empty, the join screen answers "Please specify the uniqueUserIdentifier or accessToken to join". If they enter an identifier that does not belong to any user in your account, they are told "user of the specified uniqueUserIdentifier not found in the account".
When to choose it: one shared room for your whole signed-in user base — a product-wide community room, a company-wide announcements room — where you want real identities and no drive-by participants, but you do not want to maintain a per-room list.
Members
Who can join: only people you have added as a member of that specific room. Being a user in your account is not enough.
You add members from the Members tab of the chat room, from the Member Chat Rooms tab of the Edit User dialog, or with the Make or Update Member API. Membership also carries the person's role in the room — Guest, User, Moderator or Admin.
What they supply: exactly as with Provisioned Users — a Unique User Identifier or an Access Token, with no username box on the join screen. Moderators again have to use an access token.
What happens to someone who does not qualify: a user who exists in your account but is not a member of the room is refused on the join screen with "cannot login user. Only members can join this room". Removing someone's membership while they are sitting in the room takes effect immediately: they are shown the User is not a member dialog and cannot get back in. See Remove Member.
When to choose it: rooms that belong to something — a course, a class, a deal room, a support ticket, a private group. This is the level to use when a person having an account with you must not by itself grant access to every conversation.
The three ways to join
Whichever level you use, there are exactly three routes into a room, and they are tried in this order: access token first, then unique user identifier, then username.
| Route | What it is | Works at |
|---|---|---|
| Username | Any name typed into the join screen, or the username URL parameter (Basic SSO). Creates a throw-away Guest user. | Public only |
| Unique User Identifier | The ID you assign a user when you create them. Can be passed on the join screen, as the uniqueUserIdentifier URL parameter, or through the SDK. Cannot be used by moderators. | All three levels — at Members, only if the user is a member |
| Access Token | A token you generate for a user. Can be passed on the join screen, as the accessToken URL parameter, or through the SDK. The only route that works for moderators. | All three levels — at Members, only if the user is a member |
For the URL-parameter and SDK versions of these, see SSO Using Unique User Identifier, SSO Using Auth Token and the SDK joinRoom method.
Basic SSO — logging someone in by putting username in the chat room URL — only works when the
room's permission level is Public. On a Provisioned Users or Members room the parameter is
ignored and the person is shown the normal join screen.
Basic SSO is also switched off by default on newer accounts, with no dashboard setting to turn it back on. Read Basic SSO before you rely on it, and prefer SSO Using Unique User Identifier.
What a refused join looks like
A refusal at the join screen is reported straight back to the person as "Login failed:" followed by the reason; the join screen stays open so they can try again with something else. A refusal that happens after someone is already in the room appears instead as a dialog with a single confirm button, and confirming reloads the chat room.
| Situation | At the join screen | In the room |
|---|---|---|
| The user is not a member of a Members room | "cannot login user. Only members can join this room" | Dialog "User is not a member" — "Only members can join this room. User is not a member of this room hence cannot join". Shown the moment you remove their membership. Confirming reloads the chat room, and they cannot get back in. |
| No user matches the identifier or token | "user of the specified uniqueUserIdentifier not found in the account", or "user not found" for an access token | Dialog "User not found" — "User was not found in the account." Confirming signs them out and reloads. |
| The user has been deactivated | "user is deactivated", or "cannot login user. user is deactivated" for an access token | Dialog "Deactivated Users cannot Join Room" — "This user has been deactivated hence cannot join room. Reactivate the user to join". Confirming signs them out and reloads. |
Two more you may run into while setting a room up: an access token that has been invalidated or does not belong to your account gives "invalid accessToken", and a moderator trying to use a unique user identifier is told to use an access token instead.
The three dialog headings and messages in the table above are part of the chat room interface text, so you can reword or translate them on the Translate / Change Text tab of the chat room.
If you embed with the SDK
The same refusals reach your page as events, so you can react to them yourself instead of leaving the dialog to explain:
frame1.on("error_user_is_not_member", (message) => {
    console.log("not a member of this room", message);
});

frame1.on("user_not_found", (message) => {
    console.log("no such user in the account", message);
});

frame1.on("error_user_deactivated", (message) => {
    console.log("user is deactivated", message);
});
When you join people yourself with joinRoom, a refused join rejects the promise it returns instead of resolving it, so you can catch the failure and decide what to show.
Setting the permission level through the REST API
The two chat room endpoints behave differently here, so check which one you are calling.
On create — supported. Create Chat Room accepts a
chatRoomPermissionLevel field in the body. The accepted values are the level names exactly as
written here:
{
    "name": "Course 101",
    "chatRoomPermissionLevel": "members"
}
| Value | Level |
|---|---|
public | Public |
provisioned_users | Provisioned Users |
members | Members |
Leave the field out and the room is created as Public.
On update — not supported. Update Chat Room does not
accept chatRoomPermissionLevel. Sending it returns a 400 validation error rather than changing
the room. To change the level of an existing room, use the General tab in the dashboard.
To read the level a room is currently on, Get a Chat Room returns
chatRoomPermissionLevel in its response.
Which should I use?
- You do not know who your participants are, and you do not need to. Use Public. Someone types a name and they are in.
- Everyone who chats has already signed in to your product, and any of them may use this room. Use Provisioned Users. Create each person once, then send them in with their unique user identifier or an access token — you never have to maintain a per-room list.
- The room belongs to a course, a team, a deal or a ticket, and access to it is a separate decision from having an account with you. Use Members, and add and remove membership as people join and leave that group.
If you are unsure between the last two, start with Provisioned Users. Moving a room to Members later does not remove anybody — everyone who has already joined is a member — so the people currently in the room keep their access and only new faces are held out.
Related reading
- Creating and Managing Users and Chat Room Permissions — how to provision users, what members and roles are, and the join screen in detail.
- How to Create Chat For Only Registered Users — a worked example of the Provisioned Users and Members levels.
- How to Create a Public Chat Room anyone can Join — a worked example of the Public level.
- Get Chat Room Members — list who is currently a member of a room.